55 HT Project Page 11
A Link Back to the '55 HT Home Page
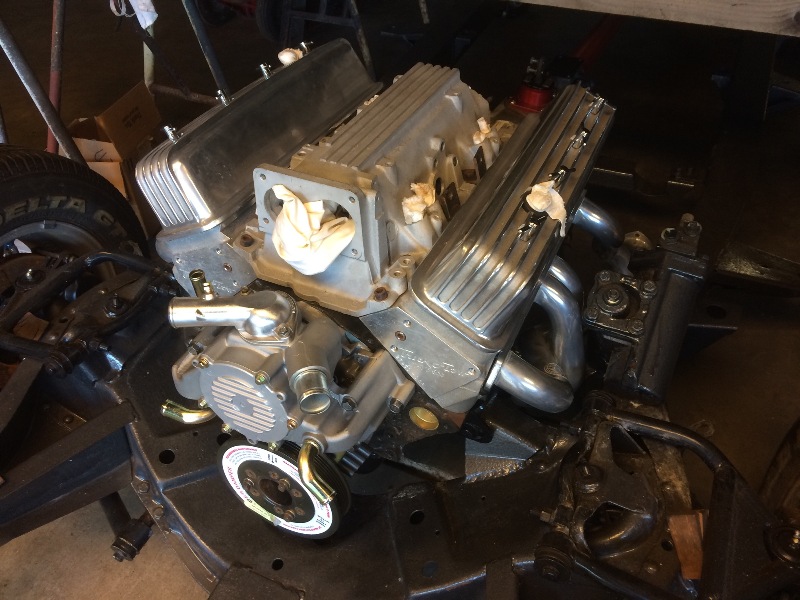
TIME TO PUT THE MOTOR IN
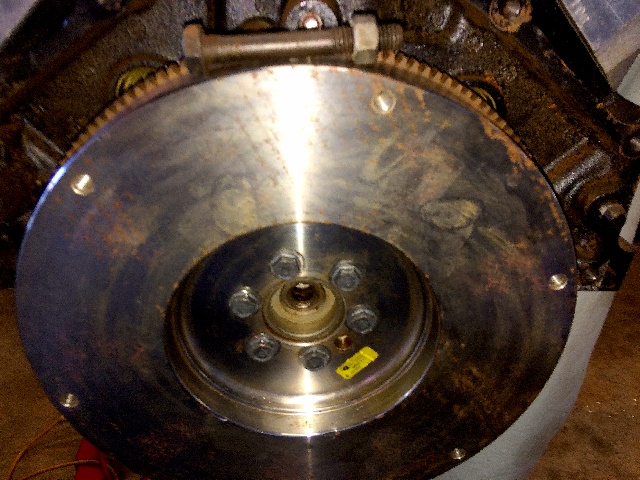
But first a trial fit of the flywheel and clutch...
Nothing special here, pretty routine stuff....
But thought I had the right bolts for the flywheel/crank bolt up,
And the pressure plate bolt up, couldn't find either one, so a rush order
went in to Summit Racing...
Meanwhile, I put some grade 8 bolts I had on hand in to check out the bolt up....
Decided I want to put in the long dowel pins, I have some on hand....
and need to find my clutch alignment tool to get this clutch plate properly centered
when I to the final alignment and bolt up....

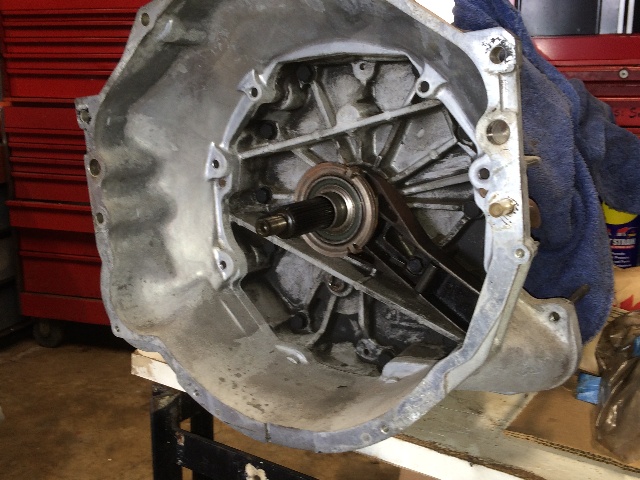
The original LT1/T56 clutch setup was an external hydraulic slave cylinder
with a standard clutch arm and release bearing, I dug around in my storage
shed and found the original stuff, the slave cylinder looks pretty messy,
I might go check out what a new one would cost....
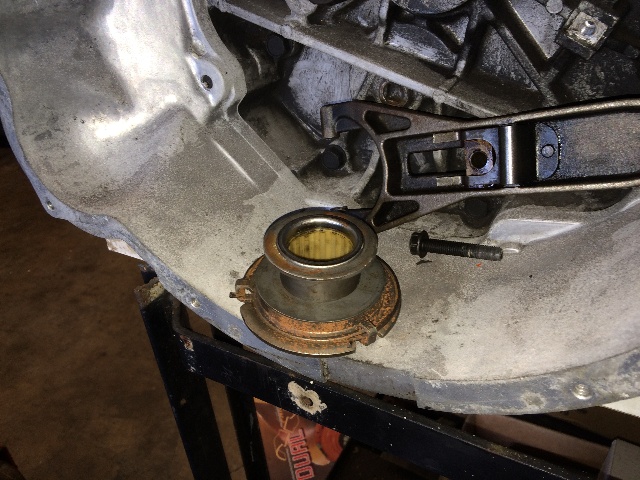
I also found in my storage shed, this Tilton brand hydraulic release bearing,
but it doesn't fit over the sleeve for the old style release bearing, and it looks
like it needs to be mounted some way (see the four mounting holes),
and I don't see any easy way to do that....
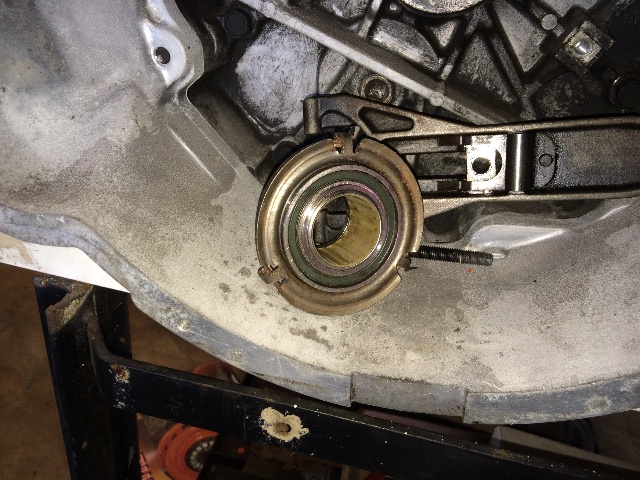
I'd probably have to take the transmission apart and drill and tap into the front
of the tranny case to make it work, and remove that sleeve that is pressed into
the front of the case....

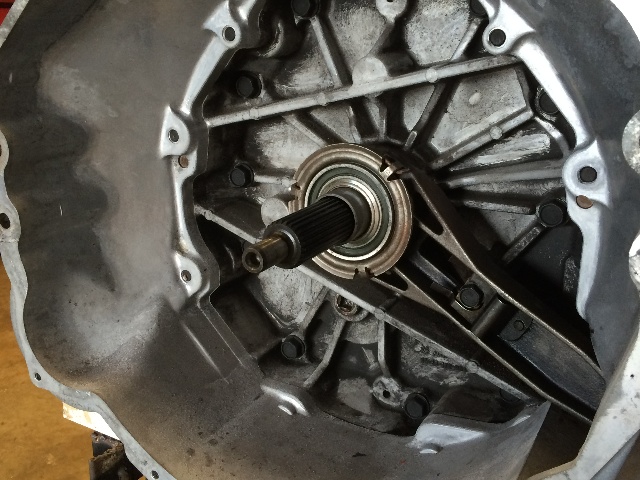
The Tilton slave cylinder would be a cool setup, all internal, but there's too much fab work to
do it that way, so going with the original '93 Camaro T56 hyd. clutch setup at the slave end....
In the meantime, I found a bronze pilot bushing I had in stock, and installed that....
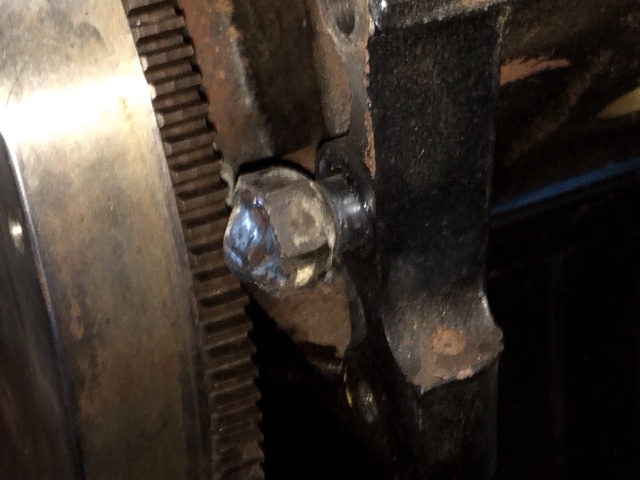
Put a small amount of silicone grease inside the hole, and tapped the bushing
in place with this bolt and nut, the nut adjusted so an adequate amount of
bolt was inside the bushing hole, it tapped into place easily up to the point where the
exposed end of the bushing was flush with the crankshaft surface surrounding the hole....
Then I tried removing the stock dowel pins so I could install the longer style dowel pins, I like to
use those as it makes lining up the tranny bell housing much easier when installing the tranny...
But these old pins are not coming out easily, it will take "superior measures" to get them out....
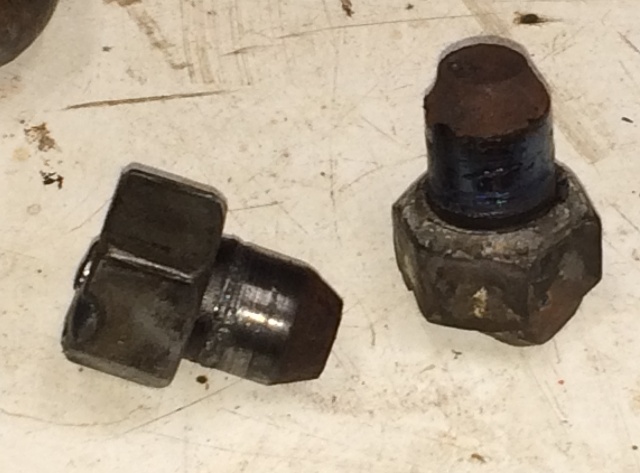
Welded large nuts on the old dowel pins, and while they were hot, put an impack gun on them,
and twisted them while a buddy pounded on them through a hole in front of them with a long,
heavy duty punch. They slowly began to turn and eventually came out. This one was almost
all the way out. I do this right after welding, while they are still hot.
Then I cleaned out the holes, applied a small amount of silicone grease to the inside of the holes,
and tapped the long dowel pins in all the way....

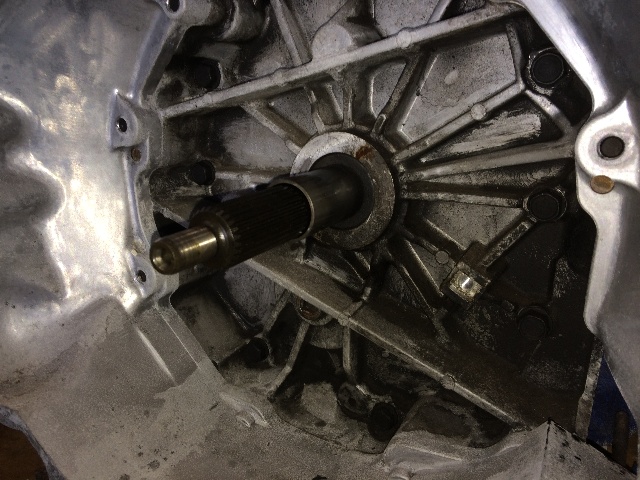
I recently had to rebuild the Doug Nash 5 speed in my other '55 (a gasser style build),
after I destroyed the input shaft gear, so I have a nice Chevy input shaft to use to align clutches...
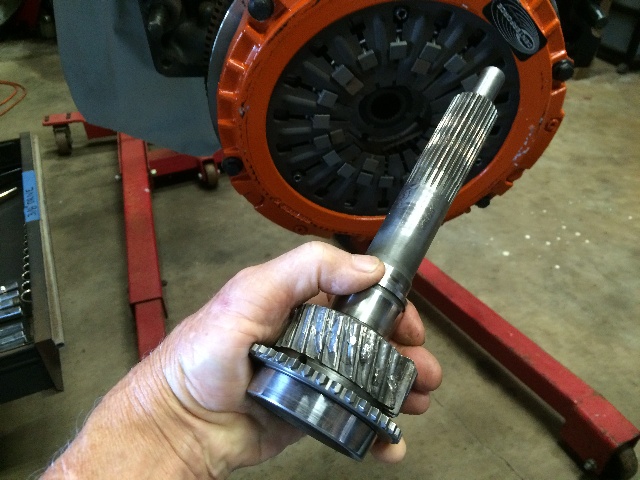
It does a very nice job aligning the clutch plate with the pilot bushing...
The clutch release bearing (throw-out bearing) for this '93 LT1 (5.7 liter) is a bit unusual, and I am
having a difficult time finding a replacement, as this one is noisy and I don't want to use it.
My local NAPA dealer doesn't even list it. I can't go any further with this until I can find
a replacement. Even online, I'm told they just are not available.
It's a hydraulically operated clutch with an external slave cylinder.
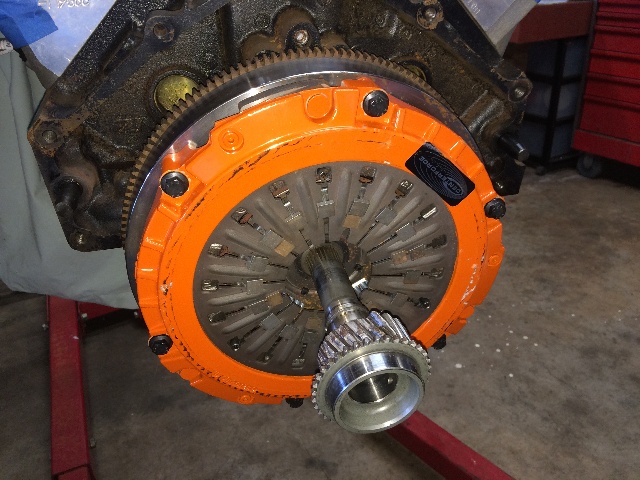
I spent a lot of time online looking for a new throwout bearing, and finally found one at ebay.
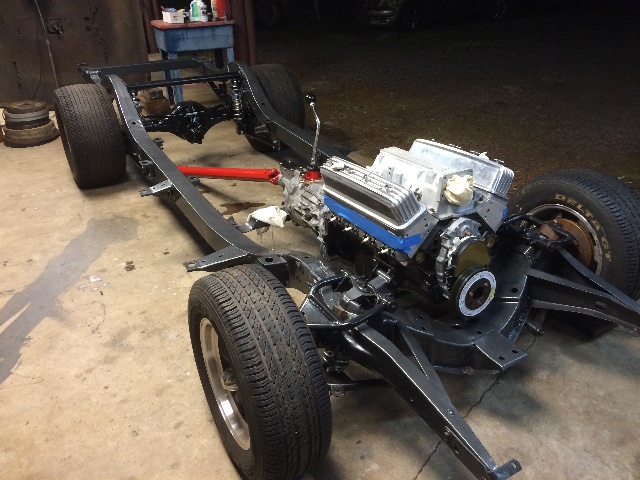
It came in 3 days, on Friday, and my buddies and I bolted everything together
and put it in the frame on "Fender Friday" (our weekly get together with beer
and BBQ). But now the drive shaft I ordered from Strange Engineering is too
long. I still have a copy of the order sheet, it clearly states 53-1/2", the one they
sent me is 56" long. I'll call them on Monday.
I had sent them a damaged drive shaft from my '55 Chevy gasser, it has a shorter gearbox
and that drive shaft was 56". The rear u-joint yoke was damaged on that one,
(I blew it up drag racing) and I had asked them to shorten it to 53-1/2" and put
a new yoke on it. They called after receiving the damaged drive shaft and said it was also
slightly bent, and was not repairable, so I had told them to just make me a new one.
But obviously they ignored the order sheet and made a replacement for the
damaged driveshaft. It's their mistake, let's see how they handle it.
Later:
Just got off the phone with Strange Engineering. They are working with me
to correct the problem, they're a bunch of good guys!
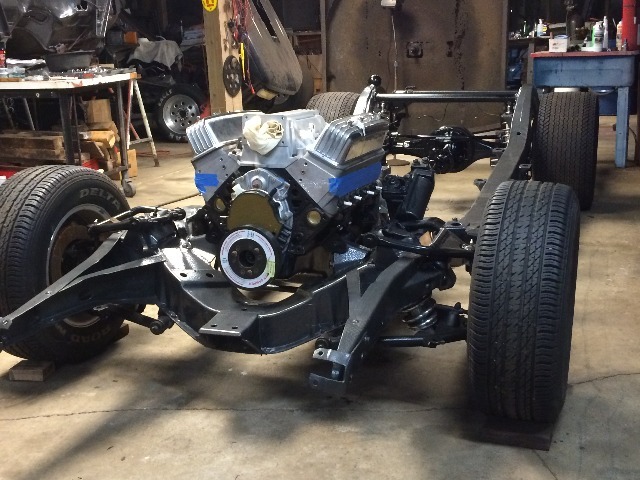
Now to finish the motor (water pump, ignition, efi, alternator, PS pump, pulleys and belts)
and add the exhaust system and fuel system, and as much else as I can think of
before putting the body back on.
A serious hand injury has slowed this project down quite a bit...
But, back at it now, hauled out an old LT1 that still has all the accessories
on it, and they are all in excellent condition. Now to pull them off and fit
them on the new LT1 in the '55 chassis.
This is what I have to start with....
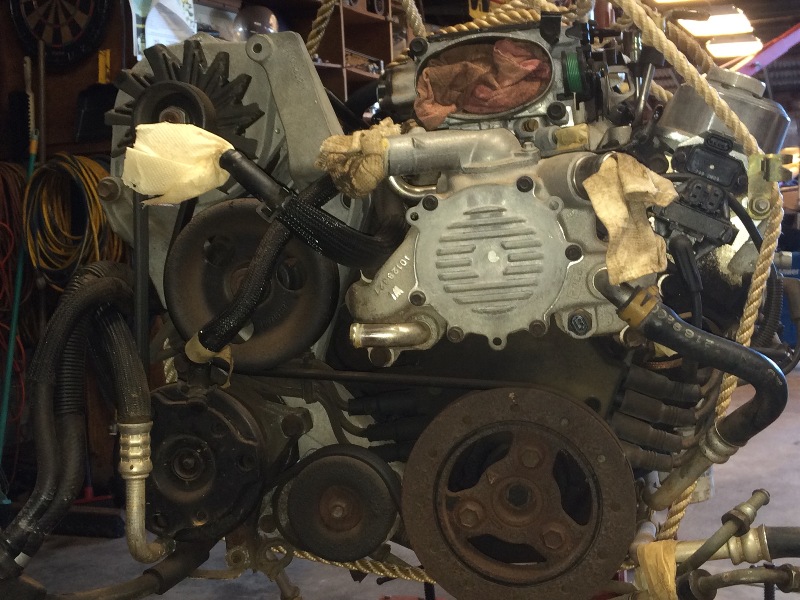
What Fun !
The first piece I pulled off the old motor was the water pump....
which looked to be in good condition....
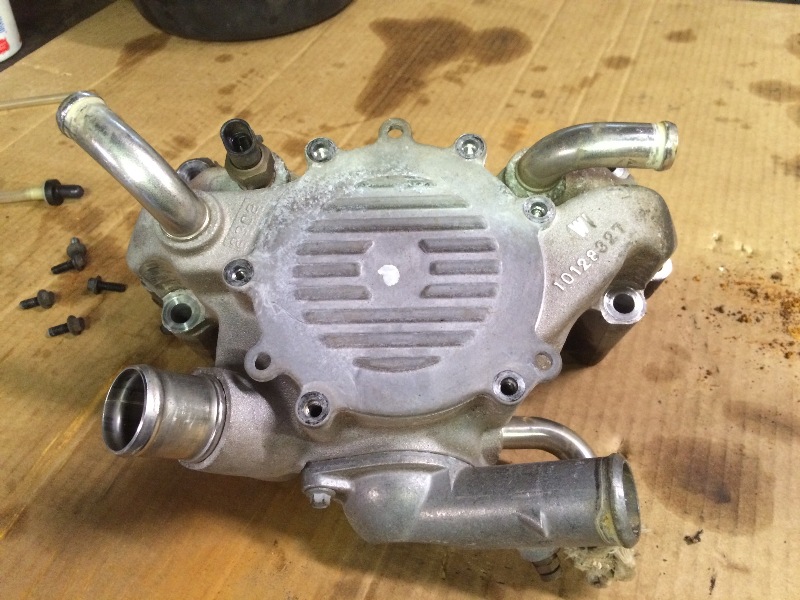
But was leaking out all kinds of bad looking stuff....

So I open it up and found this....
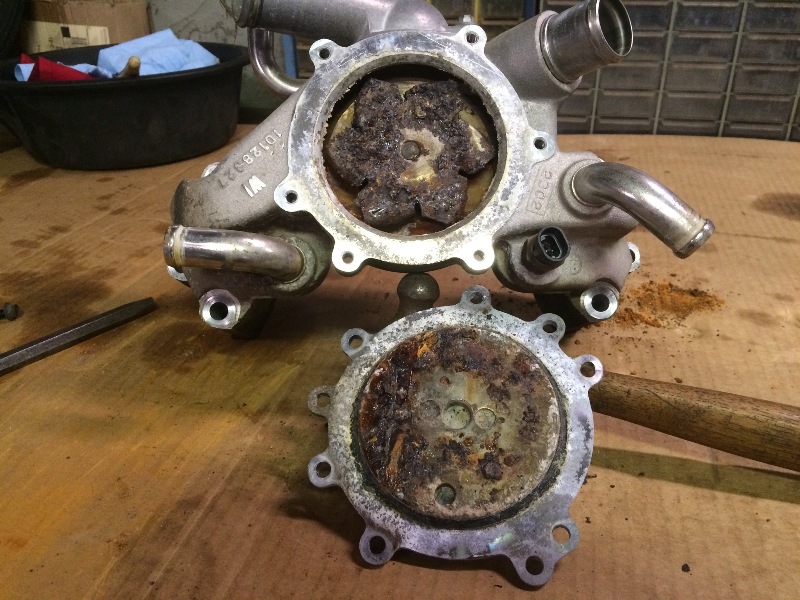
So I'm looking for a new water pump....
Found a new water pump locally, put a new thermostat in it, and bolted it up....