62 FL Chop Rebuild 22
Page 22, Wiring the 62 FL
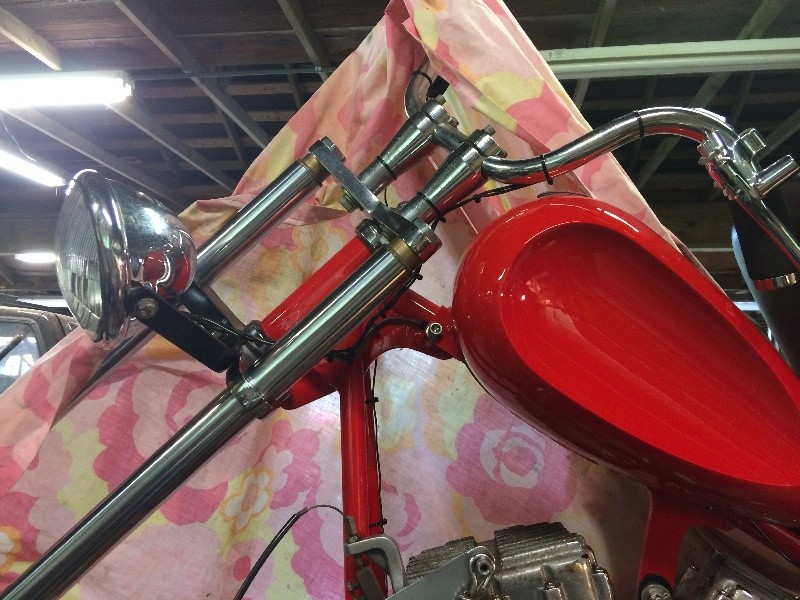
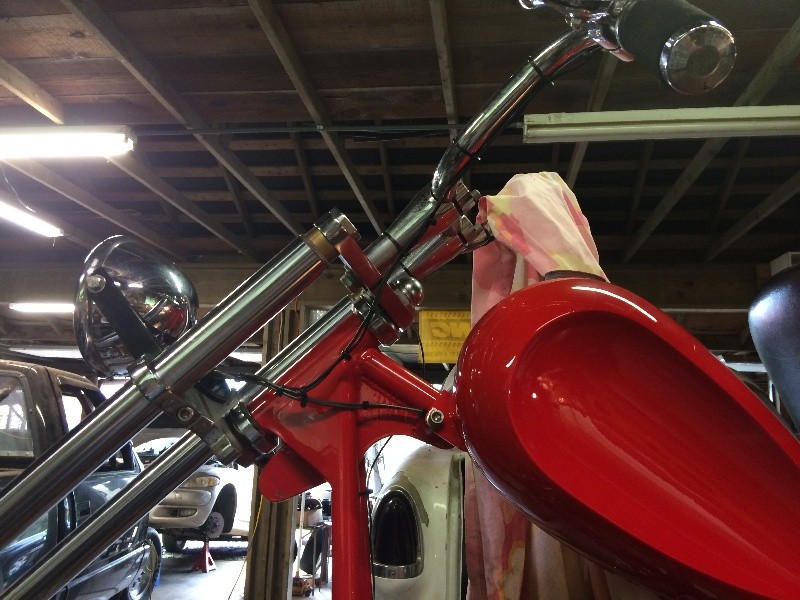
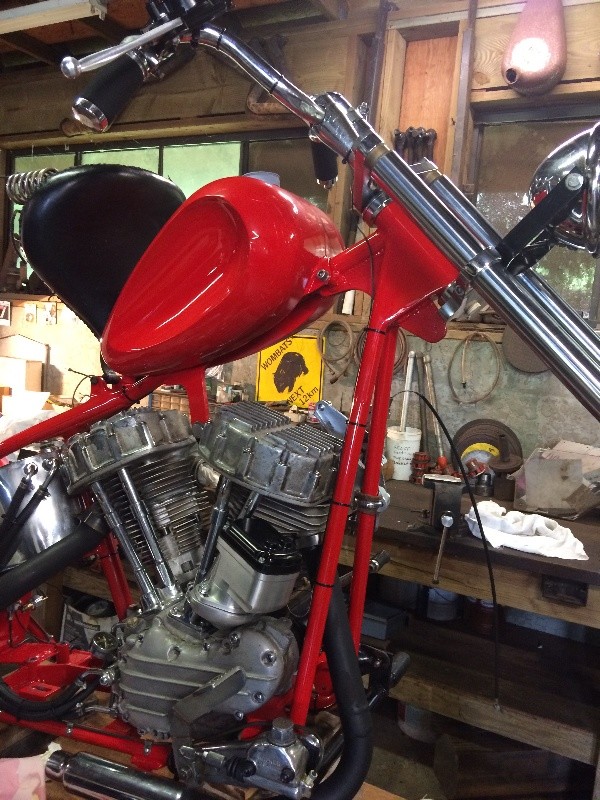
Started wiring up at the handlebars....
Mounted the mag kill switch on the right, next to the front brake MC...
Drilled and tapped for a couple of screws for the hi-lo headlight switch on the left....
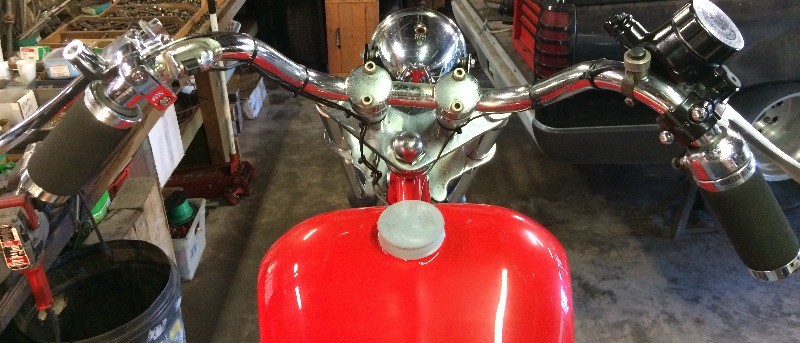
It;s gettin' kinda busy lookin' up there....
Using the old original switch box I had fabbed all those years ago...
All it had was a switch for the lights, a 20 amp fuse, and a spare fuse carrier...
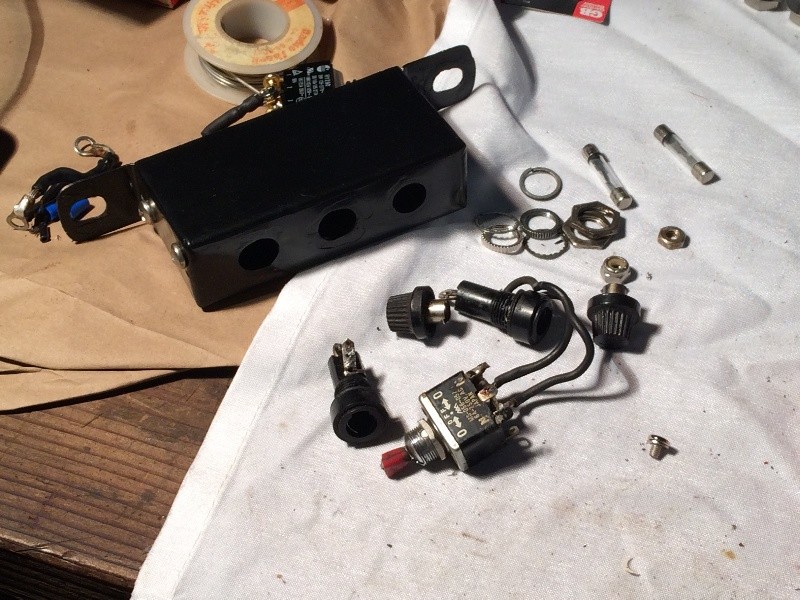
Rewiring it with a new switch, a DPDT,
and a circuit breaker....
There's three holes in the front of the box, where the original switch
and the two fuse holders were, will put the new switch back in the
top hole, and am thinking of glueing the old caps off the original
fuse holders onto the other two holes to cover them up....
Over the years I've developed a pretty "bullet proof" method
of putting end pieces on my wires, first slide a piece of shrink tubing on the wire,
then crimp that terminal on....
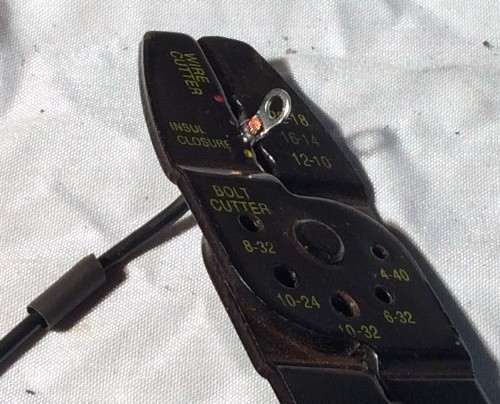
Then solder it....
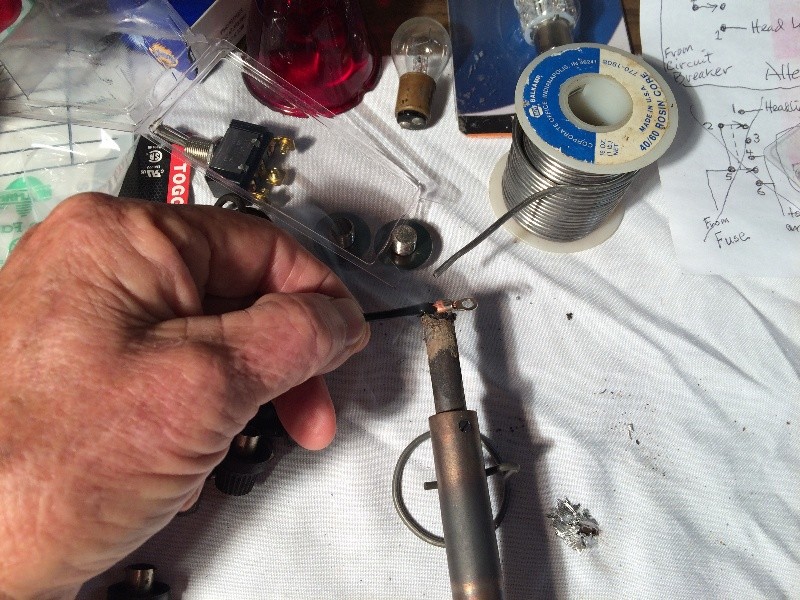
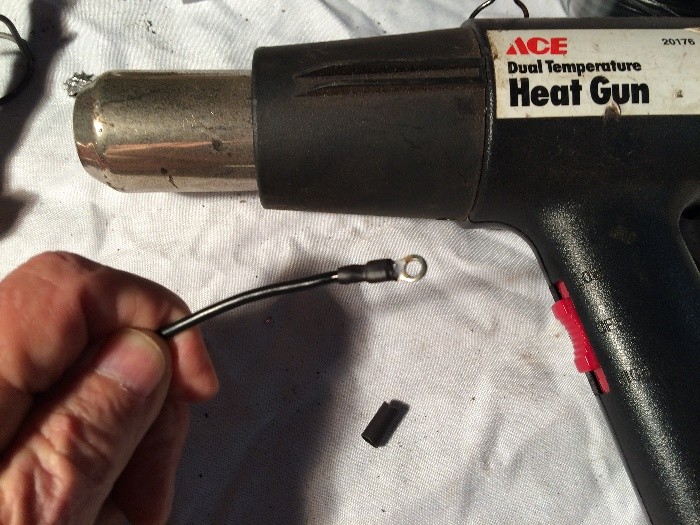
Then finish up with the shrink tubing....
Started with #10 wire at the 12 vdc terminal on my new gen set,
it has a built in voltage regulator, etc...
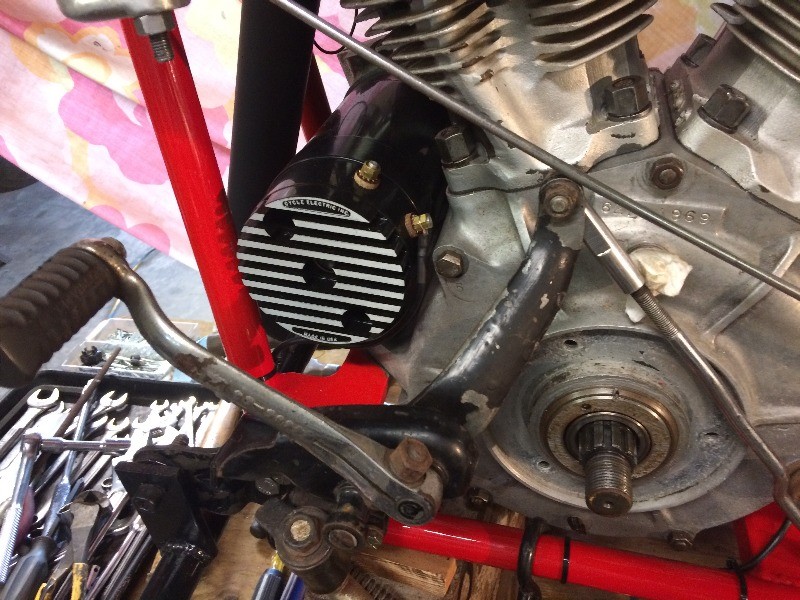
Can run this gen set with no battery and a magneto....
Ran the wire along the bottom rail, left side,
and up to the circuit breaker....
Ran a hot from the switch under the tank up to the
headlight, plus put in a ground for the front end system...
Laid the wires, the supply and the hi/lo switch, so it lays well on full right....
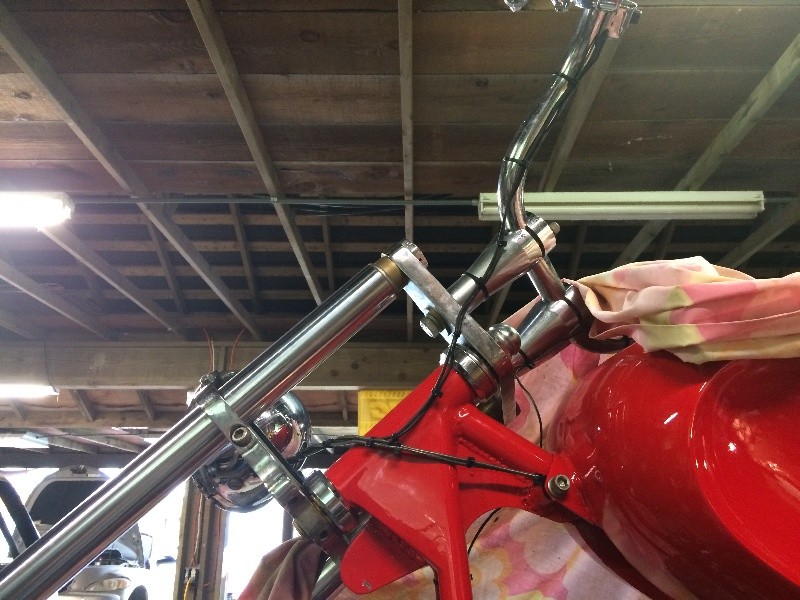
Yet is not too floppy on full left....
And I don't think it will flop around on straight in the wind,
if need be, I'll tie it down...
So, what yer seein there is the hi/lo and the feed and the ground wires...
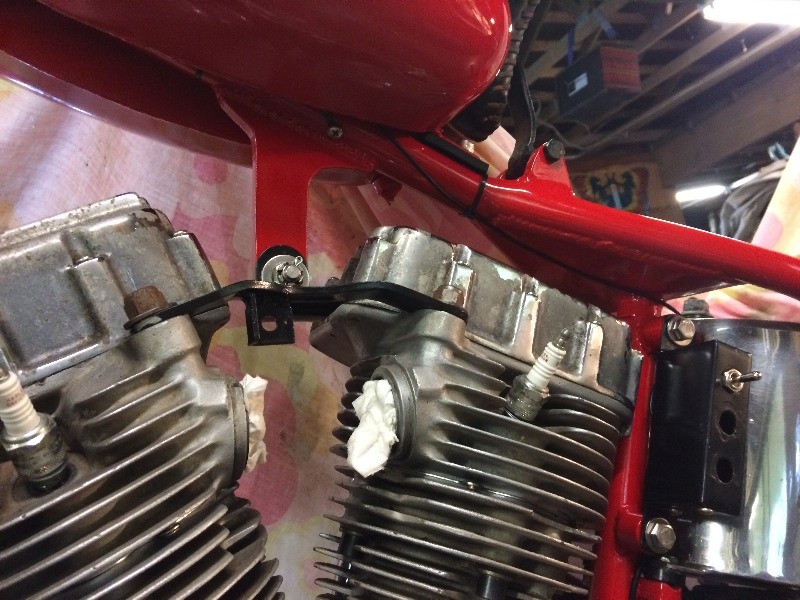
Ran the mag ground wire down the other leg from the handlebar...
Put a 90 on the brake light switch, for easy access when the tranny is back in....
Hung a piece of hose to route the wires from the switch box to under the oil can....
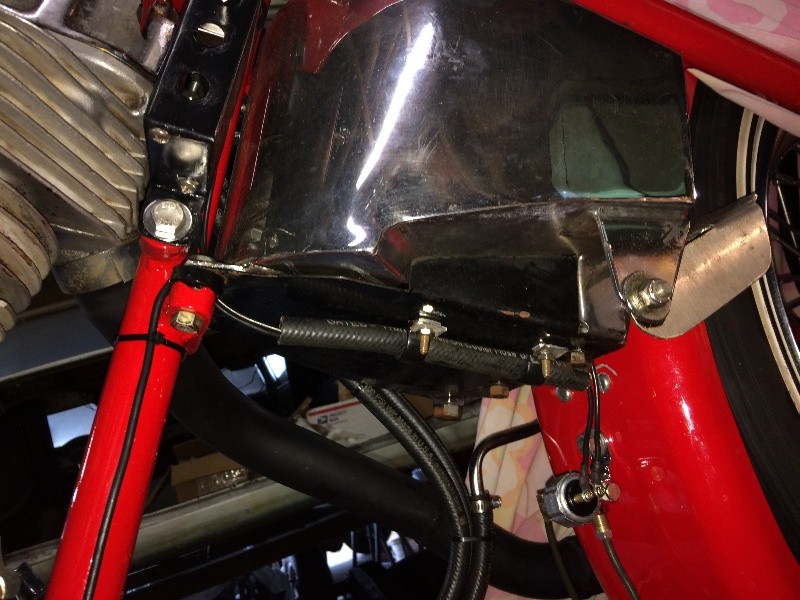
Drilled two holes in the bottom plate under the old oil can
tool storage space (the old battery box)....
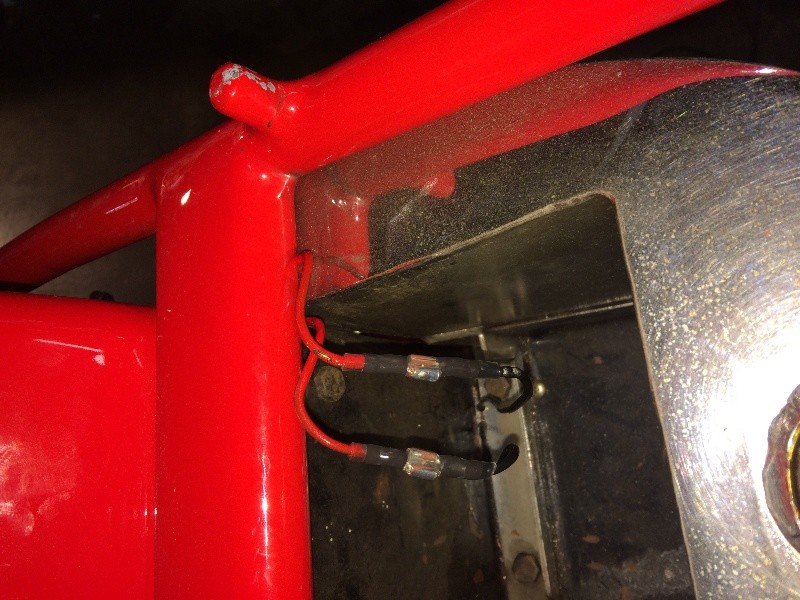
Connections here are for the tail light and the brake light...
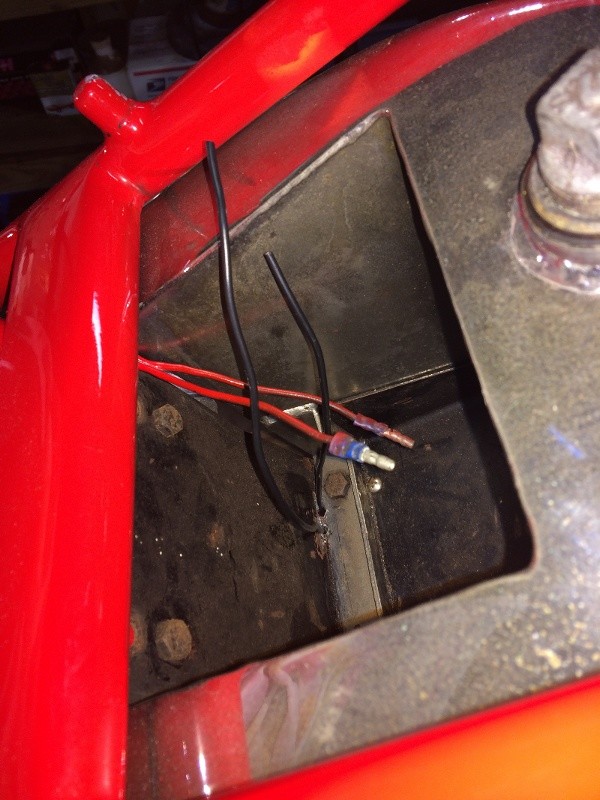
Used spade connectors here and covered with clear shrink tubing...
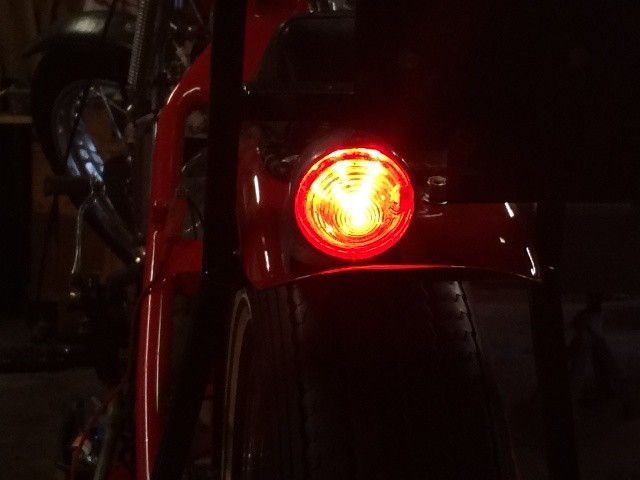
The tail light works great w 12 volts...
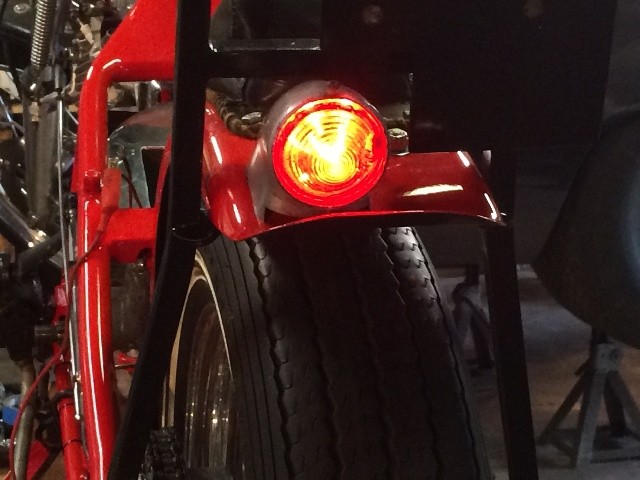
This is an led bulb, this is the brake light on top of the
tail light, it is bright.....
Fired up the head light, both high and low beams were REALLY BRIGHT !!!
Then they blew, still had the 6v bulb in, unfortunately....
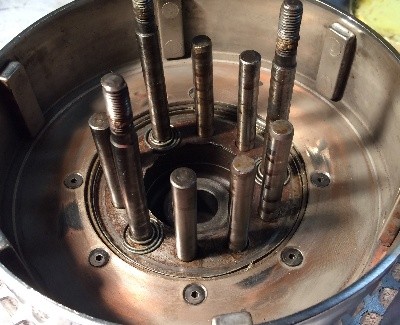
Started stuffing these supposedly "better" roller bearing setup
into the clutch space where the bearings go....

Gottem all in there with some fibrous grease, it turns rough.
doesn't ruin smooth...
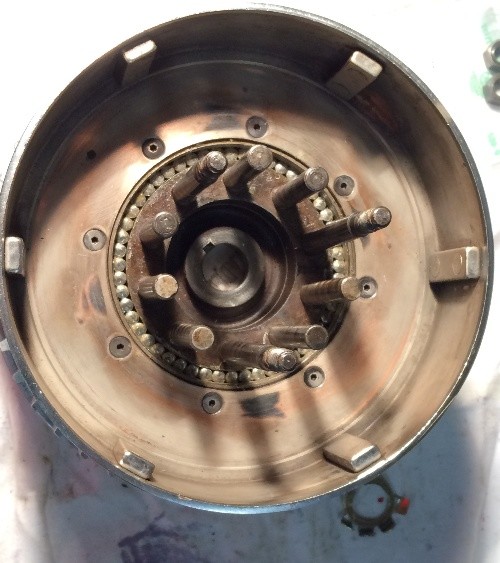
But I have "expert advice" that this is the way to go....
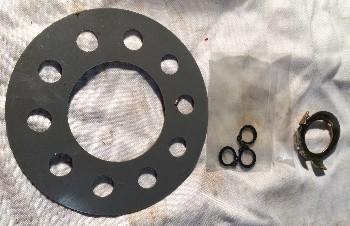
Stuck the steel cap from the old setup on....
But inverted it to get a better fit....
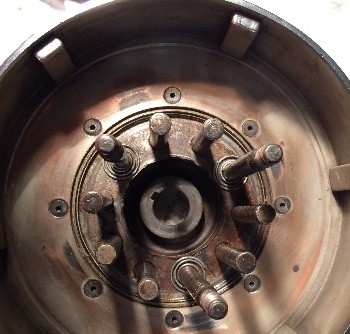
They sent clips but I still like the oem spring setup better....
A plastic shield for these roller bearings??
Who are they kidding ?
Torqued the nut on (Left Hand Thread, remember??)
And stuffed the clutch plates in, that black outer plate
is where I removed clutch plate material, as this
outside plate only sits against the pressure plate.....
And I gain clutch adjustment clearance....
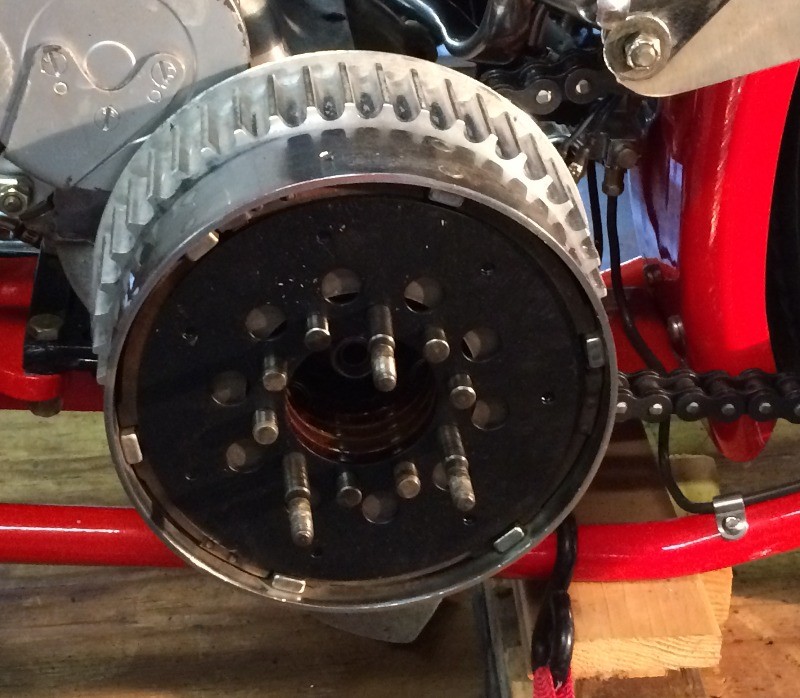
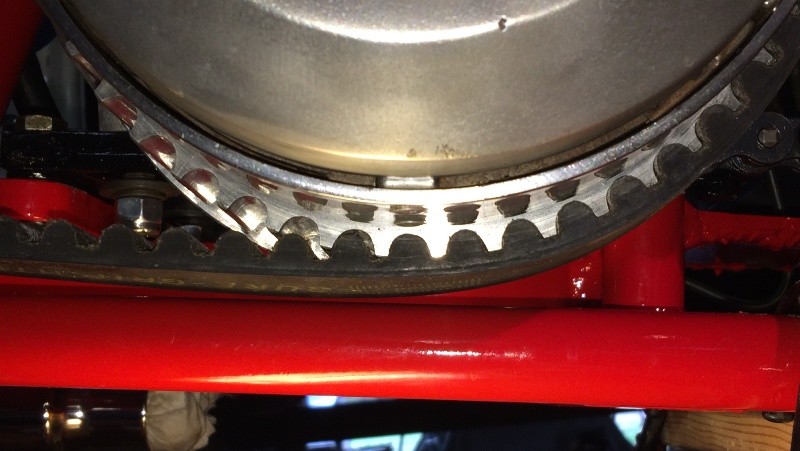
The reworking of the clutch hub liner gave me the
needed clearance with the new, wider O-ring chain...
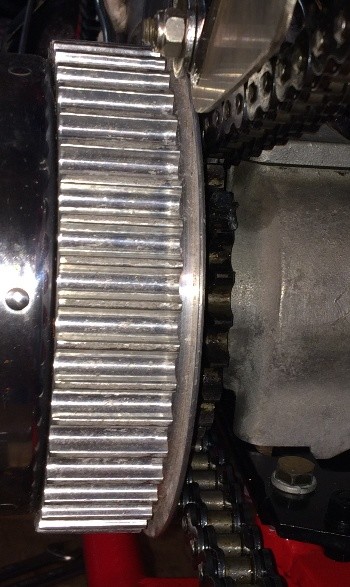
The washers under the tranny plate lifted the belt off of
the frame rail just enough to work well...
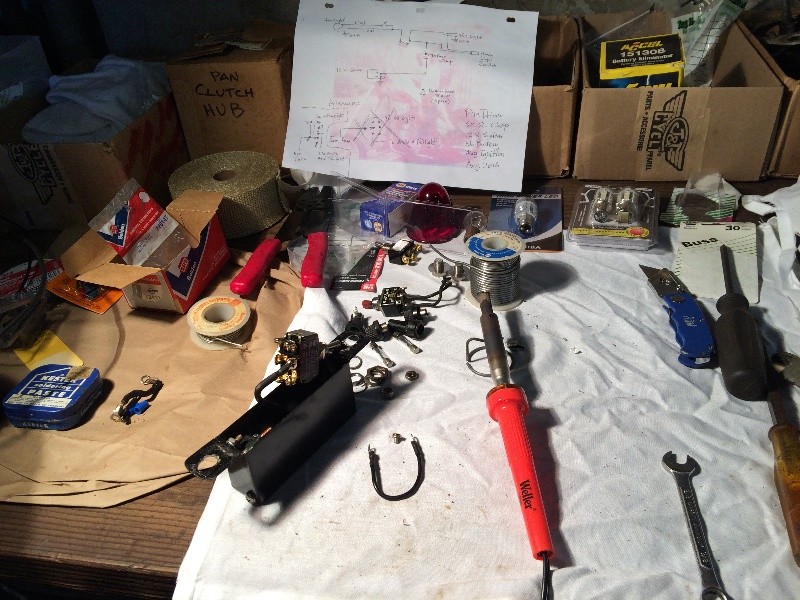
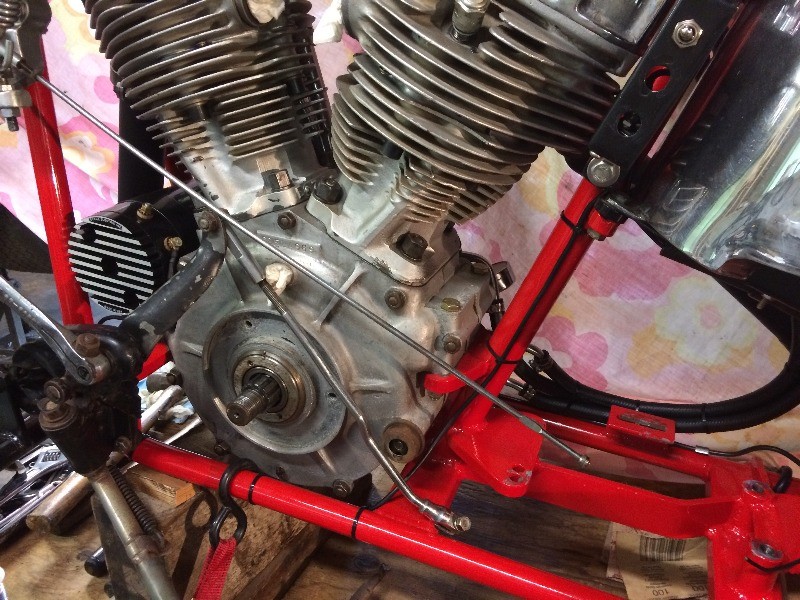
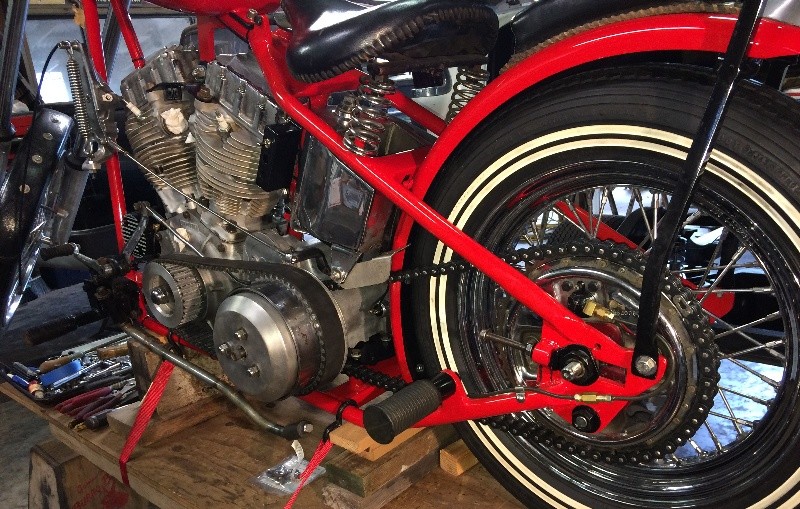
Just a general view of where I'm at....
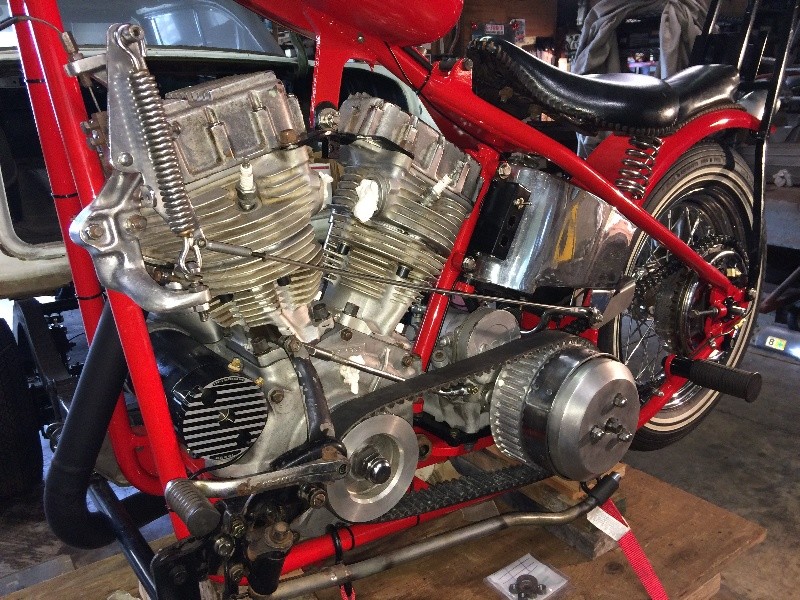
Looking at reworking that fender, finding a real fat tire, or
maybe doing something innovative with skirts....
Haven't seen anyone do that in awhile....
It's still fun, what can I say ?
Found this on an old t-shirt, I worked here for most of my adult life...
Want to put it on the tank sides....

More Later....