62 FL Chop Rebuild 24
Page 24
More on Rebuilding the Carb and the Front Brake Caliper
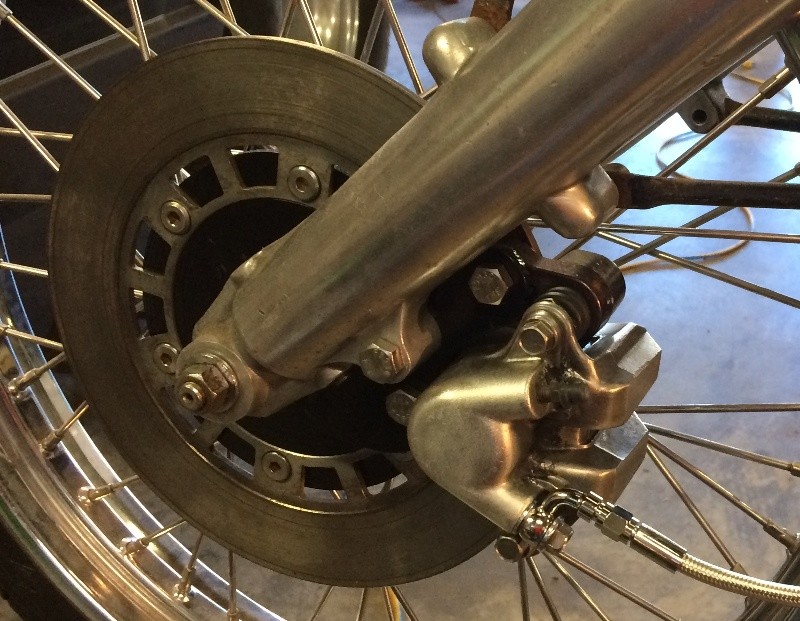
Mounted the master cylinder back on the handlebar and connected the brake line
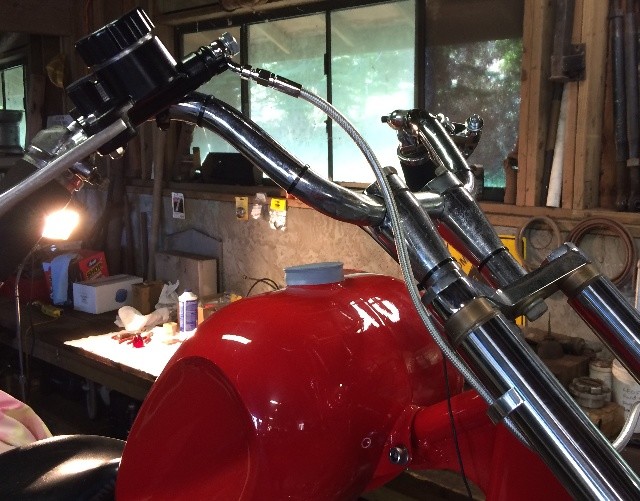
Routed the brake line so it doesn't touch the tank on full right fork crank....

Ran it down the left leg to the caliper....
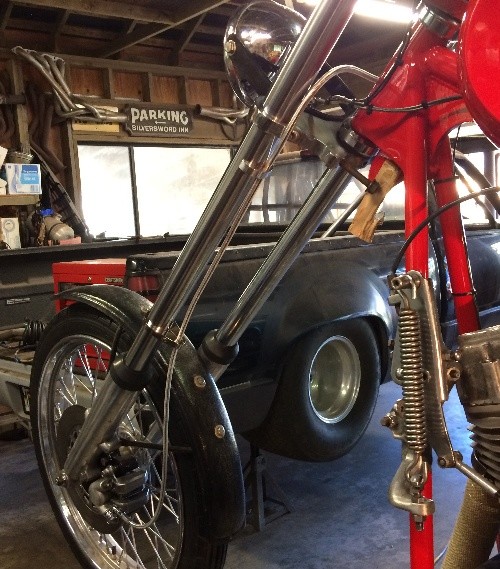
The 90 banjo bolt mounted "up" gives more of a loop in the brake line...
But once the weight is on the forks it might be better to flip
that banjo over to the "down" side, will check that out once
it's back on the road....
Cleaned up the caliper slider bolts, greased them,
and put new boots on them....
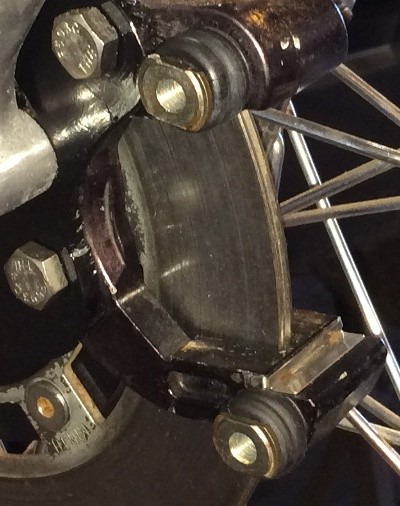
Cleaned up the caliper inside and out, and installed a new seal...

And a new boot, getting that outer lip on that boot in
it's groove inside the caliper was a job and a half !!!

Took a break from the brakes and worked on the carb a bit...
Decided to use a new float bowl needle valve,
even though the old one looked good to me....
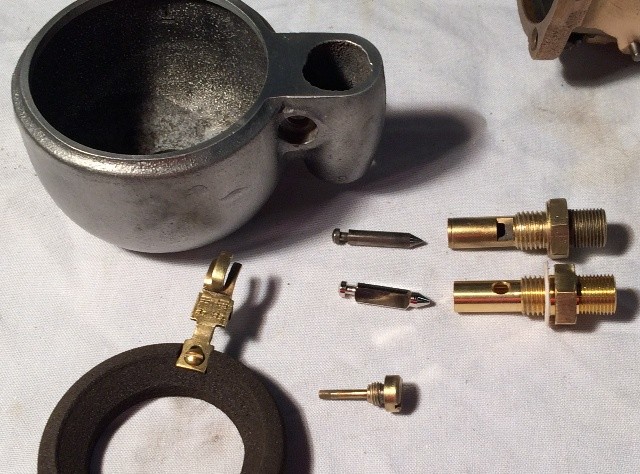
The lower one is the new one,
it has a triangular shape, and the bore it fits in is much larger
than the original one, so it might respond faster to fuel inflow requirements....

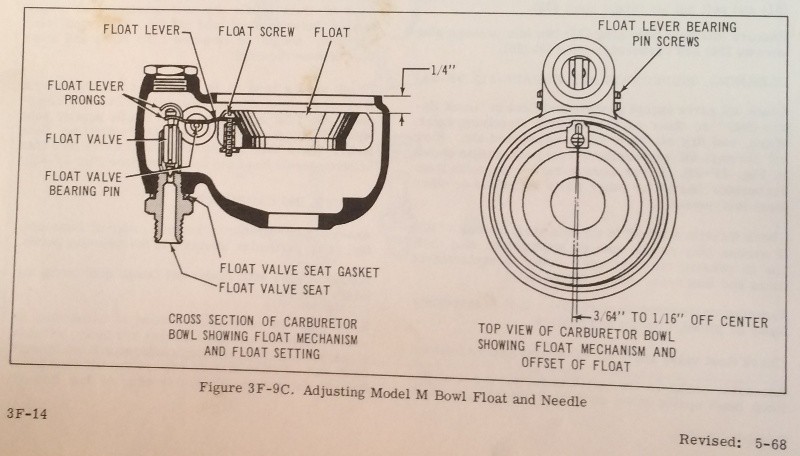
Spent a lot of time getting the float set the way Harley Davidson want's it,
but I got it right on the money....
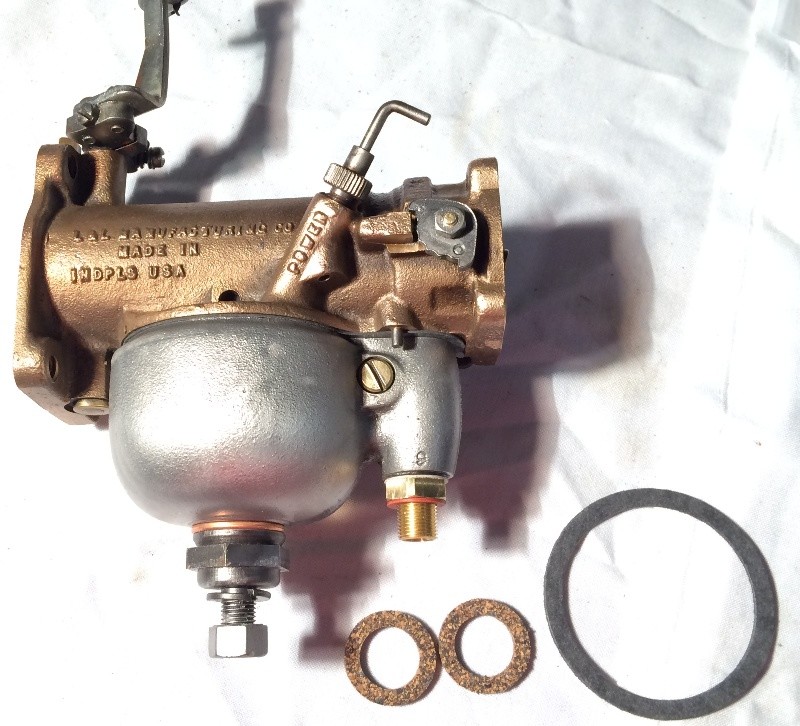
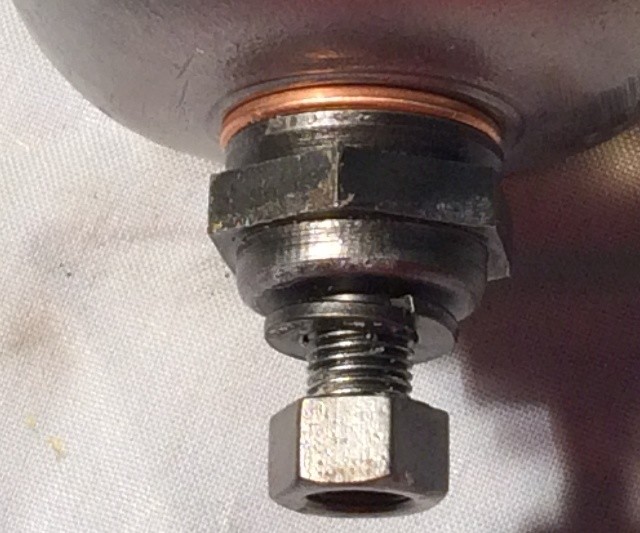
Assembled the carb with new gaskets and used a brass
washer under the float bowl....
I hope this is correct, I couldn't remember what was there when I took it apart,
and couldn't find a reference to what is supposed to go there....
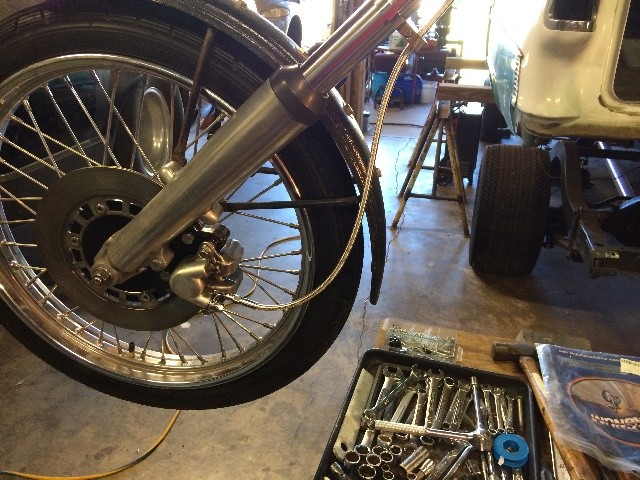
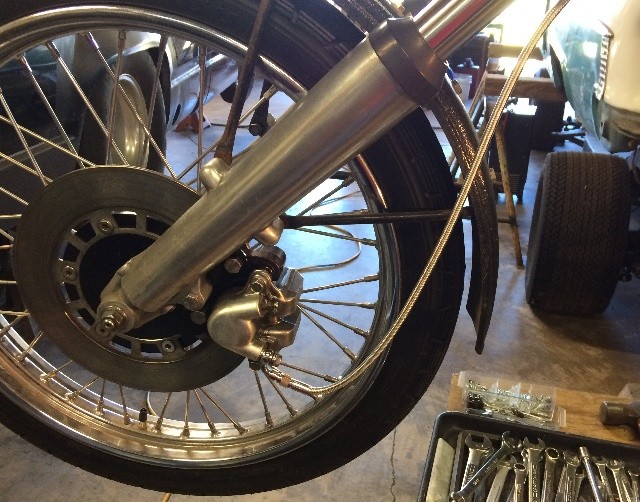
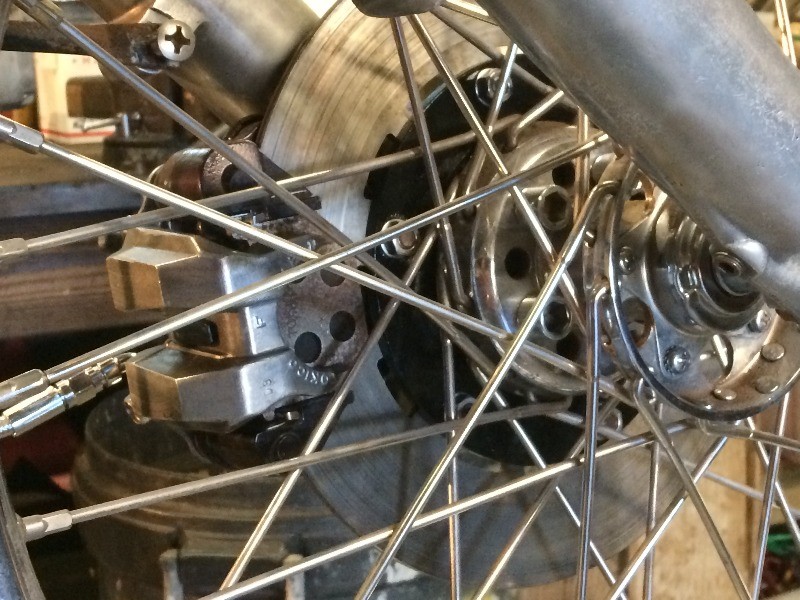
Back to the caliper, final assembly, pads, tightened everything up....
Backside view, love those star hubs....
Assembled the carb, haven't mounted it as yet....

These parts were wire brushed with a brass wire wheel, then clear coated....
That front brake caliper likewise....
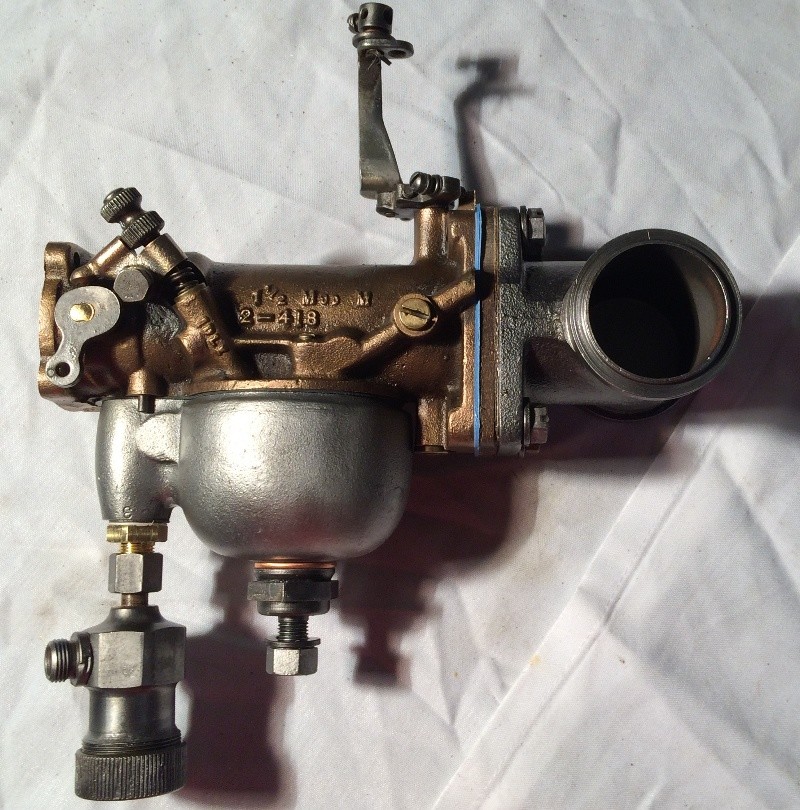
Still need to hook up the fuel line,
and the throttle cable....
This is the guide I have for this carb, it's in an old shop manual....
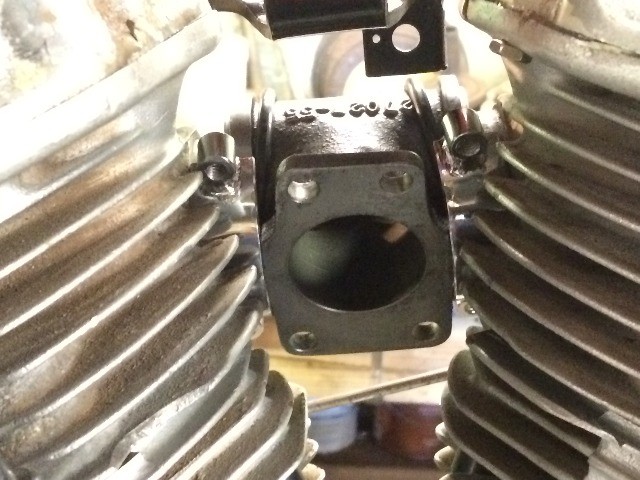
Back to the heads and the intake, the intake tee would not go between the heads, probably because these
new base and head gaskets I've installed are thinner than the originals, and being a "V" configuration, having
thinner gaskets pulls the heads down and closer together...
I could stack an extra base gasket or two under each cylinder, which would push it back up and
spread the heads further apart, gaining extra clearance....
Or, I could measure and remove a slight amount of metal off of the ends of the intake tee....
But......
So I pulled my trusty old calipers and took a good look at just how much interference
I had between the intake and the heads....

The intake measured 2.970"
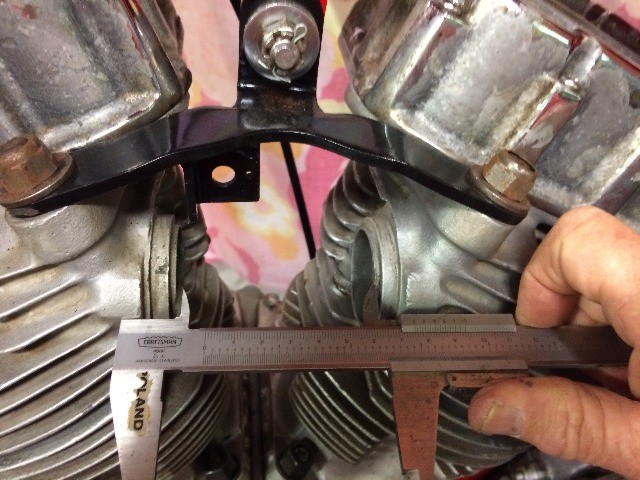
The heads measured 2.950" at the intake ports...
So first, I'm going to try loosening the head bolts, and the top mount bolts,
and see if I can get that additional 0.020" I need to fit this intake in there....
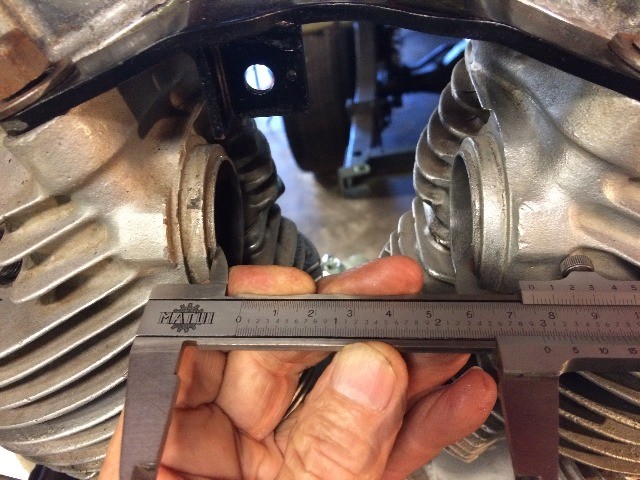
After loosening all the appropriate bolts, and tapping the heads away from each other with
a block of wood and a hammer, tried again, and it fit...
It's a snug fit, with the head bolts loose, so I slowly snugged down the head bolts,
a little at a time, starting with the inner most bolts, closest to the carb,
and kept checking the intake tee, it still was not "jammed", so kept snugging
down the head bolts, got them snugged down pretty good, not torqued yet,
and the intake tee still feels "good to go"....
Those two top mount bolts will be the last ones I tighten down....
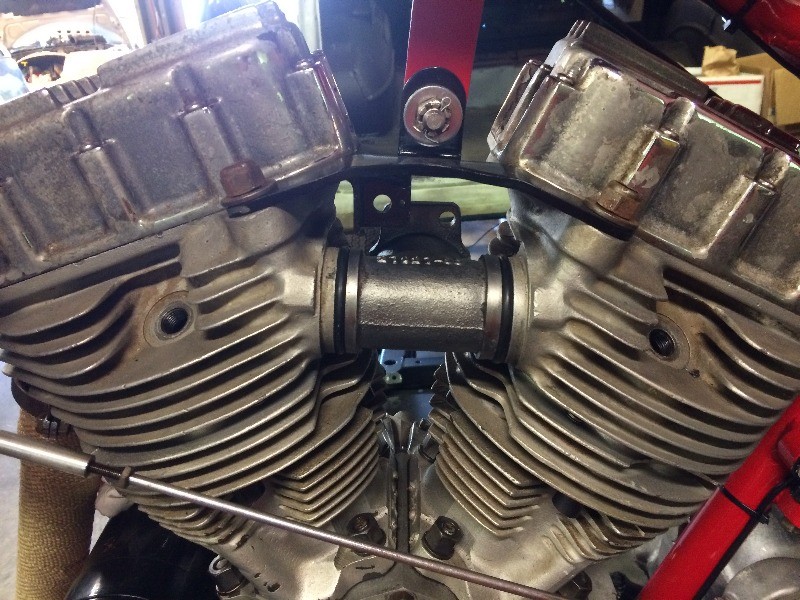
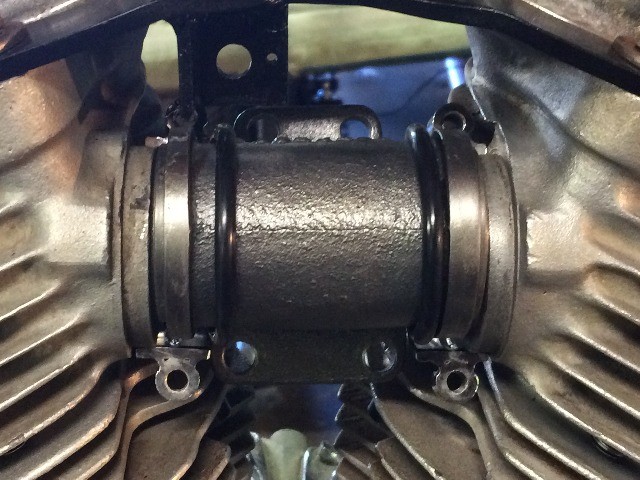
Pulled the intake tee out and torqued down all the bolts....
Then measured it, got 2.970", same as the intake tee,
so I got my 20 thou. but still pretty tight....
I had these nice clamps, and tried to fit it all together....
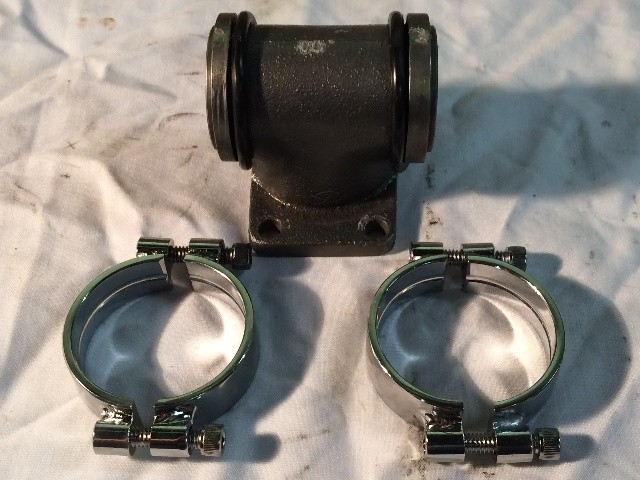
Tried a bunch of ways, the clamps hit this, or that, just barely,
but wouldn't go in....
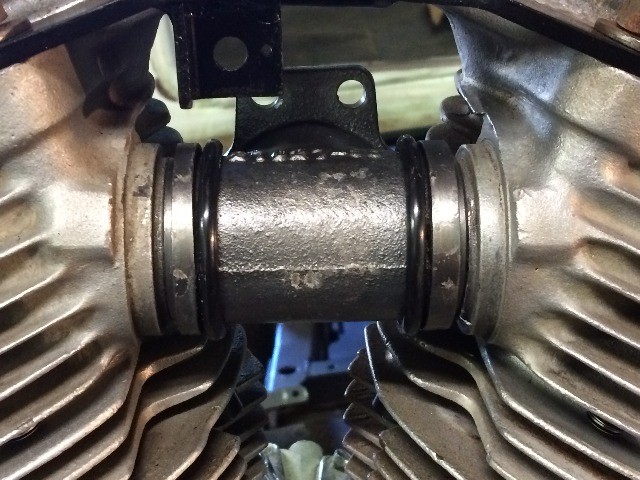
View from the right side....
Pulled it apart, and put the intake tee back in, it's a snug fit,
so think I will remove just a little bit off each end to get a better fit....
More later....