62 FL Chop Rebuild 11
Looking at changing it out to a 12 volt system....
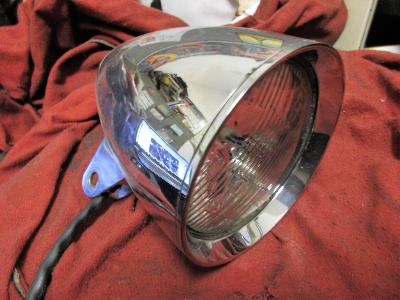
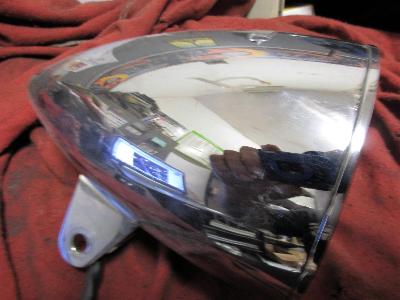
This model 58R "police special" generator does not fit in the Denver Mullins frame...
and is just too nice to go cutting it up to get it to fit, so....

Since I need to get a smaller two brush generator anyway, decided to upgrade to 12 volts....
This is a Cycle Electric model DVG-5000L with built in regulator...
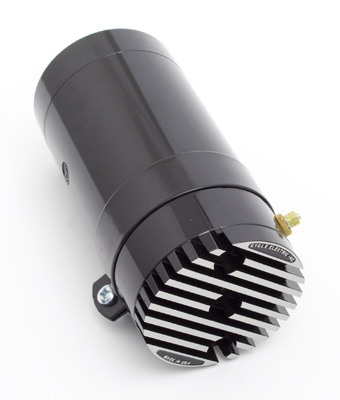
And a buddy had this in his shop, it is 12V, so it is going on instead of the old one...
I'll have to fab a mount, but that should not be a problem....
Ran into another problem. The transmission plate is not sitting flat on the four holes
in the frame that it is supposed to sit on. Pulled the tranny out and checked out the plate
by itself. I had previously put four 1/16" spacers under the plate to lift the clutch hub
up to get clearance between the primary drive belt and the frame tube, I didn't notice
this problem earlier because the belt was resting on the frame, preventing the tranny
from rocking on the four mounts. With the spacers the belt is now up off the frame,
and it is definitely rocking, resting on the front right and rear left holes, so the front left
and rear right holes are where the plate is not sitting square on the mounting holes.
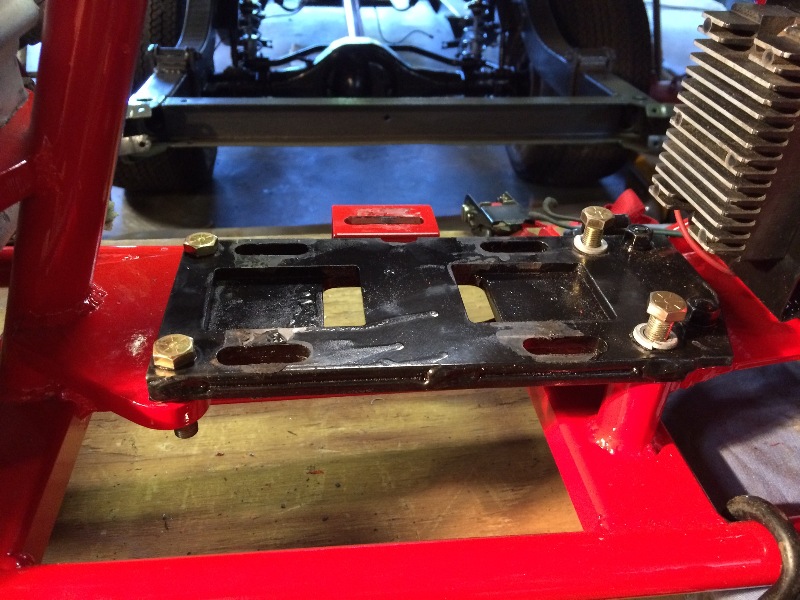
Pulled the plate and checked it for flatness, it was perfect, no problem there....
The problem is in the Denver's frame, and I couldn't come up with a quick way to check just where the
tranny mounts on the frame were out of square. Either the front plate is not welded square, or the
two pegs for the rear bolts are not set up square....
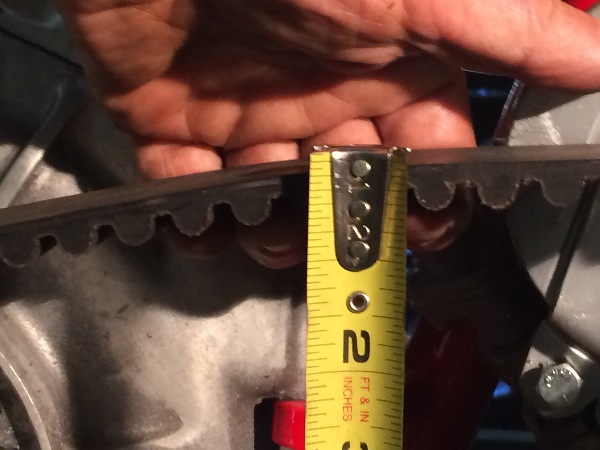
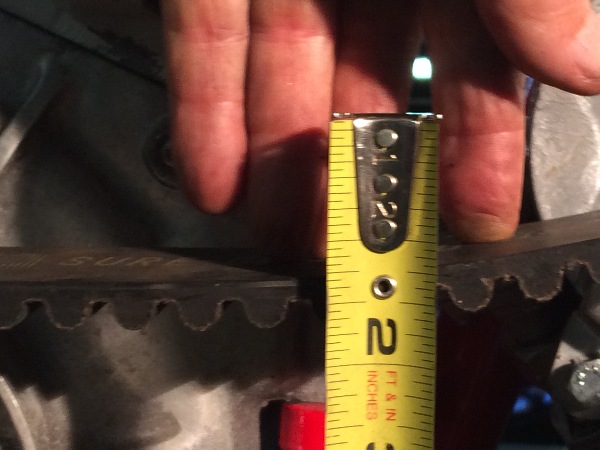
Here's the gap at the front left, when the rear is pushed down all the way....
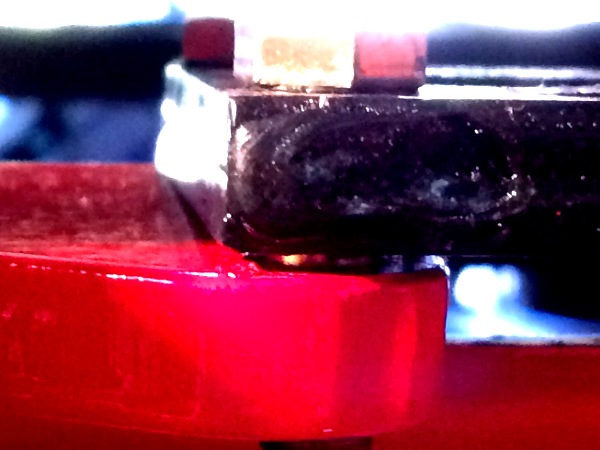
It's pretty close to 1/16", so I tried putting three of the 1/8" spacers on the front left, and both rear mount holes,
and put a 1/16" spacer on the front right mount hole, which gave me the clearance I want for the primary drive belt,
and the tranny plate now sits square on the frame mounts....
Put the tranny back on the mounting plate, with the front bolts in place on the plate, as I can't get them in when
the tranny is on the plate, and set the plate back in the frame with that spacer arrangement.
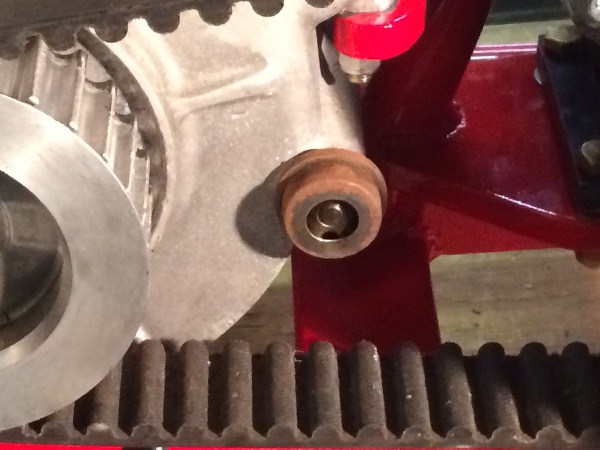
Also put a 1/8" spacer under the tranny for that 5th bolt on the right side, everything looks good to go,
no rocking or other movement other than the normal front and rear adjustment of the tranny....
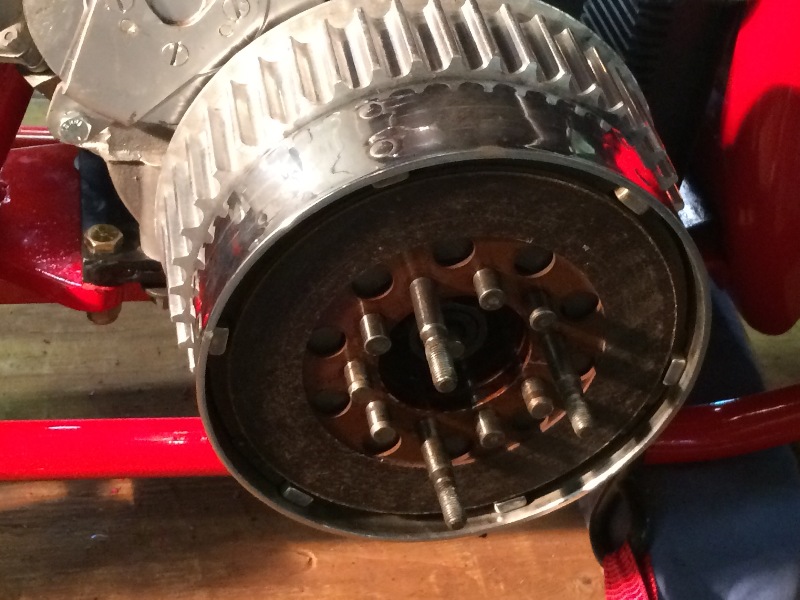
so put the clutch hub back on and rechecked the grease job on the bearings....
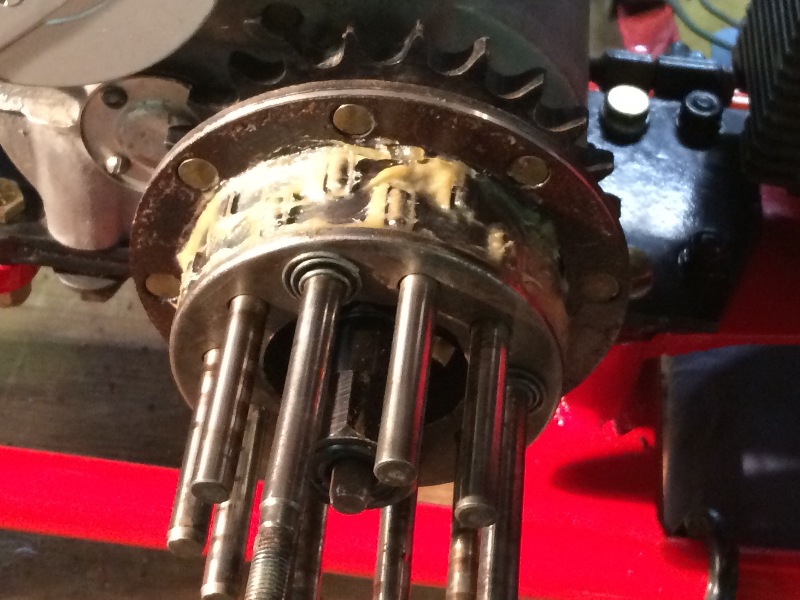
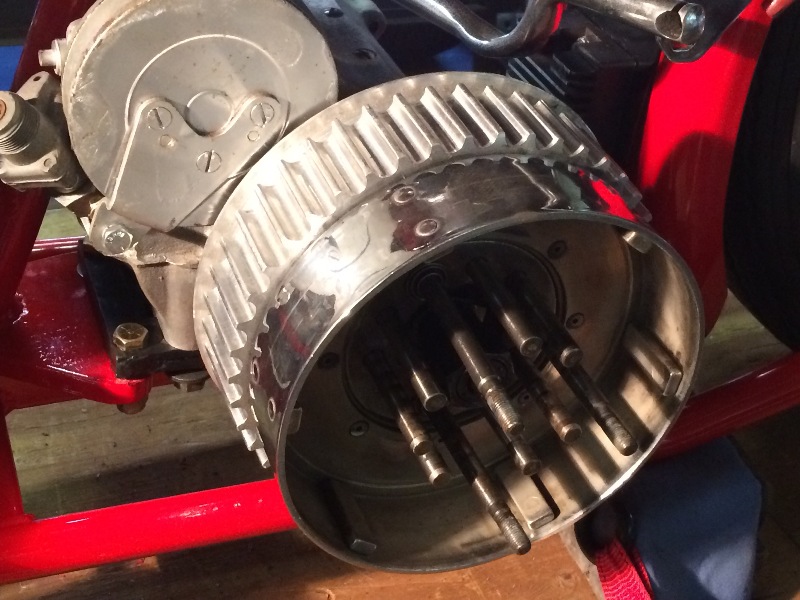
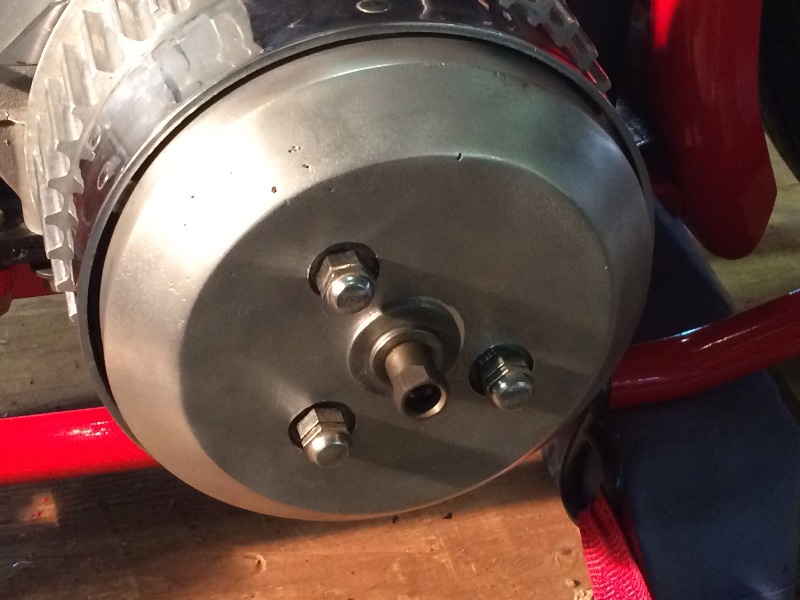
Put the clutch basket and rubber belt sprocket on the bearings and checked for fit....
Nice solid feel, not loose at all....
Loaded the clutch plates into the basket....
Set the pressure plate on, keeping the springs locked down for now, and applied blue locktite....
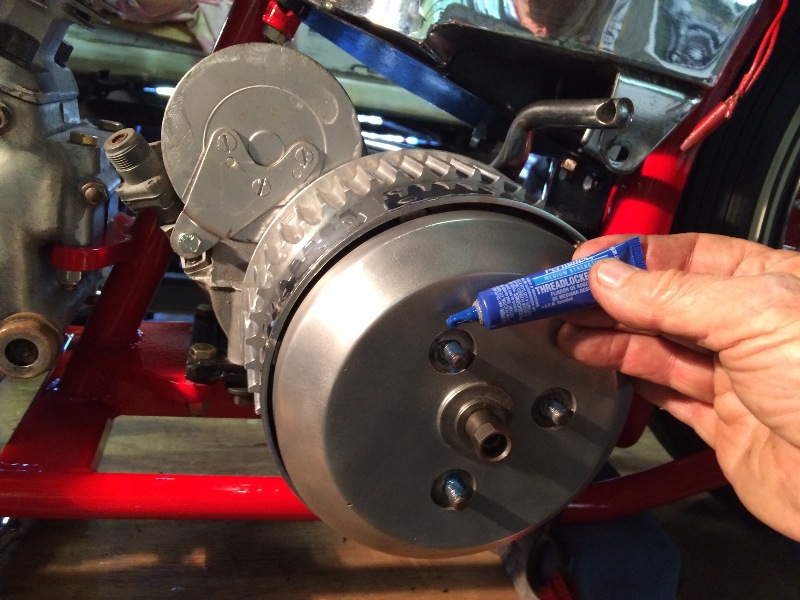
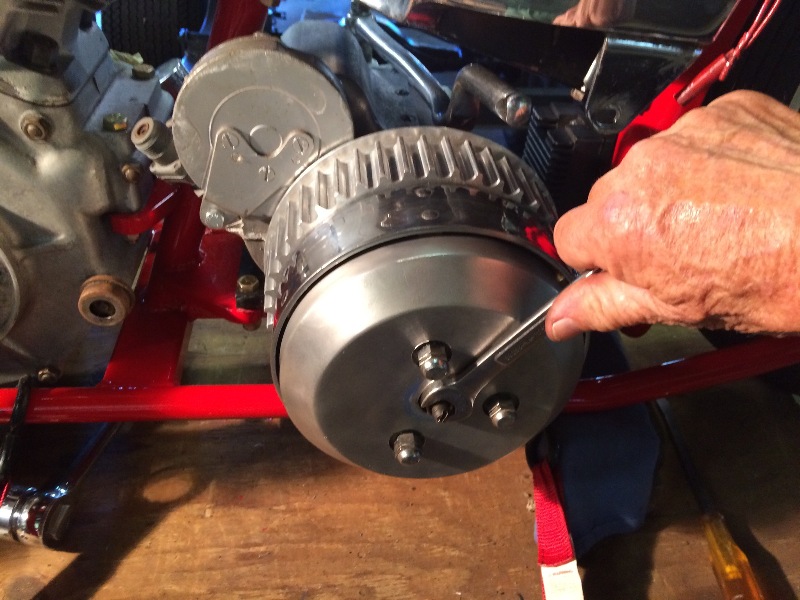
Tightened down the three pressure plate nuts with the blue locktite...
Released the spring lock down nut and washers, and adjusted the clutch release arm....
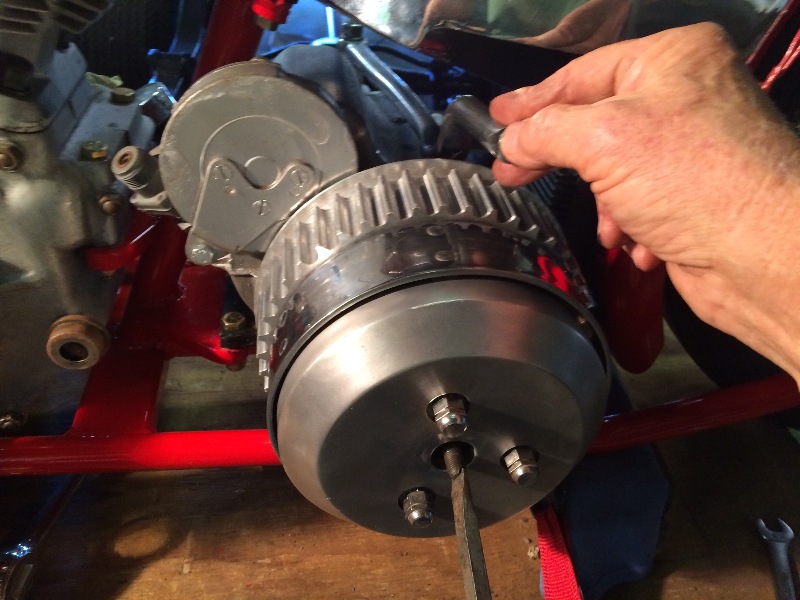
Locked down the clutch release adjustment....
Pulled the front pulley off, and set the belt in place....
The tranny is adjusted to it's full forward position....
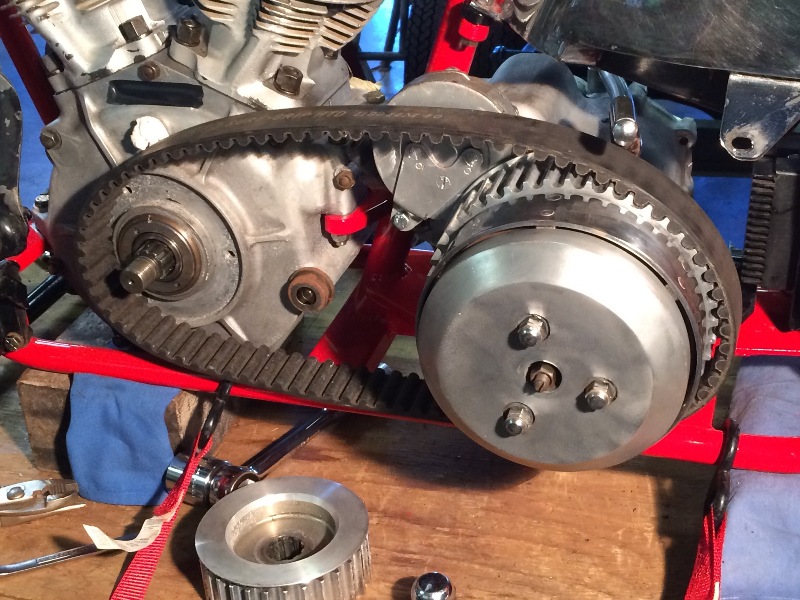
Set the front sprocket in place and bolted it down....
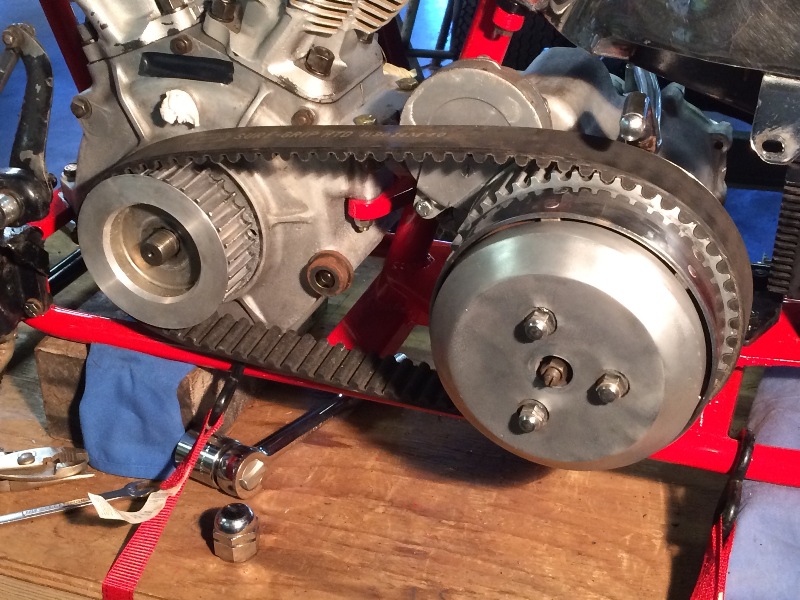
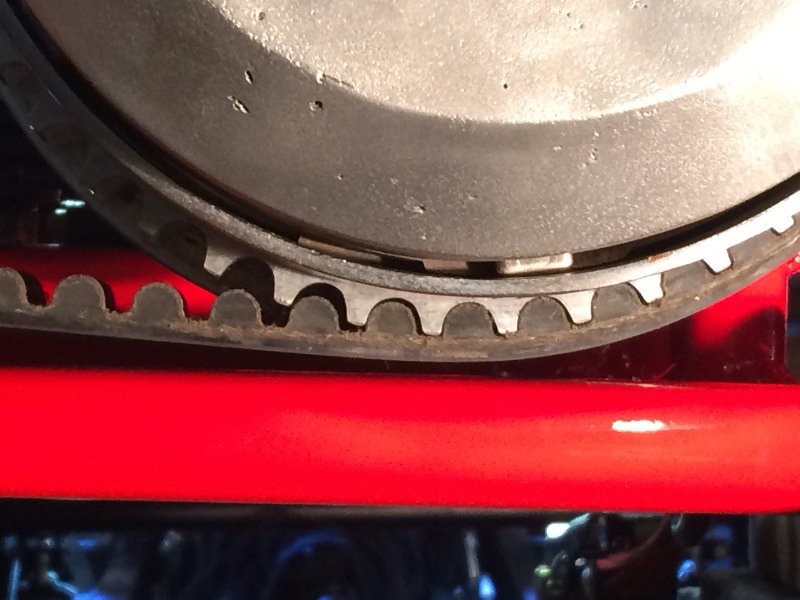
Adjusted the belt tension to almost be able to twist it 90 degrees....
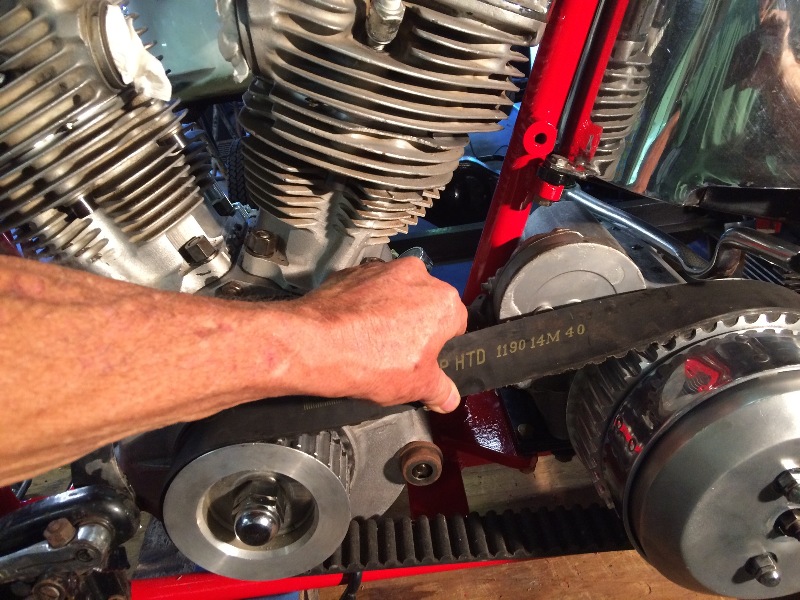
This resulted in about 1-1/4" of up and down movement at the middle of the belt at the top....
Now I have the clearance I want under the primary belt at the clutch hub....
Looking at the crankcase breather and thinking,
"Hmmmm, what should I do with this....."
More later...