62 FL Chop Rebuild 27
Still have to hook up a throttle and bleed the brake lines.
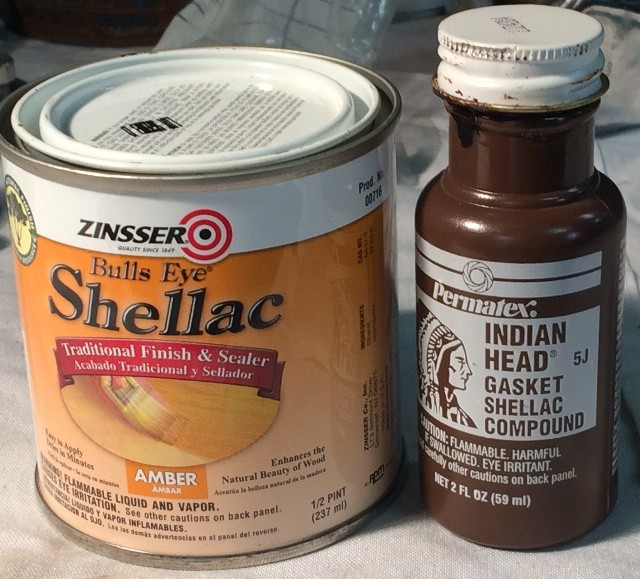
Picked up some Indian Head Shellac
Going to run the same test I did before in some E10 gas....
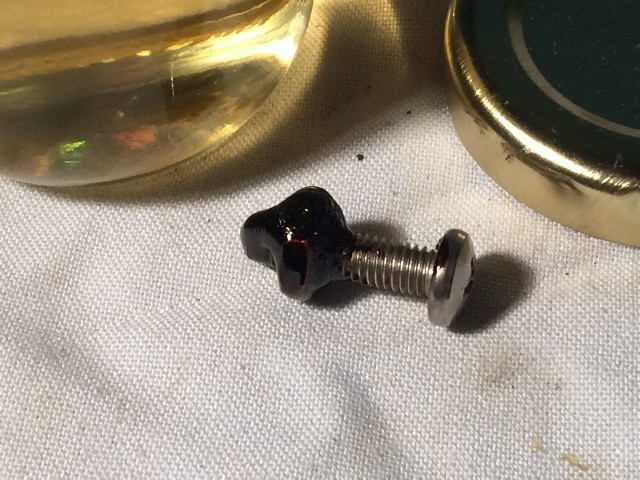
This Indian Head shellac is much thicker than the Bulls Eye
that I tried before....
I let it dry for 24 hrs then stuck it in the jar of 93 octane w/ E10
Let's see how it holds up....
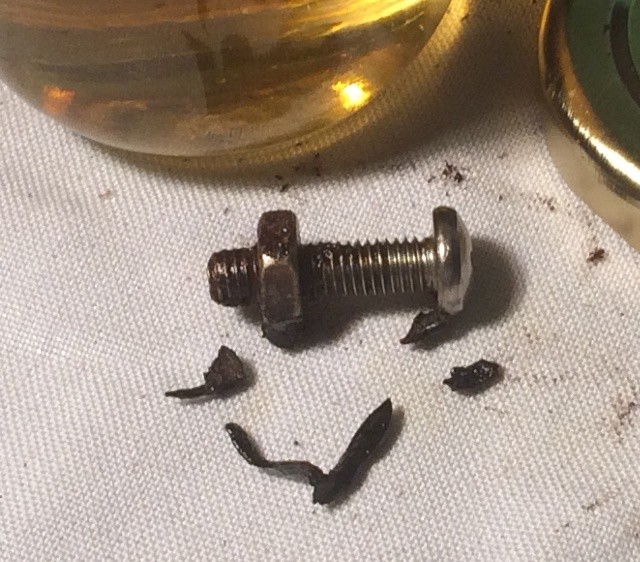
One week in E10 gasoline and it fell apart...
I'm going to have to find something else to
try to seal off the Linkert float bracket and screw....
------------
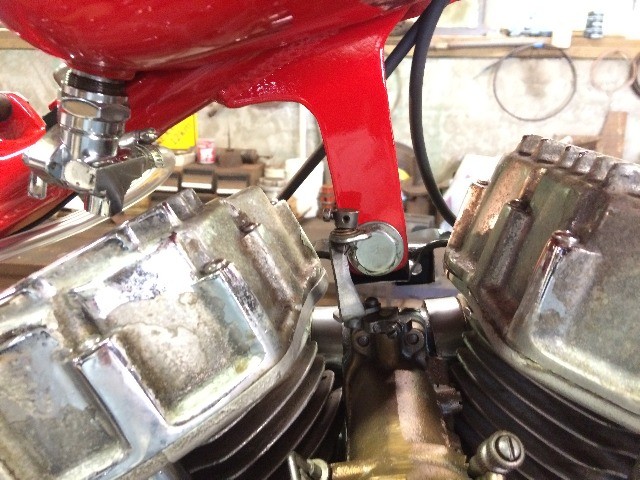
Looking at how to connect the throttle cable...
Not sure about this OEM carb setup...
This is throttle closed...
And throttle open...
This looks good....
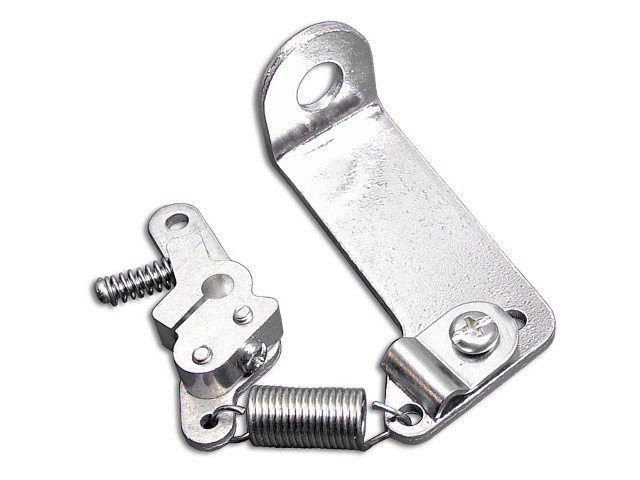
VT No: 35-0504
Converts your Linkert carburetor throttle conversion kit to use snap throttle.
Kit is made out of aluminum. For use with overhead valve models to use snap throttle.
Fits: FL 1941-1965 .. EL 1936-1952
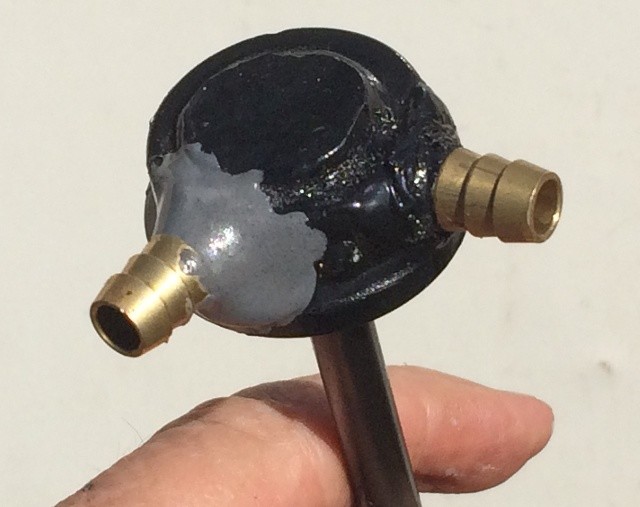
Took the advice from some friends and added another barb to the
crankcase breather, still might be a bit restrictive, we'll see....
That second barb, like the first, is pressed into a hole drilled to
match one of the 4 internal breather passages,
and JB Weld added "to make sure"....
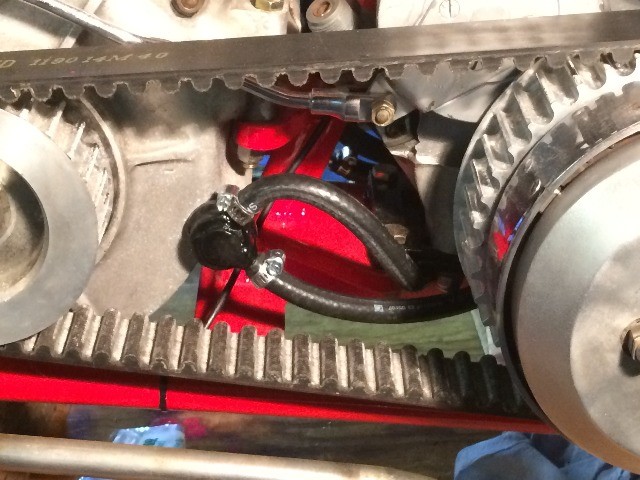
Some clean up, fresh paint, two hoses and it's "good to go"...
Had to go to Amazon Prime, but found this 5/16" barbed 90
to take out that bend in the upper hose above
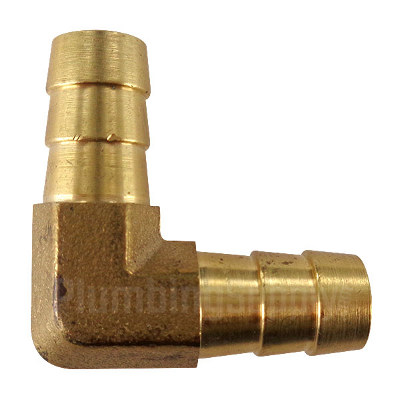
1/4" and 3/8" were readily available, but 5/16" was difficult to find !!
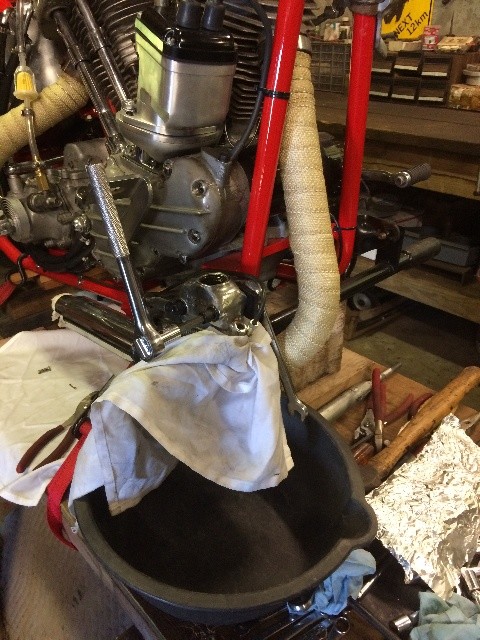
Had some time, and my busted arm is working a little better now,
so worked on bleeding the brakes, and couldn't get the plunger for the rear
brake master cylinder (mc) to retract after pushing it forward....
The bore has been cleaned up and new parts put in, but they are fitting very tight,
too tight really, so pulled the mc off and pulled it apart....
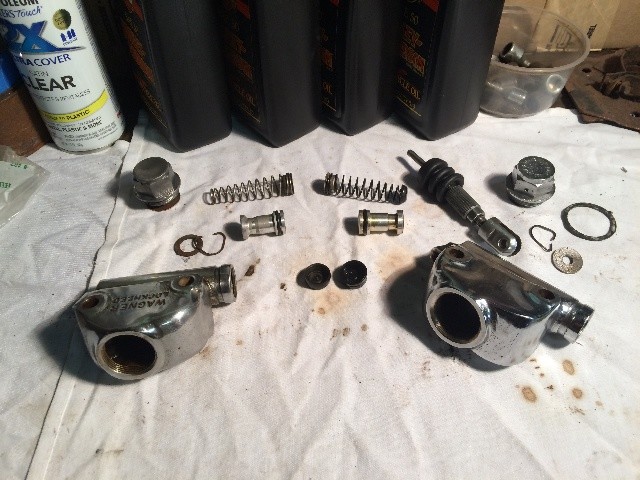
A buddy loaned me a spare mc, took it apart and compared the parts....
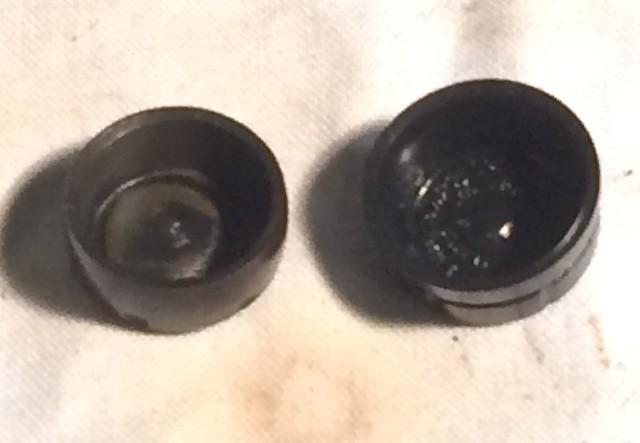
The plunger cup on the left is the used one, the right is the new one
that is hanging up in the forward position....
It's quite a bit larger than the old on on the left....
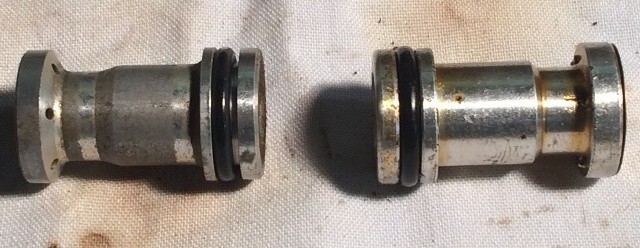
The plunger on the right is the new one, the left is the old one....
You can see how the new o-ring is larger, a tighter fit....
Put the MC back together with the older parts, and it pumps quite well now,
with no visible leaks of fluid back out the rear past the used plunger and o-ring....
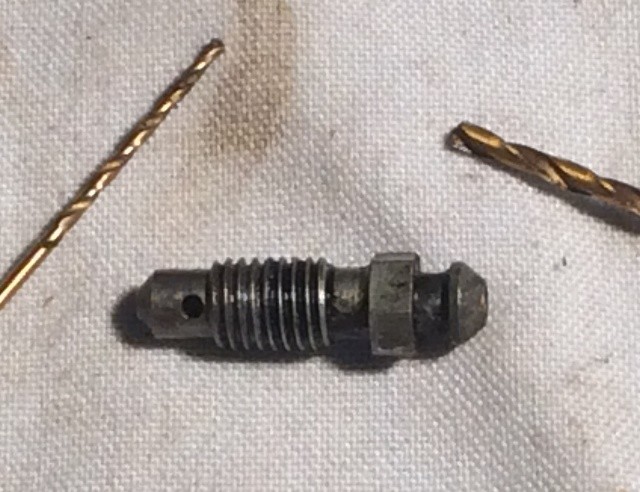
The bleeder screw on the wheel cylinder turned out to be plugged,
hand cleaned it with drill bits, got it working just fine...
Had to tighten a few fittings, but eventually I got all the leaks stopped,
and all the air out, and have a nice, solid feel
on the brake pedal, and can't turn the rear wheel
when holding the brake pedal down !!
Now to get the front brake working....
Kept the master cylinder topped off with fluid,
and kept pumping until all the air was out....
And the caliper started gripping the disk solidly....
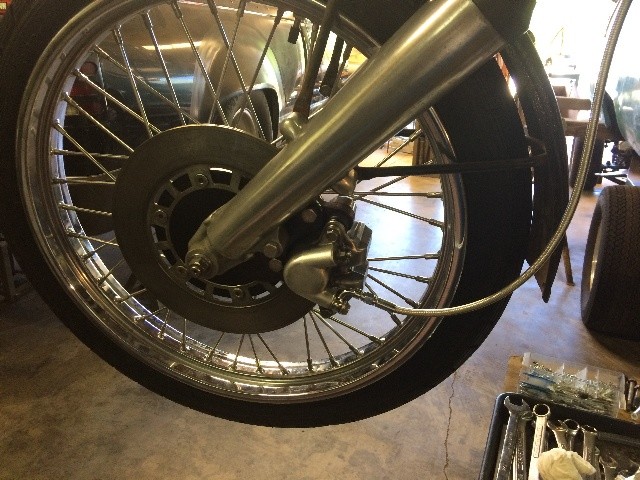
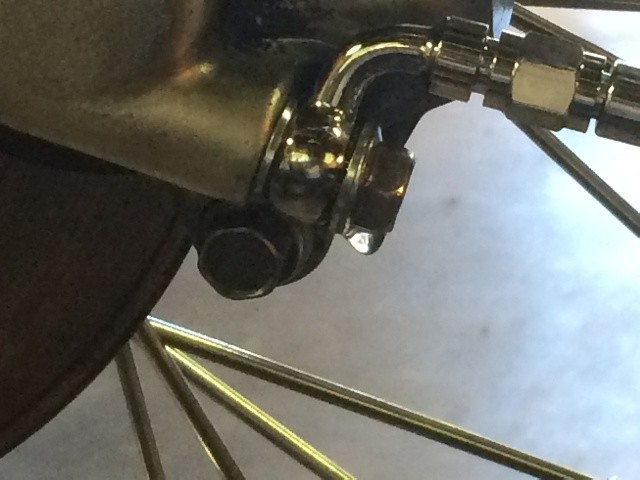
But I have one small drip that I can't get to stop....
Looked for some brass or copper banjo bolt washers like these,
but nothing locally available, would have to go mail order
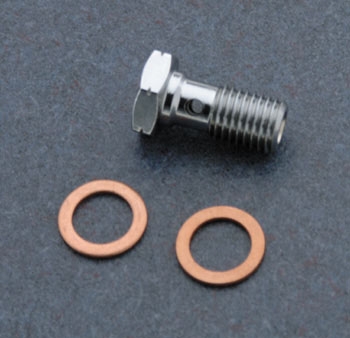
I've had good success using these in the past,
need to look closely at why they leaked this time...
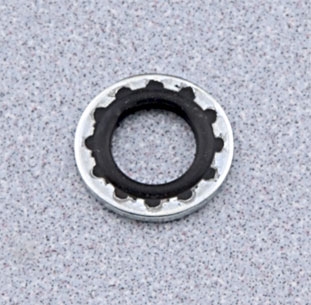
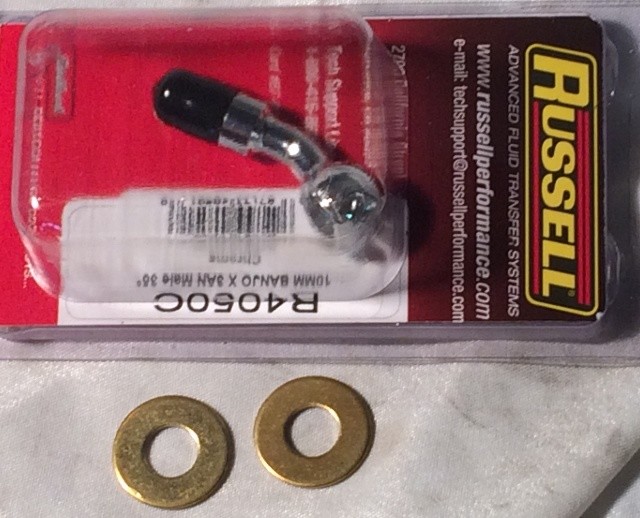
I'm using these Russell banjo fittings, never had a problem with them before....
Got these brass 3/8" washers from Ace Hardware,
fits the 10 mm banjo bolt quite nicely....
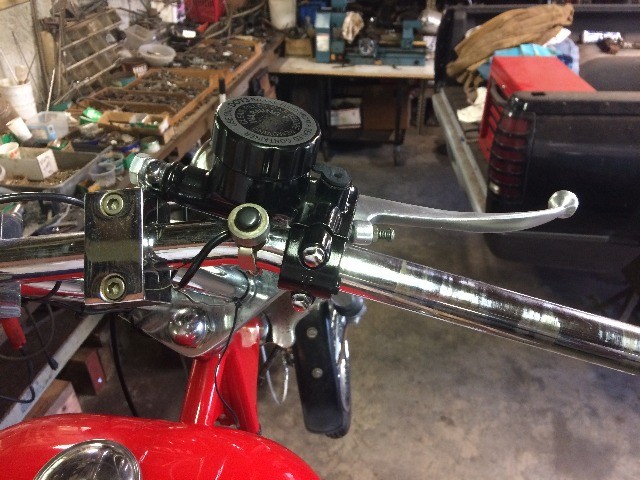
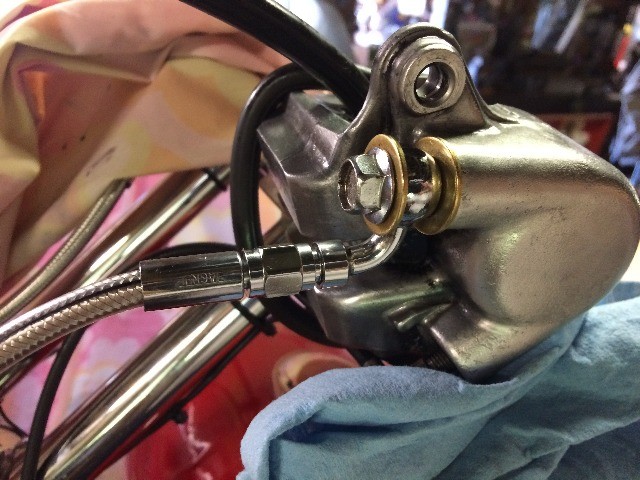
Pulled the caliper off the front wheel, and tied it up on the handlebar
next to the master cylinder, so I wouldn't loose all the fluid...
And it leaked, no matter how tight I got the banjo bolt....
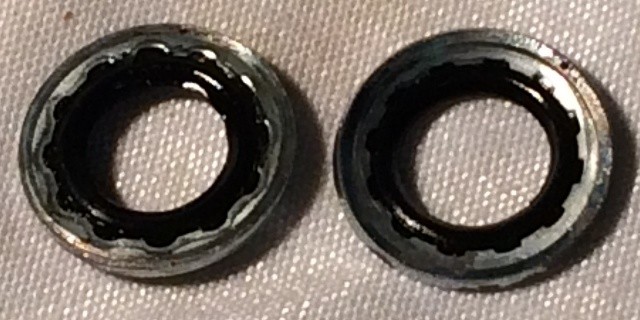
So I took a close look at these washers I used, they barely leaked at all,
and only when I put hard pressure on with the brake lever
The washer on the left is good, it was on the outside of the banjo bolt....
However, the one on the right, next to the caliper, was severely deformed,
I suspect that is where the leak was coming from....
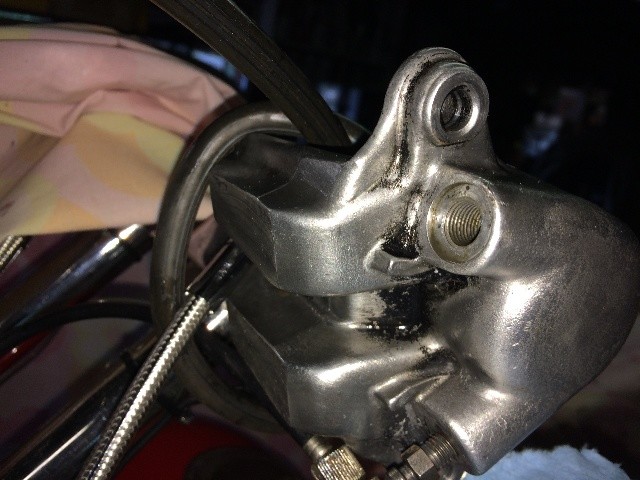
Took a close look at the caliper, there is a depression there,
a countersunk area that caused the banjo bolt washer to deform,
and as it would not seat properly, it leaked....
A better view without the banjo bolt.....
Several ways to dealing with this:
- Cut down a banjo bolt washer's OD to fit snugly inside this countersunk area....
- Remove the rim of the countersunk area to make the whole surface flush....
- Machine a spacer to fit in that countersunk space, and seal it in to make a flat surface....
Hmmmmm.....

