55 HT project page 22
Putting the body back on the chassis,
putting in the steering, and starting
the wiring....
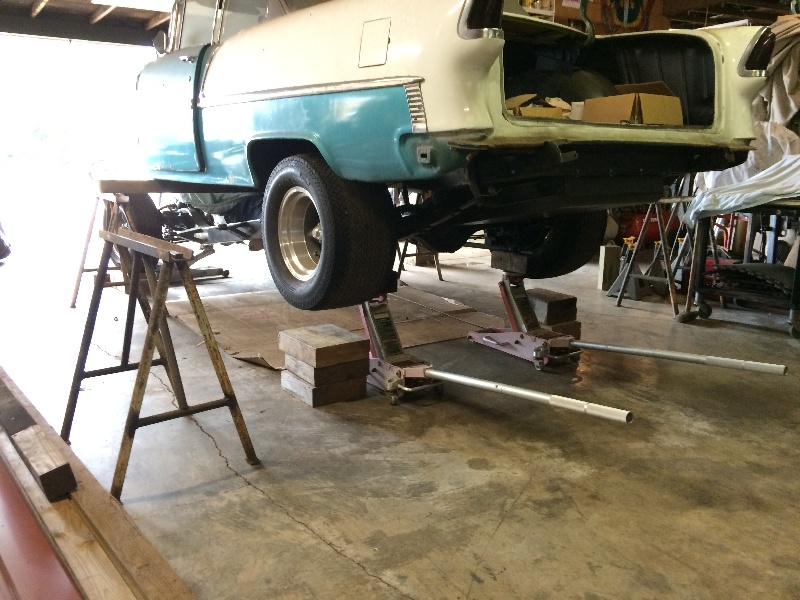
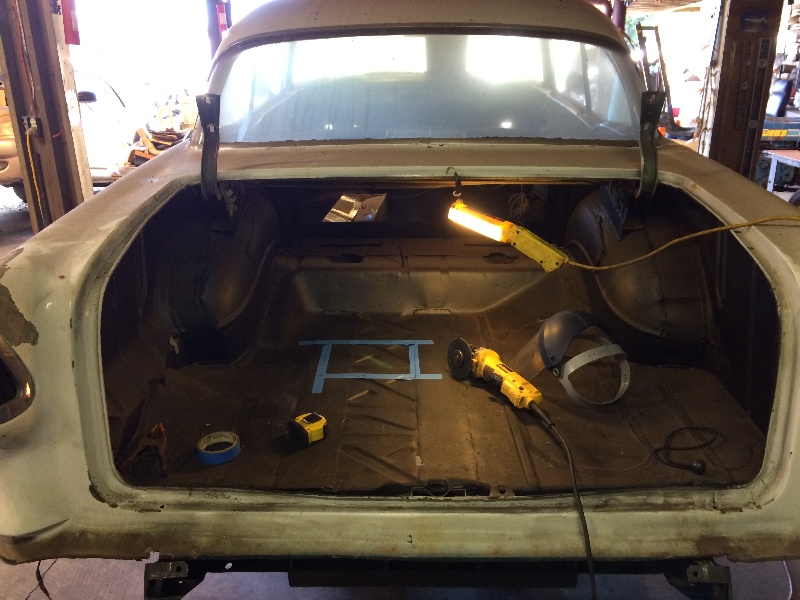
The body has been sitting on 4x4's on
four steel sawhorses while I have done
the chassis work and rebuilt the floors and trunk
and mini-tubbed the rear wheel wells....
I don't have pix of the entire process,
but by jacking up the rear of the chassis first,
I was able to lift the rear 4x4 off of the steel sawhorses,
pull the sawhorses out, then drop the front of the chassis,
which had been raised with two floor jacks also,
and by lowering the front jacks after pulling
the rear sawhorses, I loosened the "grip" on the rear 4x4
that was between the body and the frame, and pulled
it out. It worked pretty slick and was a fairly easy
one man operation....
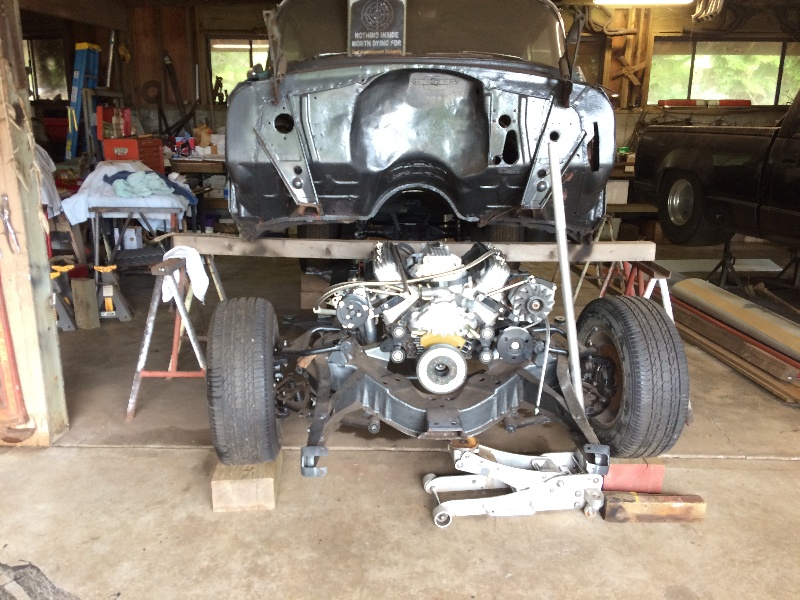
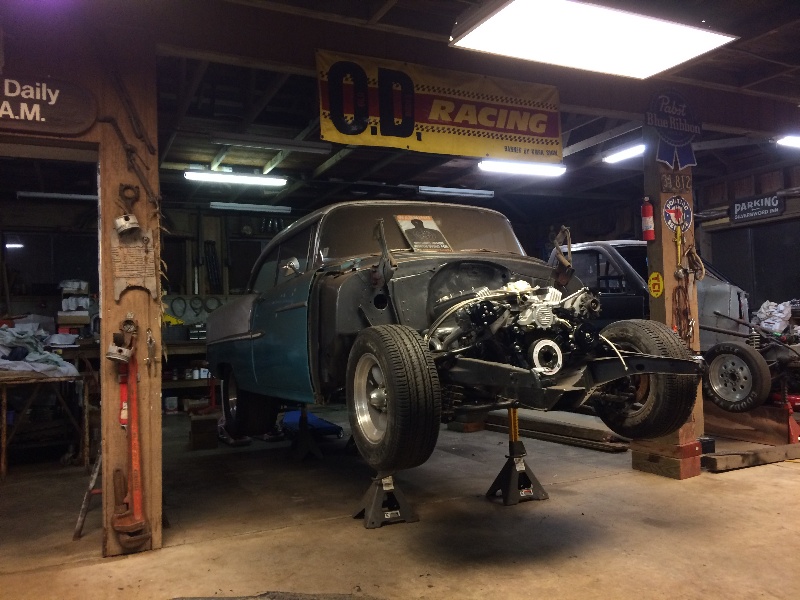
As I was raising the chassis up to the body, I had the two
rear body bolts in place and carefully lined them up as
I jacked the chassis up into position. After pulling that rear
4x4 I was able to lift the chassis into place with the rear bolts
aligned and put the washers and nuts on, loosely....

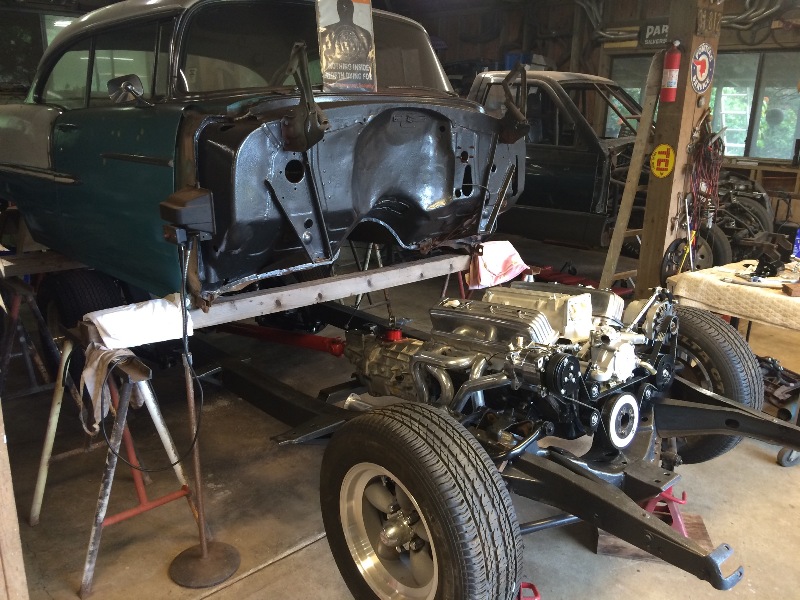
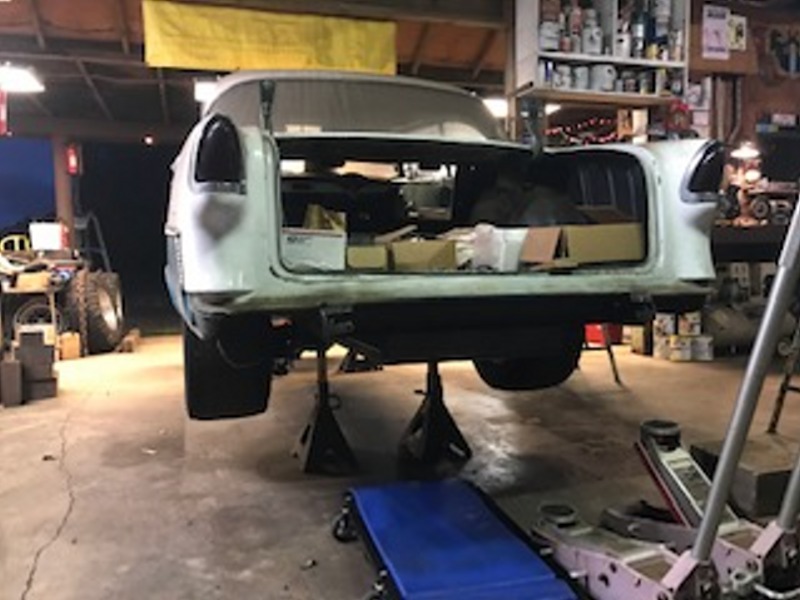
Here the rear of the body is on the rear body mounts,
and those two rear bolts are in place with nuts, loosely....
Now I have to lift the front end into place...
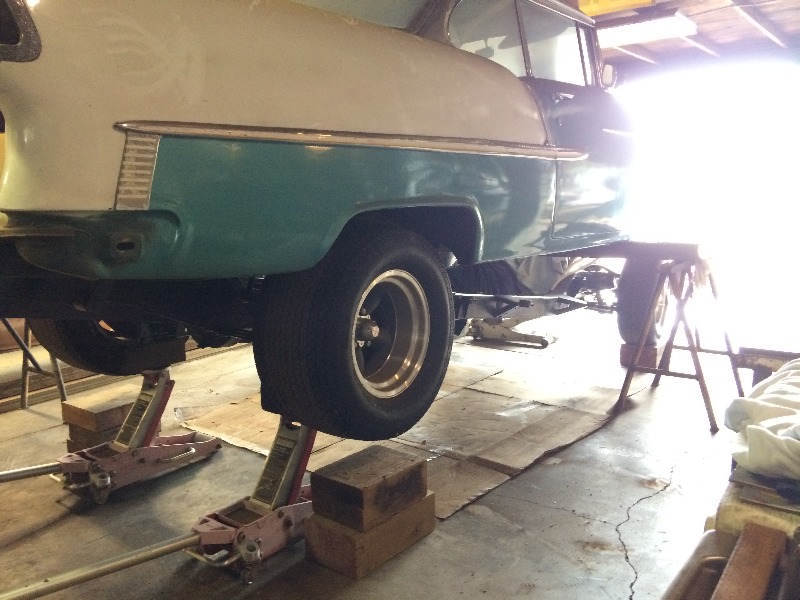
My mini-tubbing, wide wheels, and axle narrowing,
might actually fit !
Now I have to work on the front...
Started off by jacking the chassis up to pin the front 4x4
between the tranny and the body, and lifted it just enough to pull
the steel sawhorses out, and reposition a pair of steel
sawhorses just under the edkes of the body just behind
the 4x4....
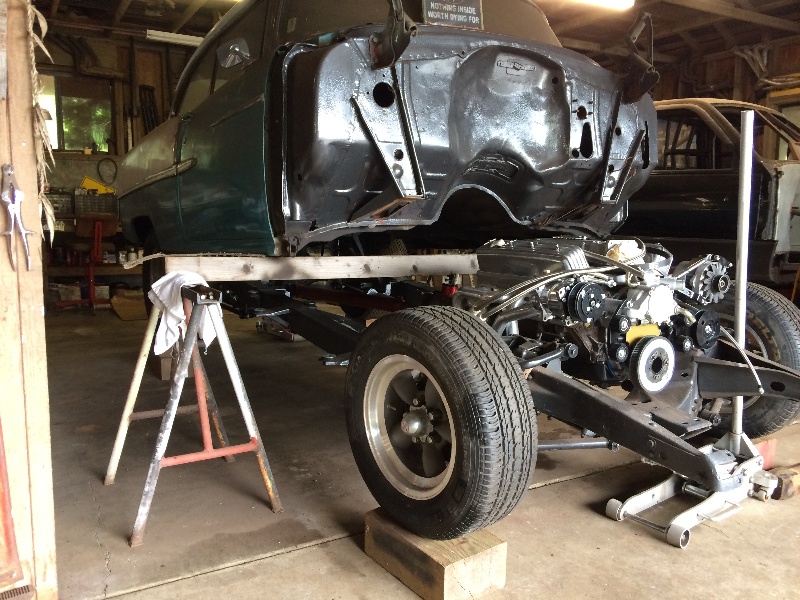
After pulling the steel sawhorses out from under the 4x4,
the front jack under the chassis was carefully lowered
until the body was sitting on the second set of sawhorses...

Then the 4x4 came loose and was pulled out...
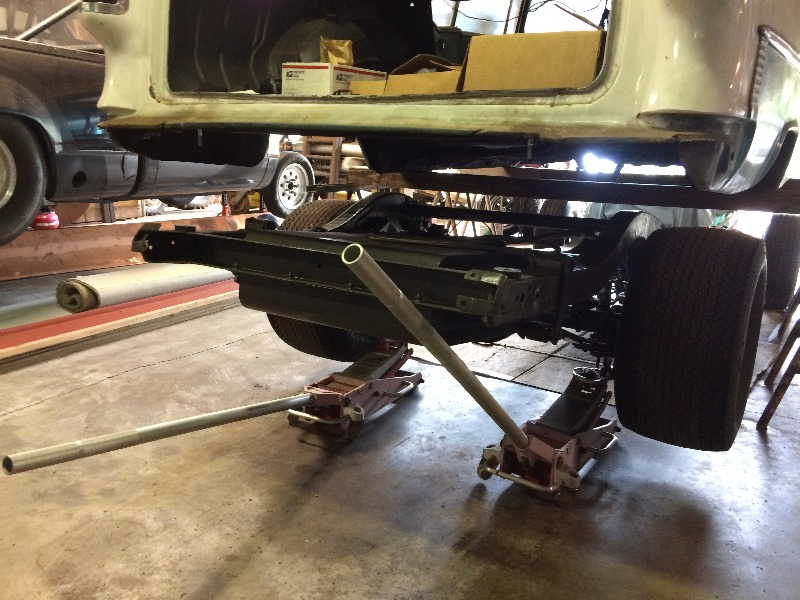
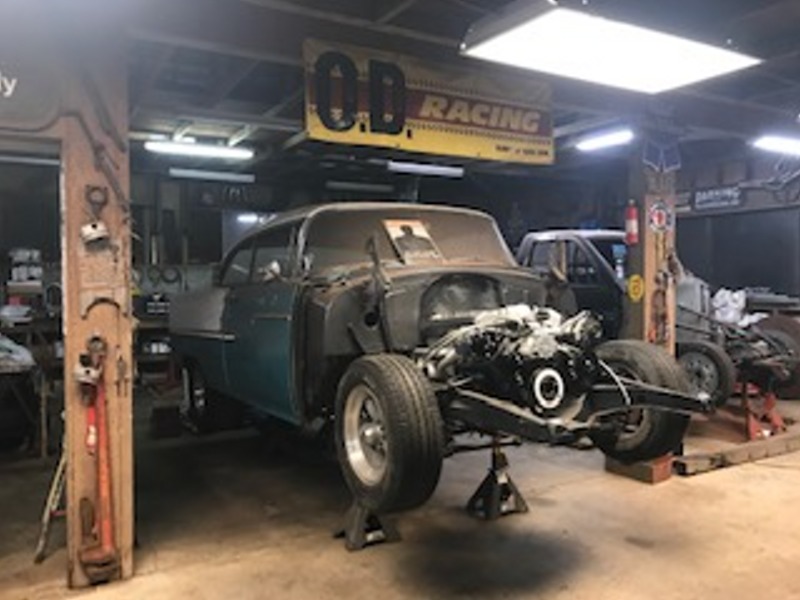
Now the chassis was lifted with a motor hoist as shown until
the front body mounts aligned and bolts were put in, loosely,
with nuts, as locators.
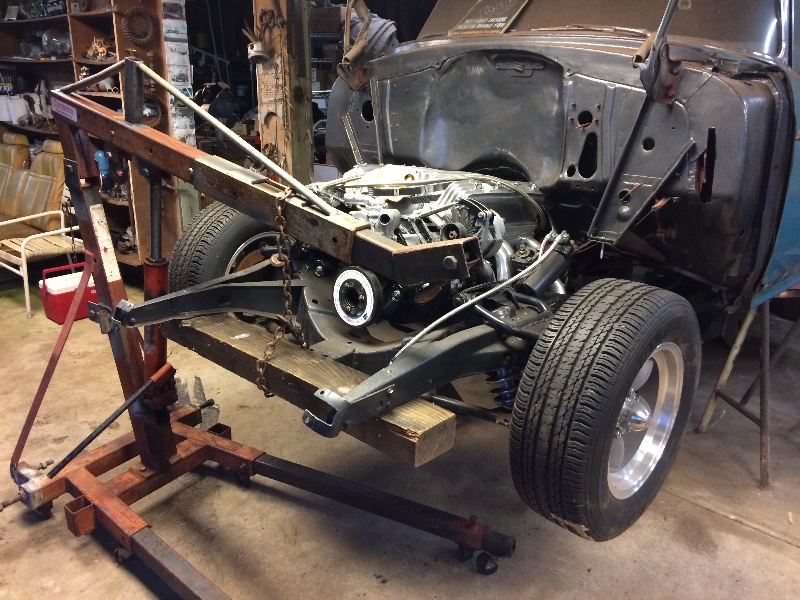
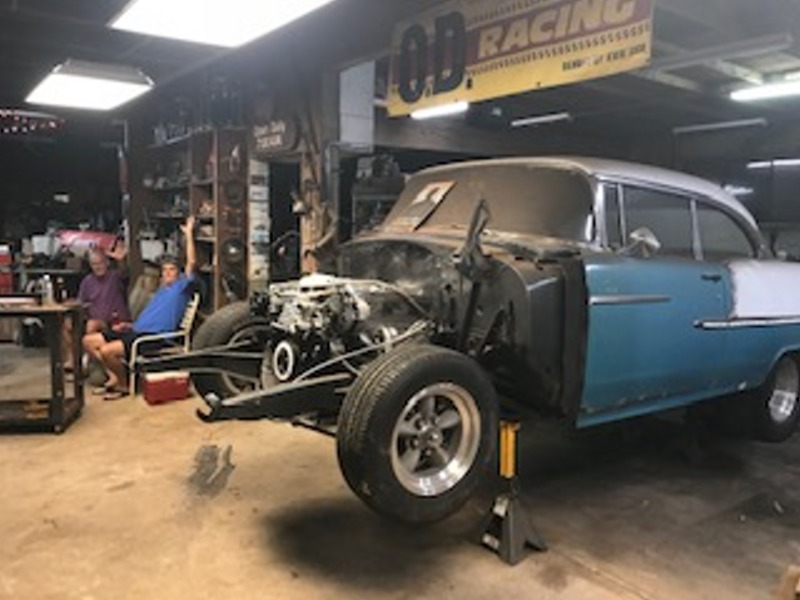
The chassis was reset on jack stands and the rest of the
body mount bolts were installed...
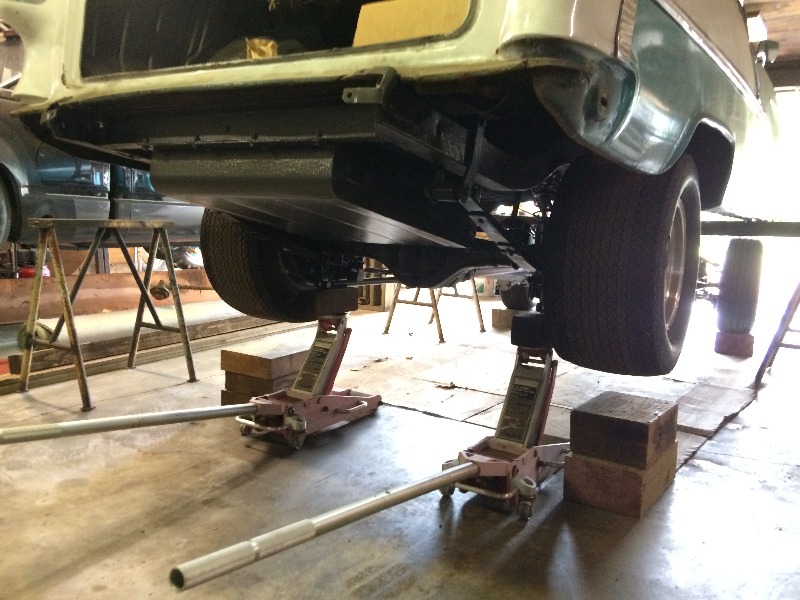
The rear axle now sitting on jack stands...
Looking pretty awsum there....
These tall valve covers would not clear the firewall, so the firewall was "modified"
to allow me to remove the valve covers....
No Problem....

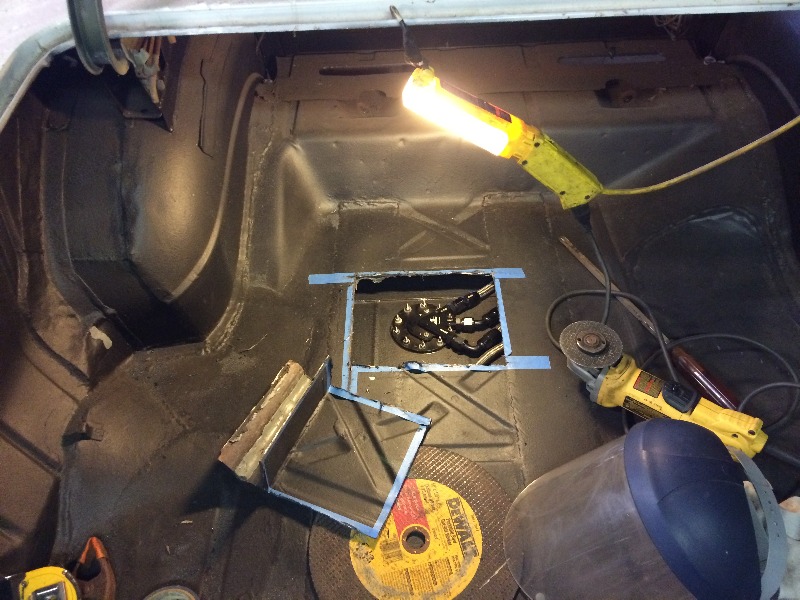
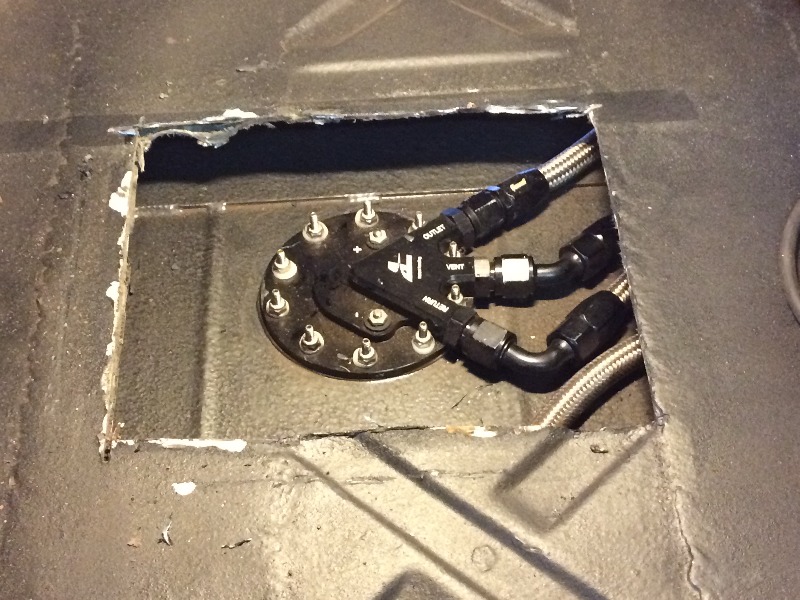
Needed to cut an access hole for the in-tank fuel pump...
Used that DeWalt carbide blade in under the floor,
on top of the pump and hoses to protect them,
along with a wet towel to protect against the sparks...
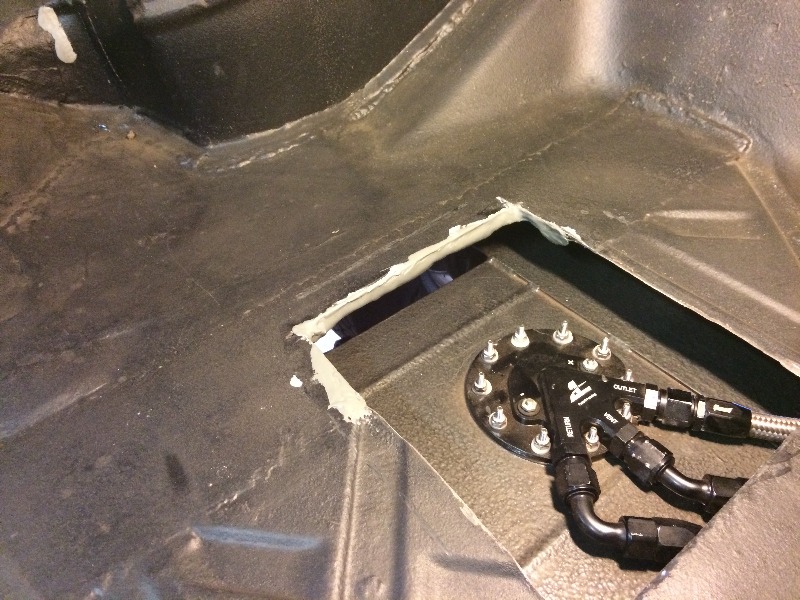
Now to smooth off the rough edges....
And some seam sealer was required in a few openings....l
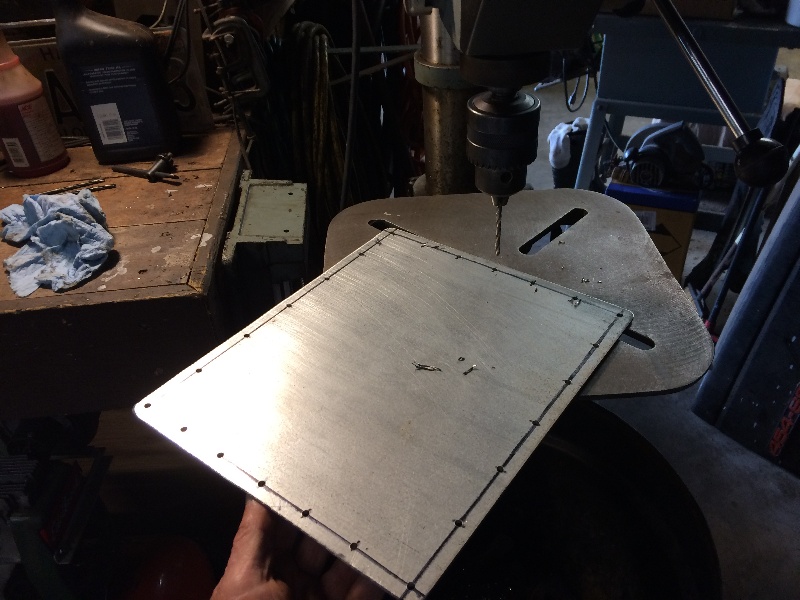
Now to cut a cover plate, this opening is 8" x 10" ,
so will cut a 10" x 12" cover plate, think I have some galv.
16 ga. that will work nicely for that....
Laid out a hole pattern that should be consistent no matter
which side of the cover plate is turned up, I hate
having holes that won't line up if I have the
plate the "wrong way"....
Drilled the holes undersized for the transfer to the trunk floor...
Transferred the bottom two corner holes to the trunk,
then increased the corner holes to a larger size
to accomodate the #14 sheet metal screws,
and screwed down the two corners....
Then drilled the smaller hole size, for the self
tapping #14 sheet metal screws, into the floor....

Redrilled the cover to the larger hole size for the #14's....
and put all the screws in...

Painted the cover with black hammer tone...
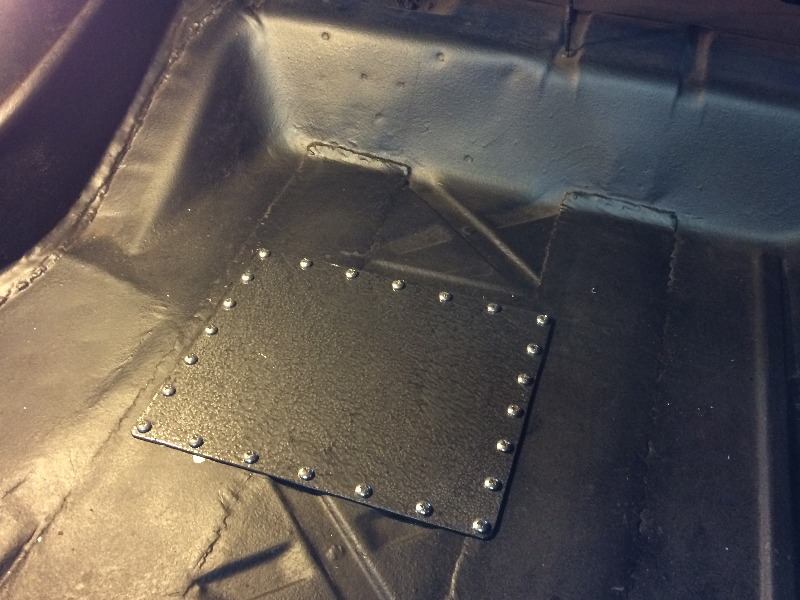
More Later....