62 Chop Frame 7 (old page)
2Loose Willy's '62 FL Chop Gettin a Rebuild ..................... (Page 7)
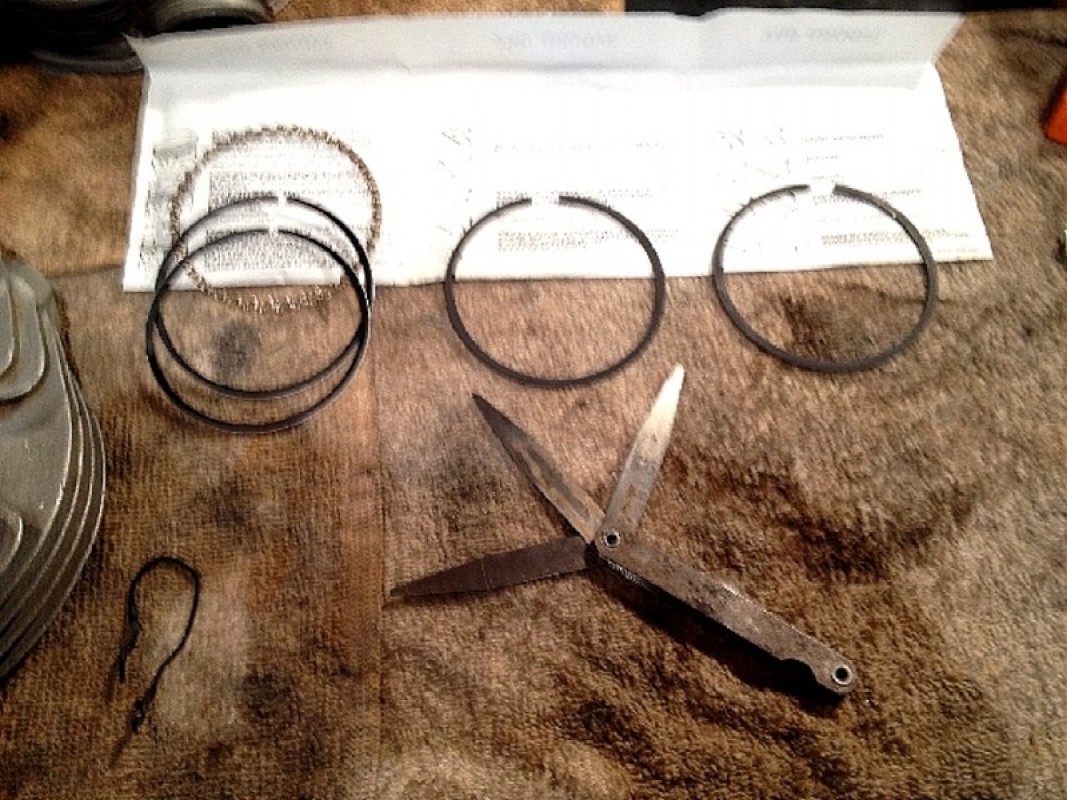
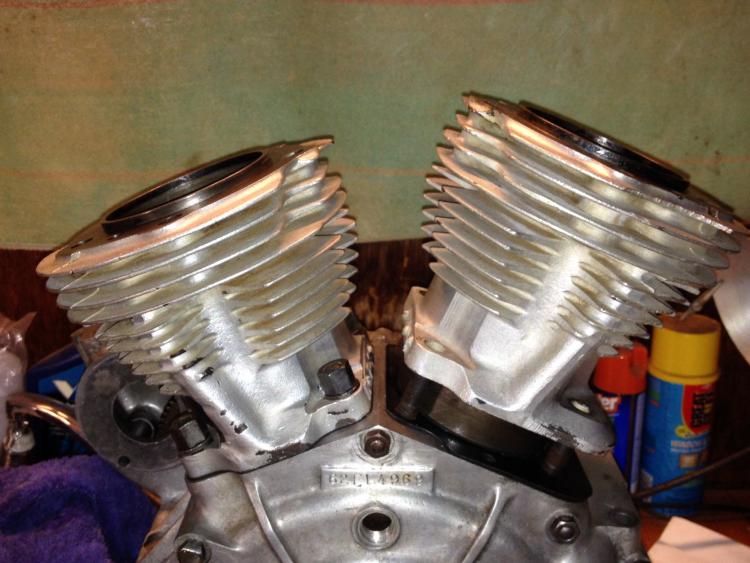
Finally sat down and started filing the rings to fit these jugs, the pistons are the 0.060" over "stock style" that were in this motor, and are in good shape; and the Hastings 0.060 rings were too loose, about a 0.025" end gap in these bores (which Hastings confirmed were normal....), so I ordered a set of 0.070" over rings and am filing them to fit with a 0.015" end gap.....
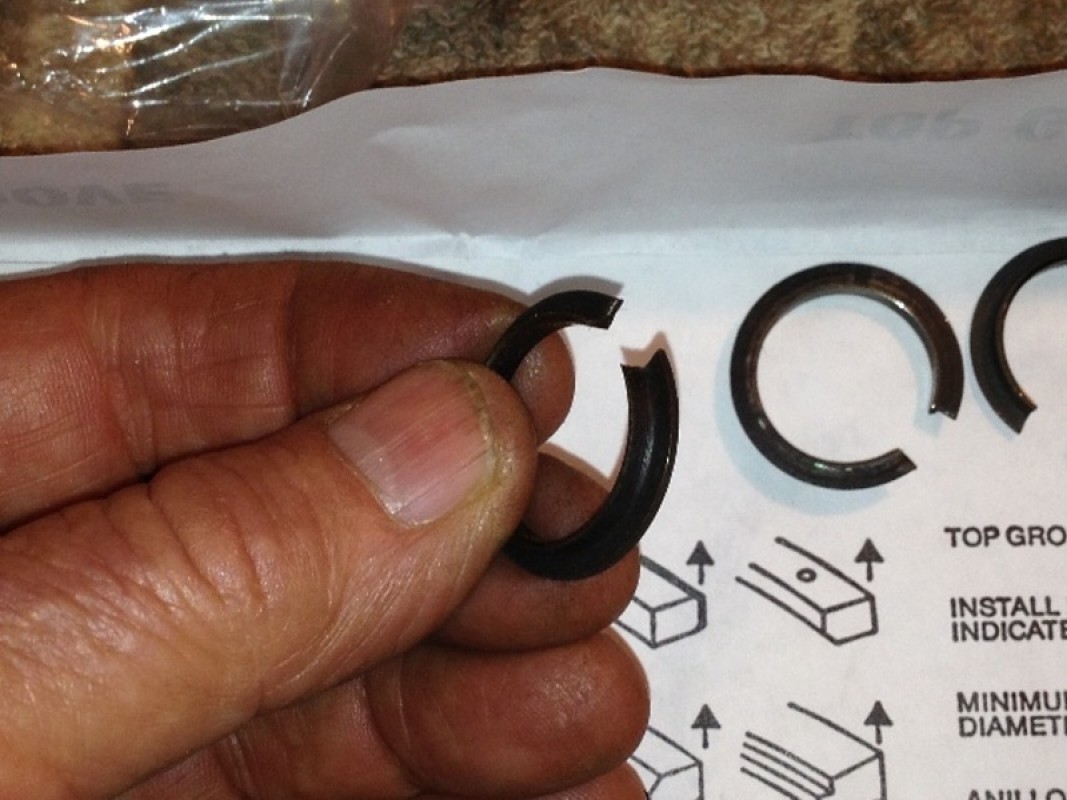
Ran into a slight problem on reassembly, forgot to get new piston pin lock rings, the old style, and I do not like to reuse the old ones. They always get "tweaked" a bit getting them off, and they are not real reliable after that. But calling around, I can't find anyone who has them or can get them.
Hmmmm, big problem here....
Of course I could always buy a new set of 0.070" over KB Hyperutectic pistons, complete with pins, rings, and LOCK RINGS!!!!
But I don't see anything wrong with the stock style 0.060 pistons I have, and don't see spending money this way....
So I keep on looking....
Later on...... (Update)
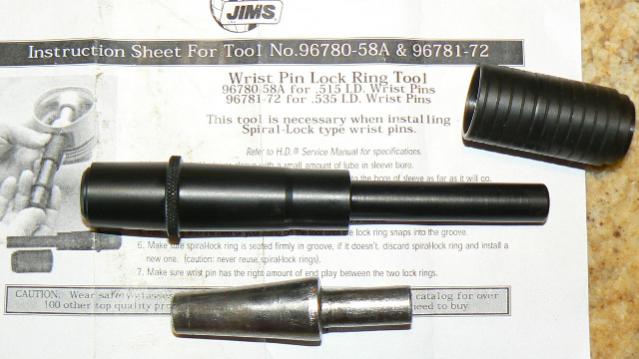
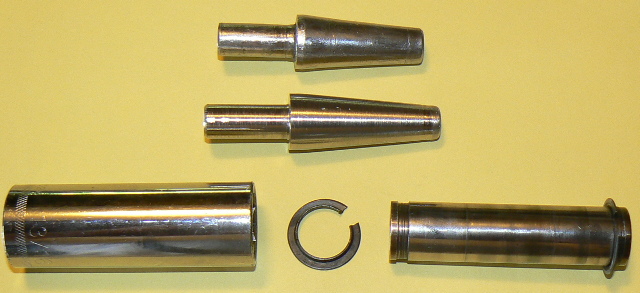
Found some new piston pin clips, and a couple of tools to install them....
When I ordered this tool from Jims, I got the tool for the later style wire pin locks, not what I needed (this time), but it's in the tool drawer for later use, as I have a couple motors with this style of pin and clip.
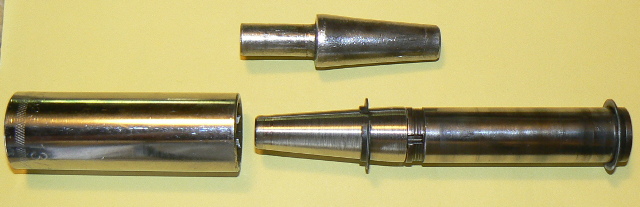
Also shown here is a home made tool a friend of mine made up for installing the older style clips, so I turned one down for myself and returned his to him....
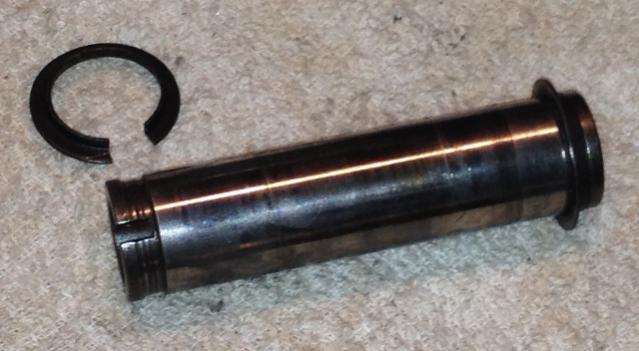
A deep well socket is used to tap the pin clip onto the pin and into the groove for the clip...
Of course the pin has to be in the piston and rod to install the second clip.
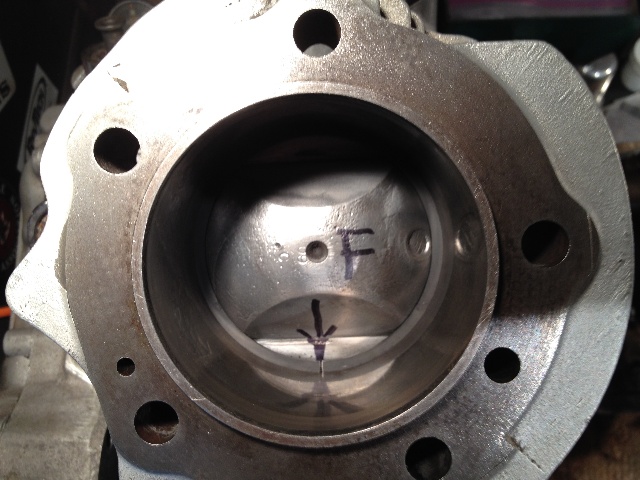
Rings installed on piston, clamped, and piston tapped gently into the bottom of the cylinders, and only far enough to hold the rings inside the cylinder skirts...
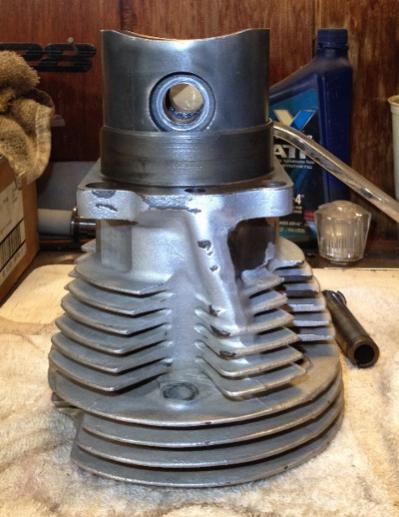
Then carefully install the pistons and pins and remaining pin clips on the rods, and slowly and gently tap the cylinders down into place. Make sure the front and rear are in the correct location, I've seen that mistake done before (who me ??? ), it usually leads to lots of innovative cussing!!!
Setting the heads on with new head gaskets, setting up the pushrods, and Hey, it's starting to look like a motor....
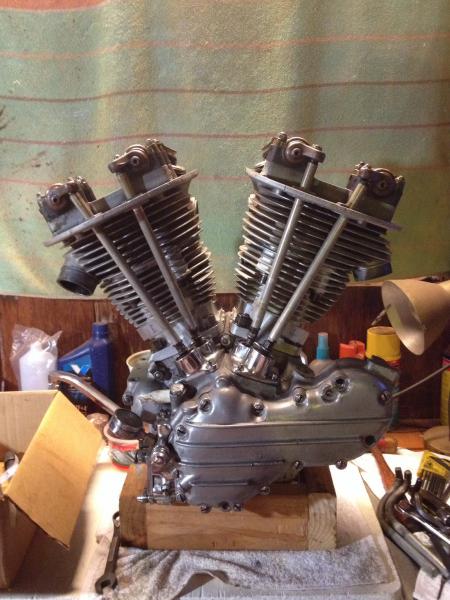
Dishpans on, I Like It....

Stuck it in the back of my '55 four-by (yes, I did tie it down... ), and took it up to the other shop I share with a buddy where the rest of the bike is...
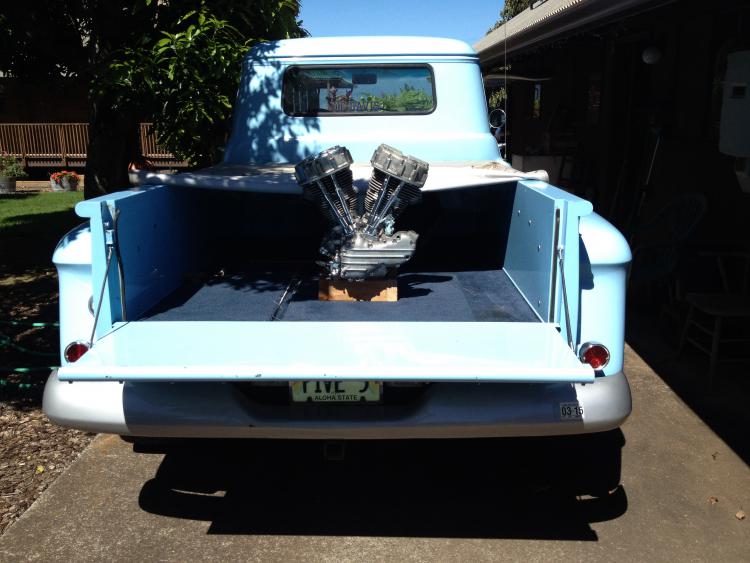
More later......
Here's some links to more pix:
Some History ........ and ...... First Try Setting Up The "New" Frame (Page 1).....
Moving Parts To The New Frame (Pag 2)
More Moving Parts to the New Frame (Page 3)
Rebuilding The Front Forks.... (Page 4)
Rollin' Chassis, Trial Run, Peek Inside the Cylinders (Page 5)......
Splittin' The Cases, Bottom End Rebuild (Page 6)....
And of course yer lookin' at page 7
Home Pages: