62 FL Chop Rebuild 21
Still messin' with the clutch setup...
Still trying to add enough thickness to the clutch hub flange liner
to get clearance for the clutch basket and rubber belt pulley
with the new, wider #520 O-ring rear chain.....
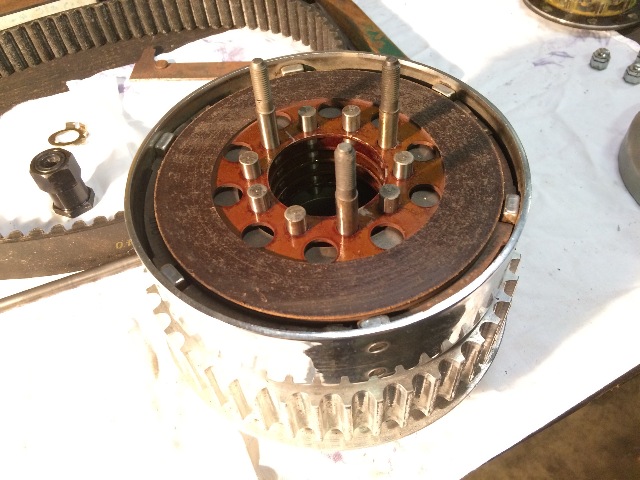
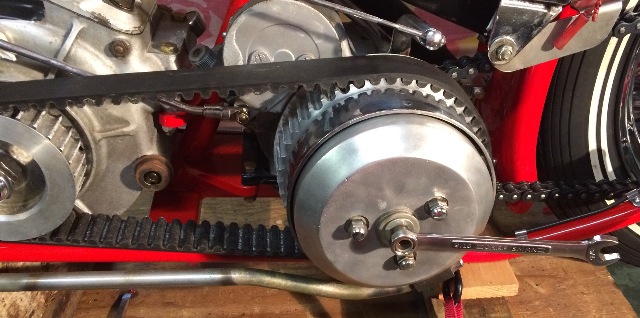
Put the old clutch hub in the clutch basket/belt pulley
to see just how it looked, as this is the setup
that rubs against the side of the new chain....
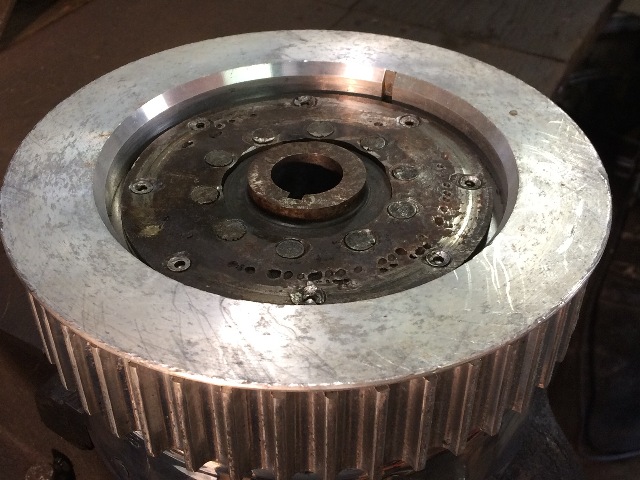
Plenty of depth in there, look closely, you can see the dings on the edge
of that belt pulley flange from just turning the rear wheel by hand,
just imagine what it would do out on the road under power !!
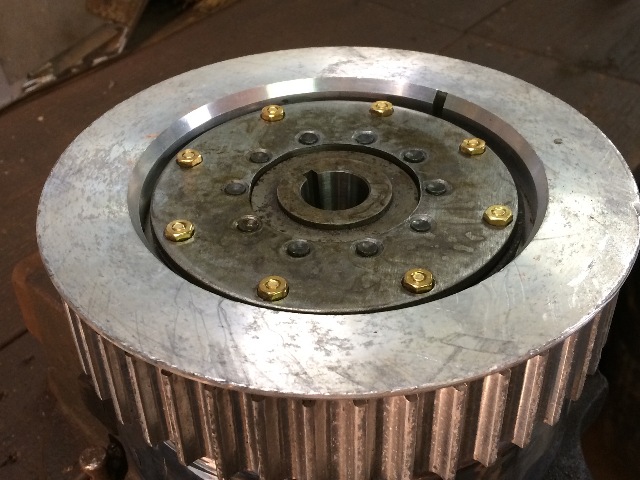
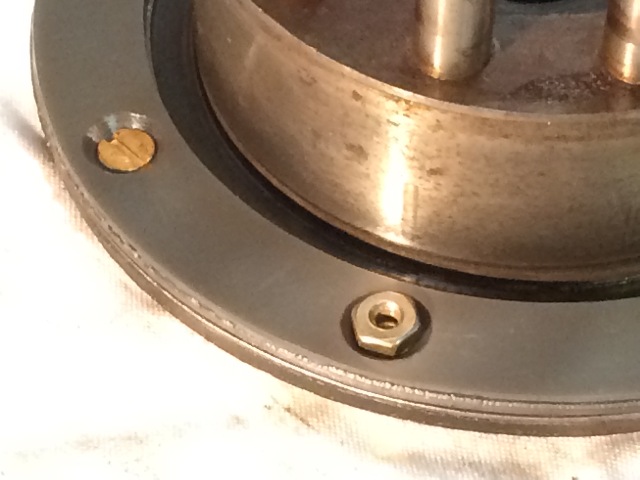
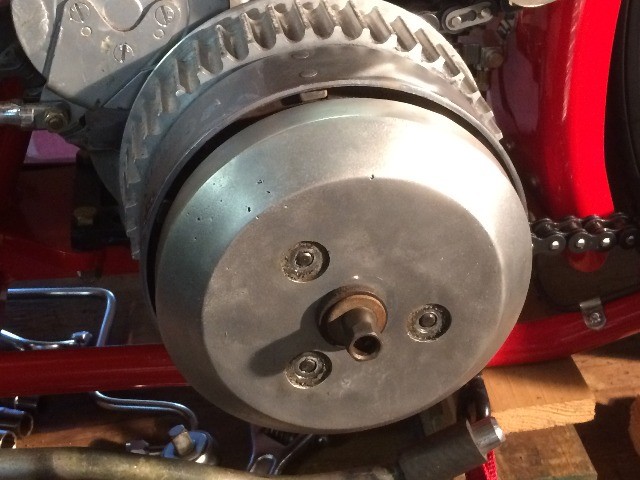
Rigged up the new hub with both a new cork liner and a new
plastic liner and brass flat head machine screws (see page 20)
and dropped it in to see how it looks, the nuts on the screws
clear everything, so it looks good to go....
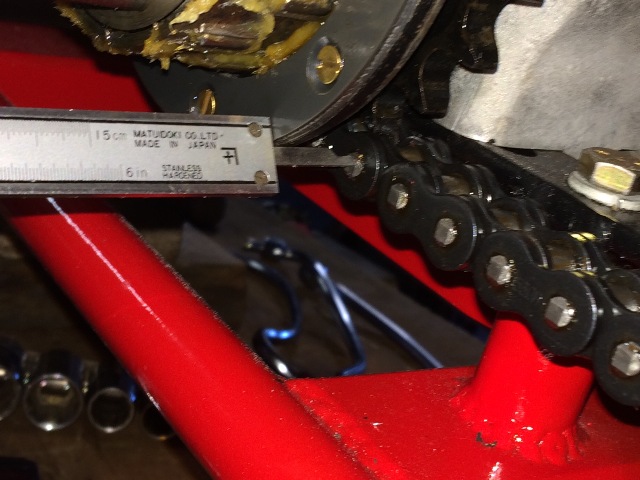
Put the old hub back on and measured the liner face to chain rivet clearance...
The chain hits with this setup, and the measurement is 0.263"

Then put the new hub on with the double stack of liners....
The measurement here is 0.413"....
Giving me a clearance of 0.150", more than I need,
am looking for a clearance of about 0.050" or so....
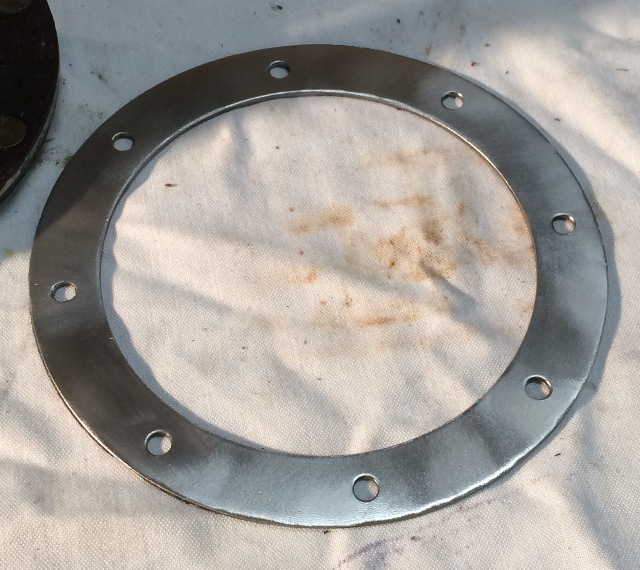
Alright, my buddy Jesse suggested removing the cork from a liner,
and just using the metal plate as a spacer, so I used this new one...
Use a wire wheel on a bench grinder, it cleaned it up nicely....
and this steel ring is 0.055" thick....
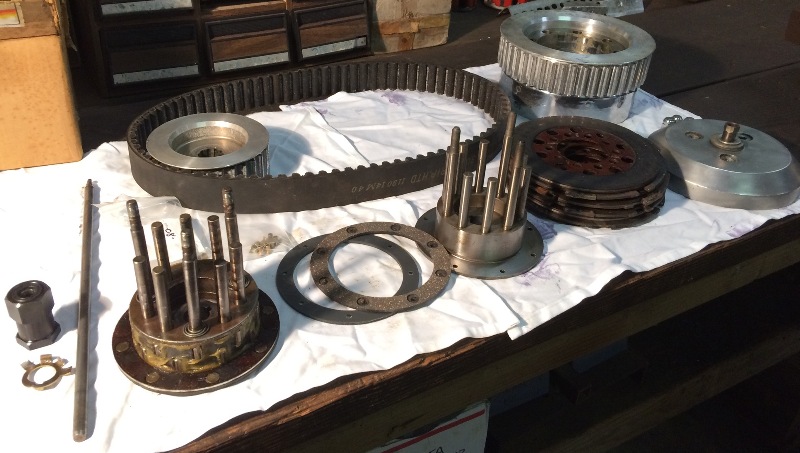
Decided to use the older hub, other measurements showed me that the
new hub sits just a little bit closer to the chain than the old hub does...
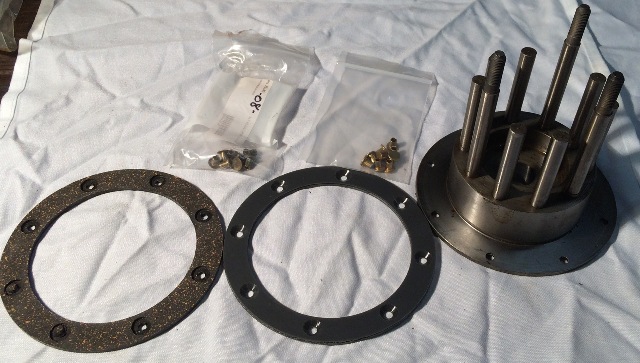
so I drilled out the rivets on the old hub (the one on the left in this pic)
and pulled off the liner, which is still in good shape....
Tried putting that old cork liner on with the new steel spacer,
the rivets are almost long enough, dried to peen over
several, but just could not get a good "bite" with them....
so gave that up....
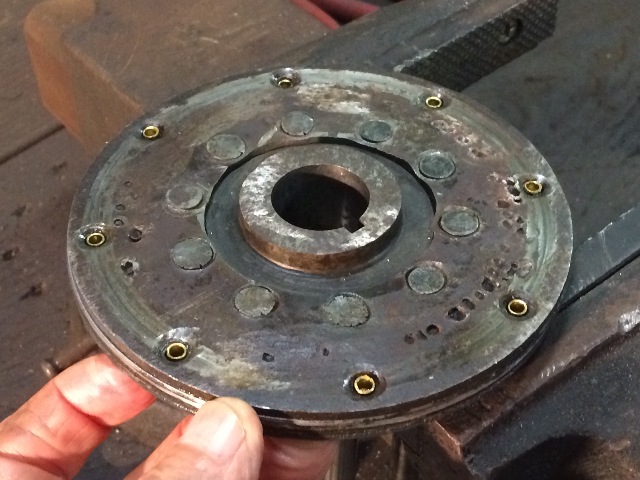
I get a better fit with the new plastic liner and the flat head
brass machine screws, and will peen the screw end against
the nut on the back side.....
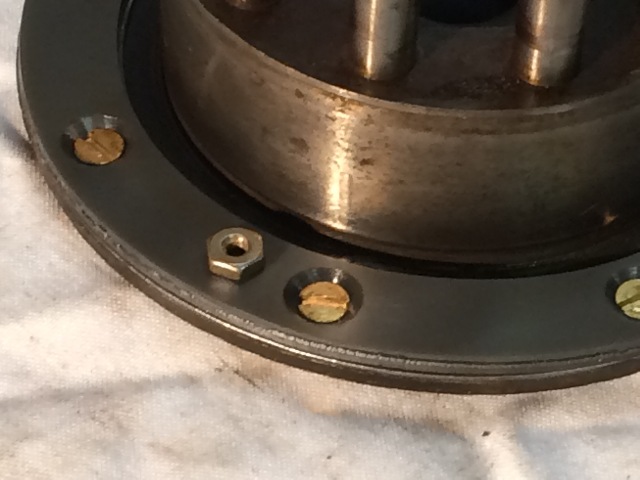
That steel nut is what I used between the screw head and the
vise that I used as an anvil when I peened over the screw ends...
You definitely want a solid connection to make that work....
Peened over the brass screw ends after torquing down
each screw, using that steel nut between the brass screw head
and the solid surface of the vise....
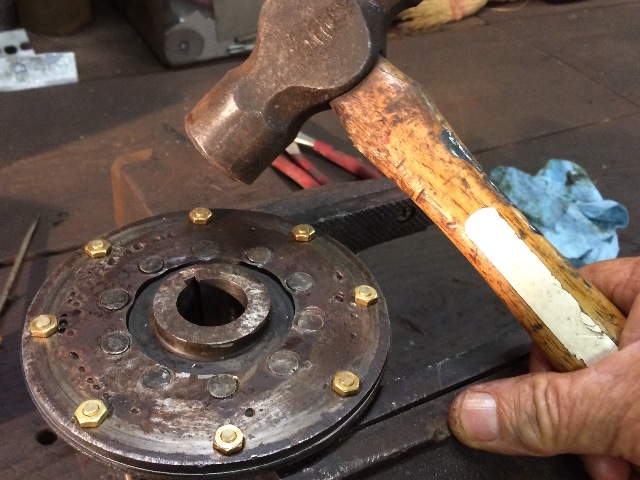
It looks good, the plastic liner and the steel spacer are solid....
Set the roller bearings in place, I'm not too happy with how the back
edge of the rear row of bearings is now located right at the
front edge of the liner, where the rear edge of the
clutch basket/belt pulley will ride, but I think it will be OK....
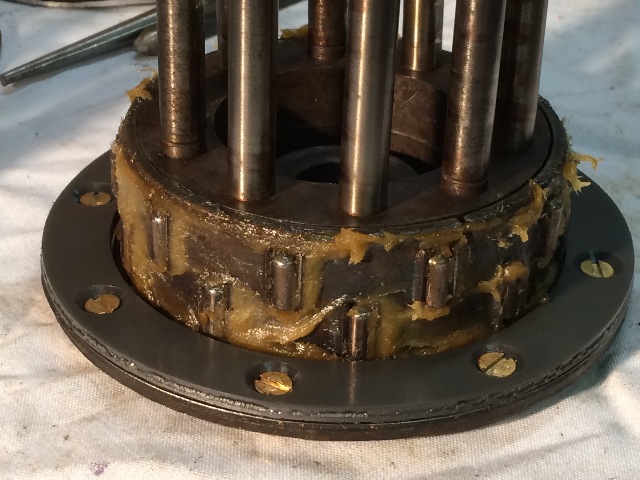
Put it together and stacked the clutch assembly in, it looks ok....
The spacer I put under the hub flange disk
moved the clutch pack stack out enough that
I can't get adjustment any more.....
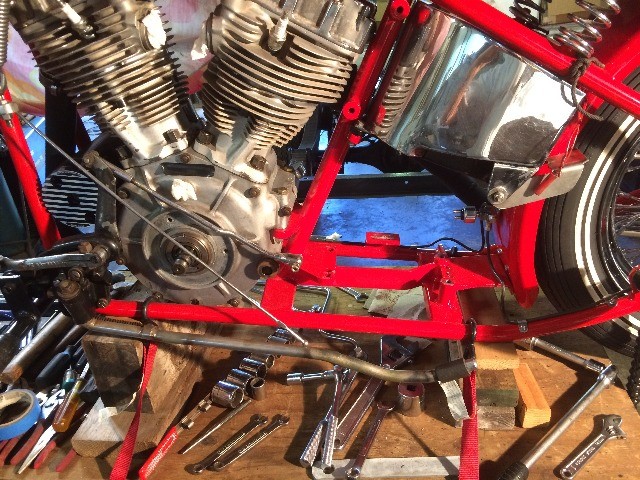
So I pulled it apart....
Even pulled the tranny out too....
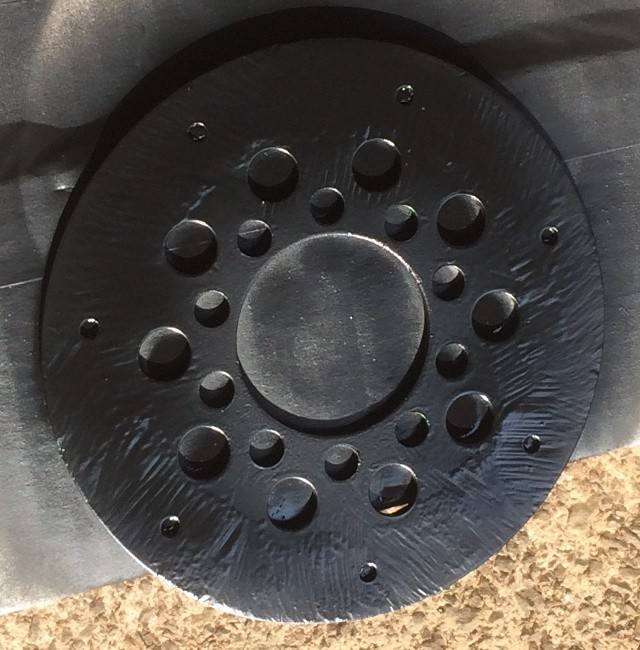
This outter disk in the clutch pack
rides directly against the pressure plate
on the studs, so there is no wear on this side
of this clutch disk, the material can be removed...
Ground off the material with a grinding disk,
reduced the thickness from
0.250" to 0.150", that 0.100"
should be enough to give me my adjustment back....
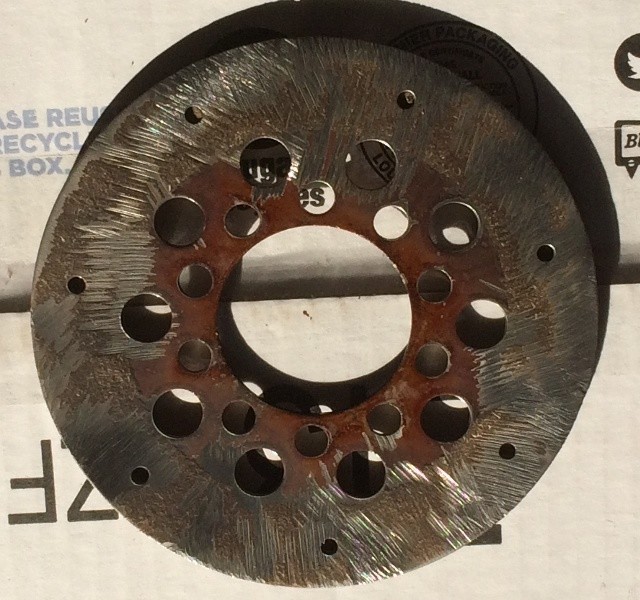
Sprayed it with flat black to keep rust away....
(hey, it's still wet, I just sprayed it...)
Ordered a set of the bigger bearing setup for the clutch basket,
waiting for that to come....
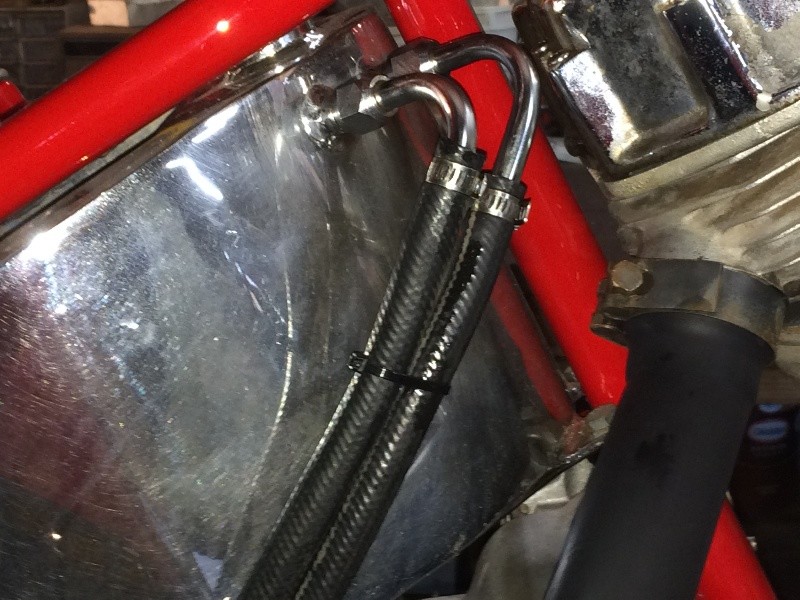
In the meanwhile, worked on the oil lines,
The Denver's custom frame places my horseshoe
oil tank higher and tilted up in front more than the OEM,
so my OEM chrome steel lines do not fit,
decided to cut them, flare the cut ends, and run rubber oil hose....
.JPG)
I have both 45 and 37 flaring tools, decided to go with small 37 flares,
just enough to keep the hoses from slipping off....
And clamped them in place with hose clamps...
.JPG)
In the meantime, drew up this latest version of the electrical wiring....
.JPG)
Worked on the oil lines a bit today....
3/8" NAPA 400 psi rated transmission oil lines....
Should work just fine...
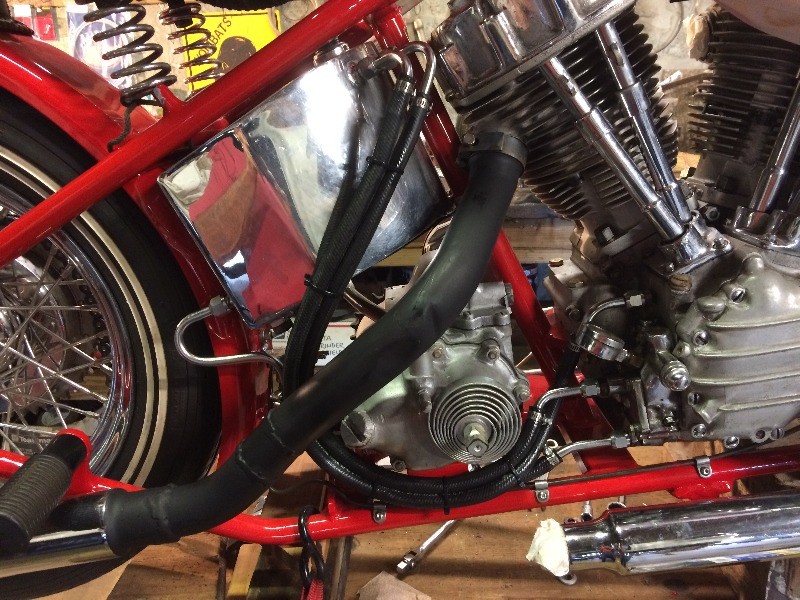
Routed the hoses so they could be bundled together....
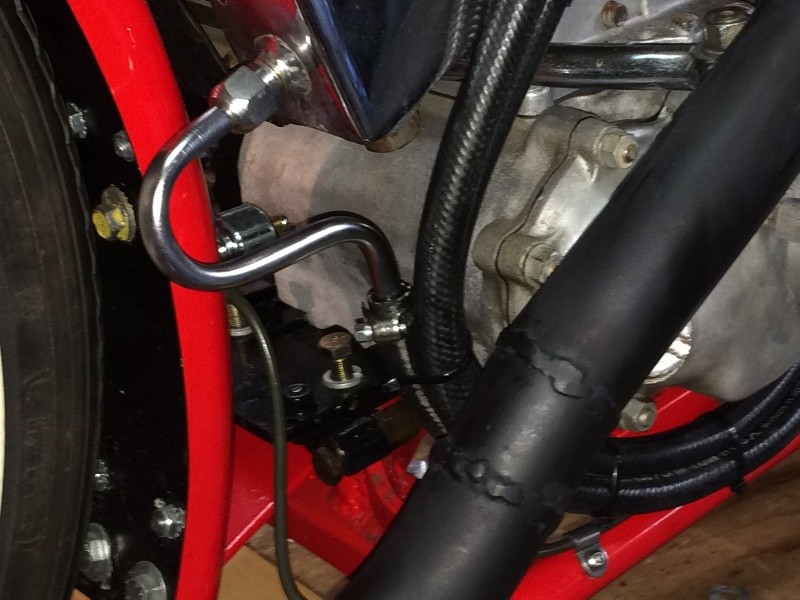
routed them so clear the tranny....
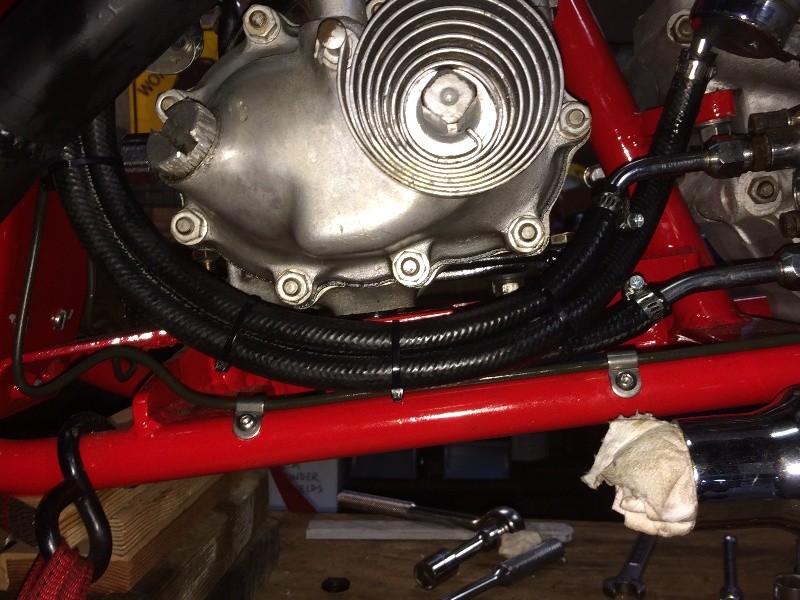
Had to bend these pieces a bit to get clearance with the tranny....
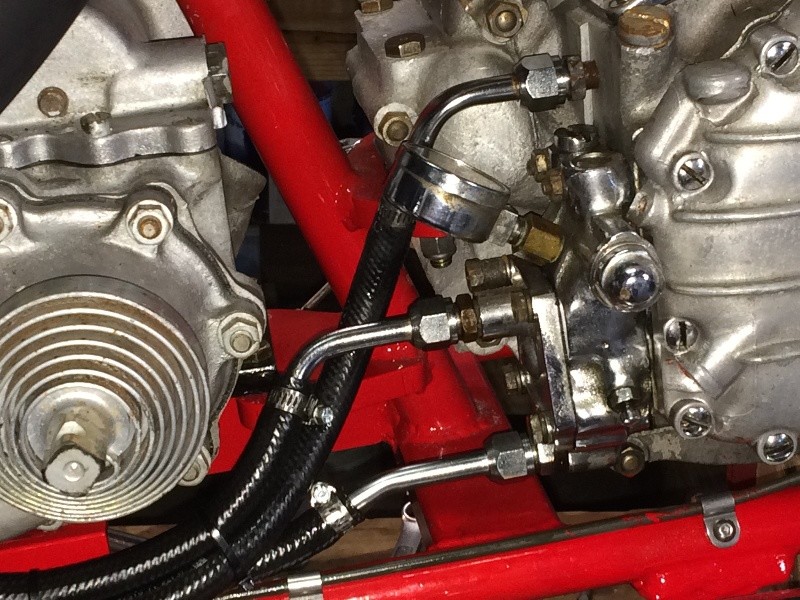
Looke good to me....
Just for fun....
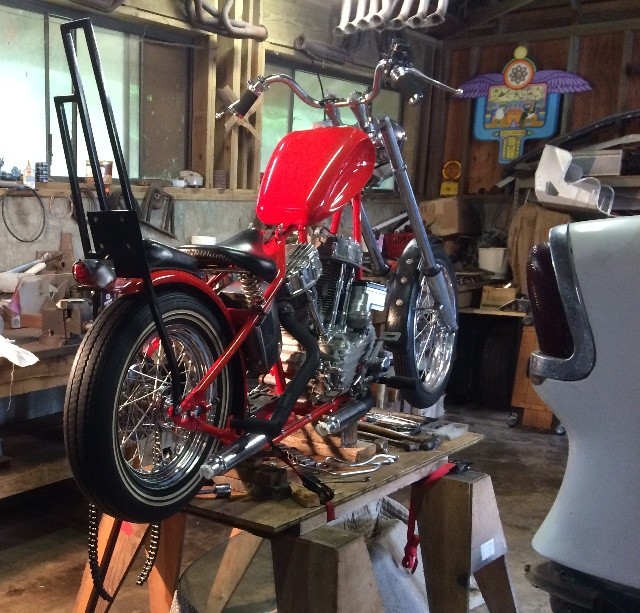
More Later.....