55 HT project page 36
Windshield Wipers
Back to the '55 Hardtop Home Page
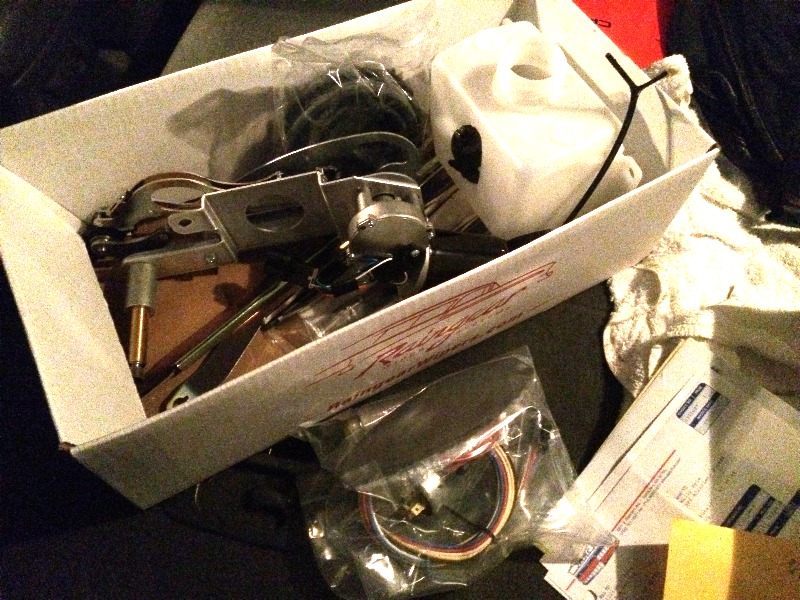
A basket full of goodies from Rain Gear for the wipers arrived:
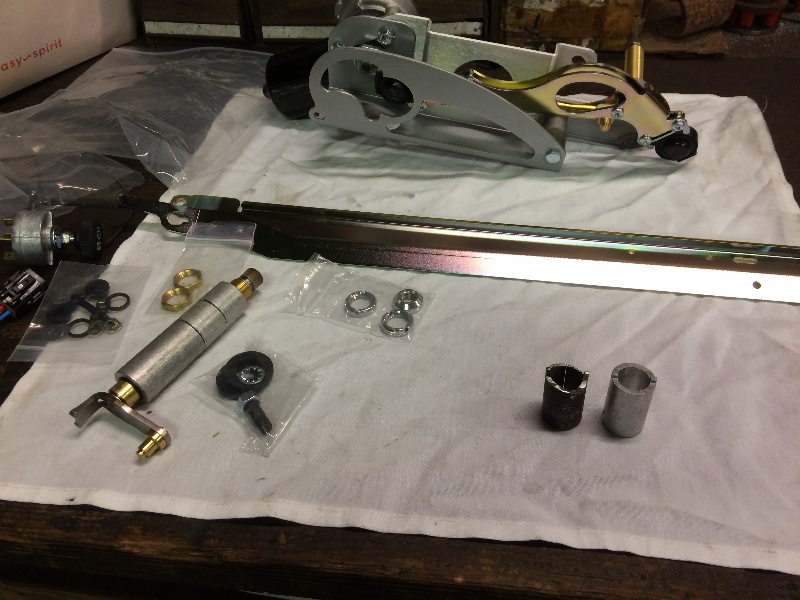
Pulled the old wiper system out of the cowl and out from
under the dash, and started laying out the new parts....
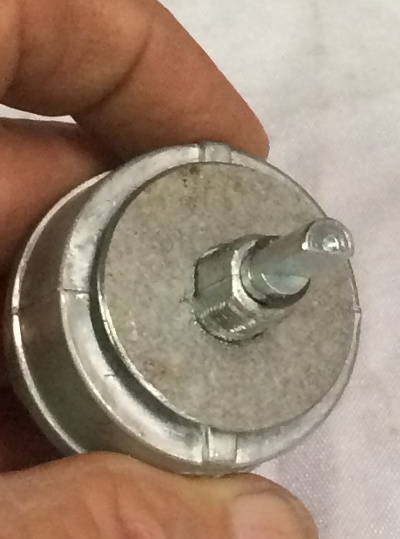
Tried to install the switch, but it spins in the dash,
the original switch is keyed to a slotted hole in the dash
so it won't spin, but the switch provided by RainGear has
flats that do not match up with the hole in the dash,
so it spins easily when I turn the switch on and off....
Not good....
RainGear should have done a much better job providing
a switch that would fit properly in the original '55 dash hole....
Another view
So I cut a disk of 16 ga. galv. and drilled/filed
a hole that fits the new switch nicely....
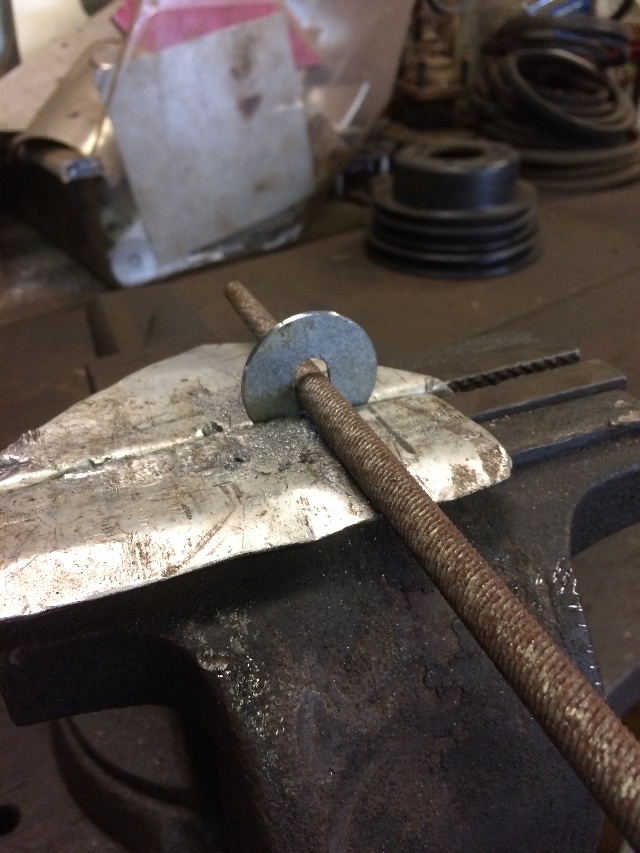
Now to figure out how to add a tab to that disk
that will key into the slotted hole in the dash,
that will prevent the switch from spinning....
Glued the disk to the back side of the dash
where the switch goes, it worked out great !!
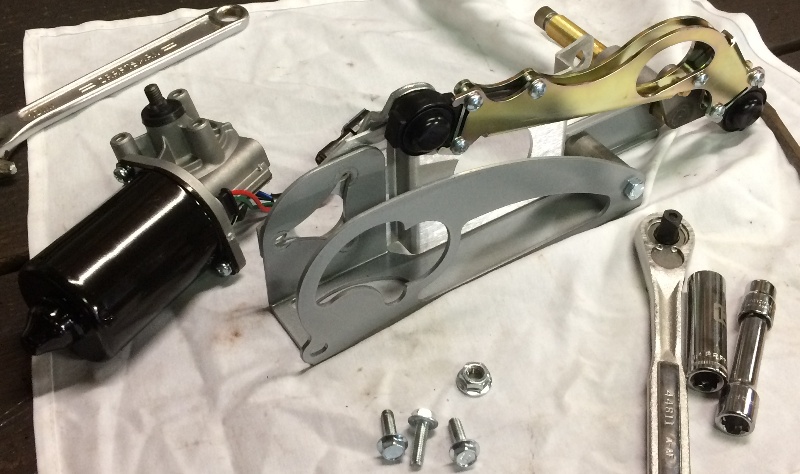
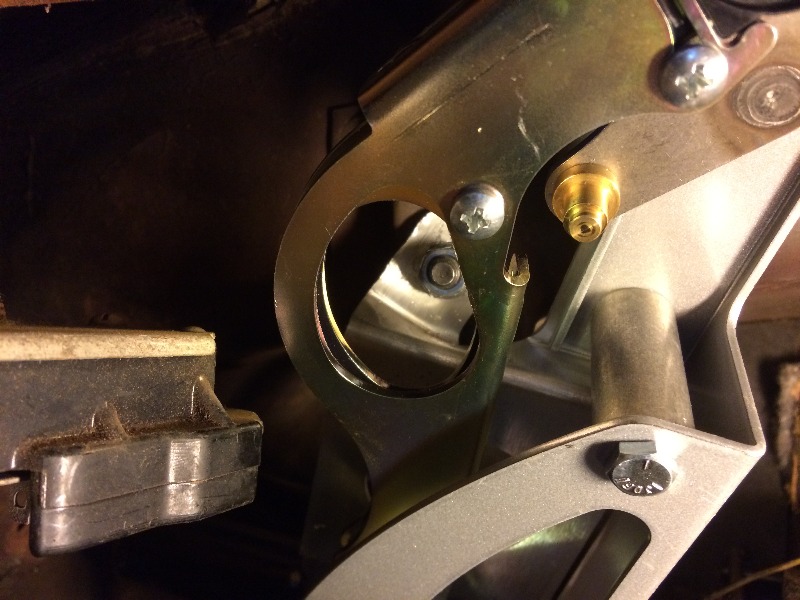
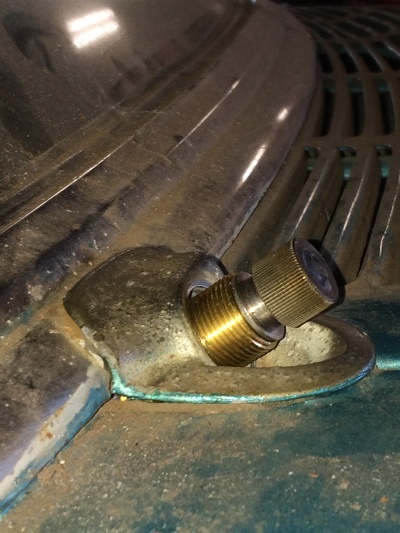
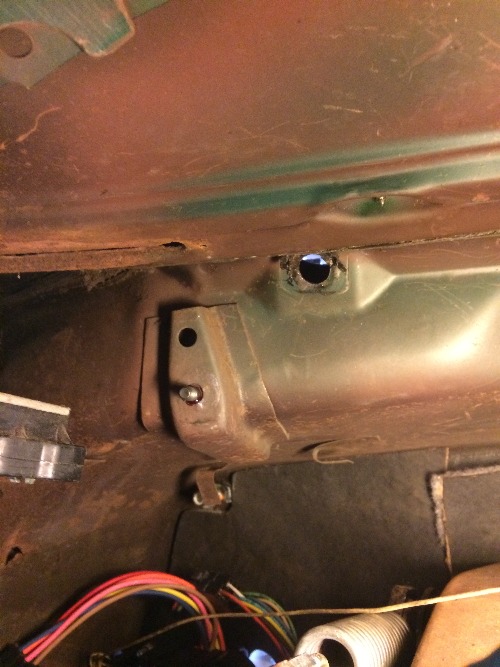
When I tried to fit the left side wiper shaft in place
with the motor and other parts attached, the motor hits my
hydraulic clutch MC pedal offset, which is centered on the
MC, so I can't move that....
I can rotate the wiper motor 120 deg in it's chassis, as long as
I keep the critical alignment of the motor shaft relative to the
"shut down" or "off" position of the motor shaft....
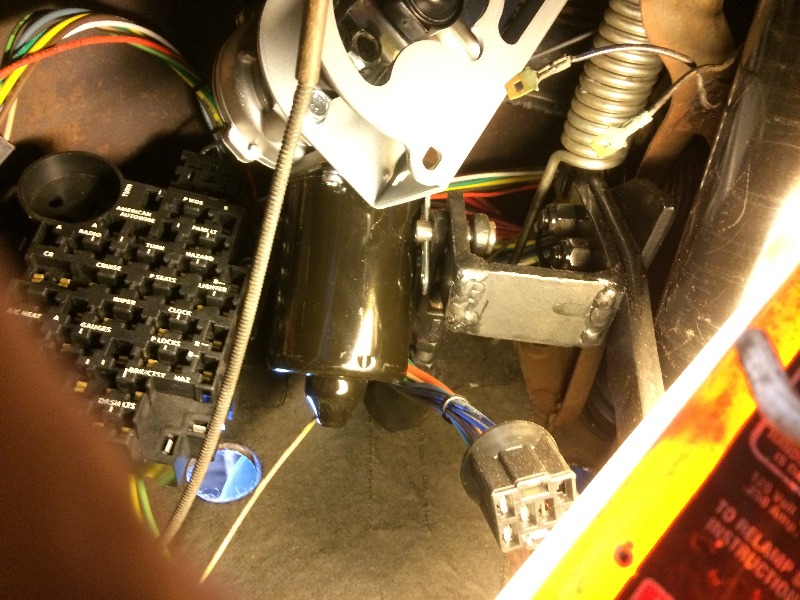
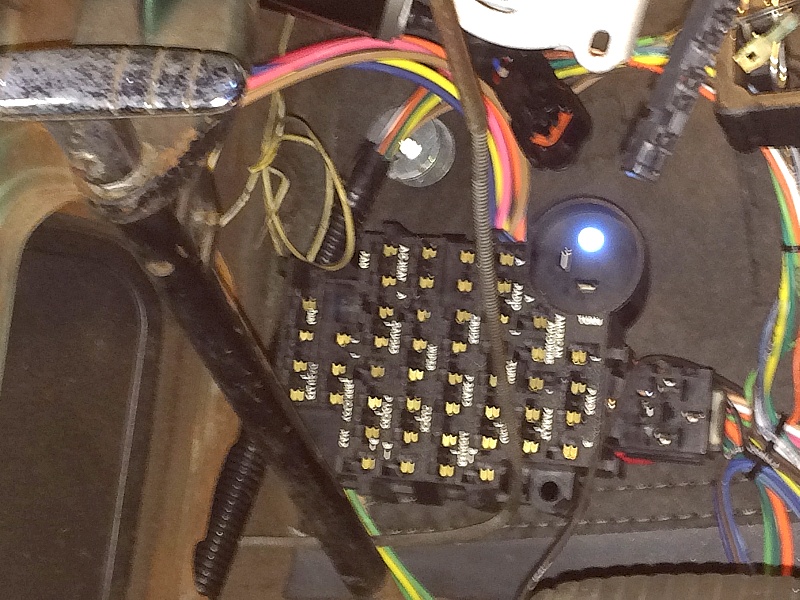
But a close look here shows that I'm going to have to relocate the fuse panel,
as that wiper motor will hit it in the new 120 deg clockwise relocated position !!
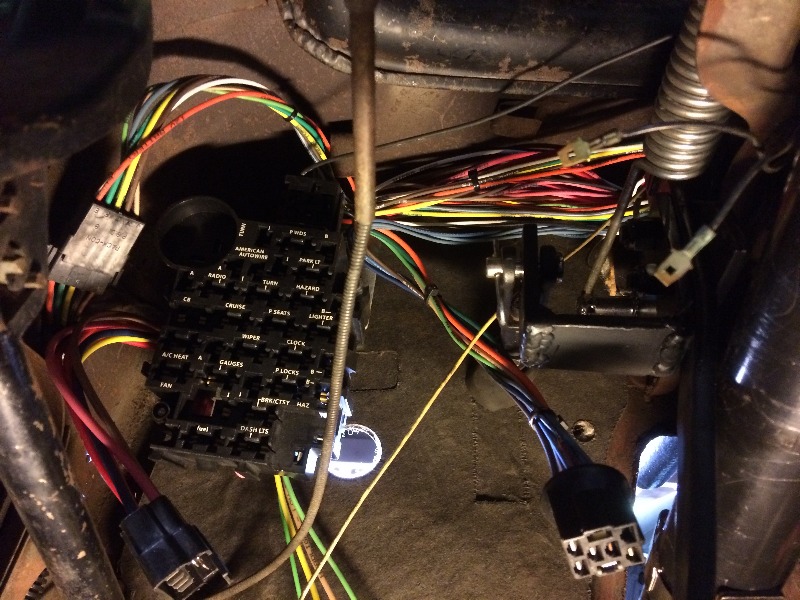
Pulled the fuse panel and all that attached wiring out to make room....
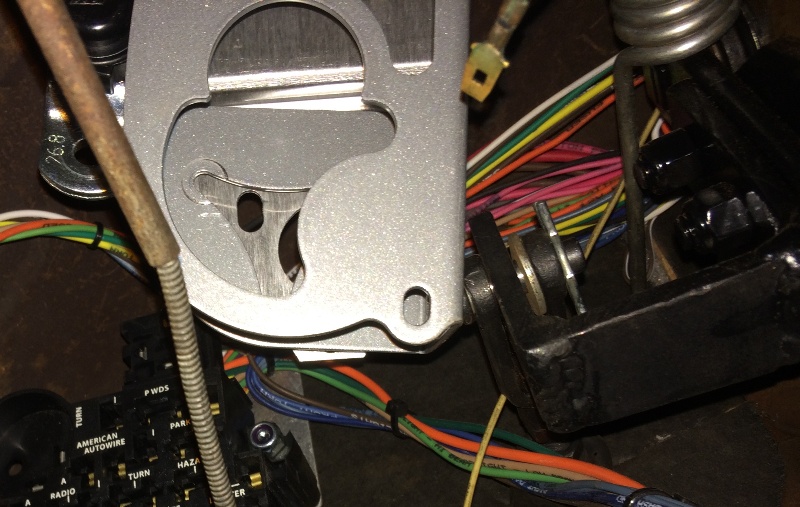
Also, if you look at the top of that last pix you'll see that I
still have the stock defrost ducting in place, I found that I
need to remove that as well....
I have new Vintage Air system on order, I'm told that
it will have new defrost ducting that will clear the Rain Gear setup....
During all this, I've had several good conversations with the folks
at Rain Gear, and they have been quite helpful....
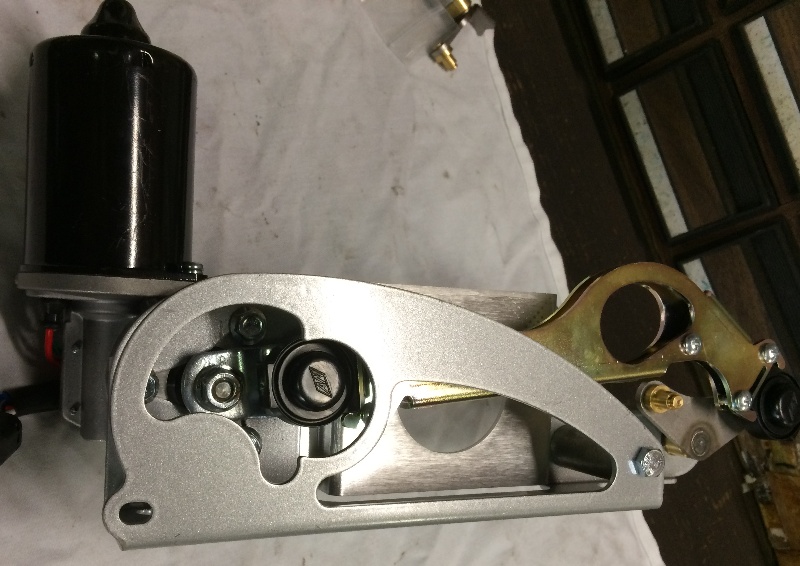
Then made sure the motor was in the "shut down" position,
carefully loosened the nut on the motor where the drive arm is mounted,
and pulled the motor off.
With the motor off, carefully fitted the rest of the assembly into
position under the dash, all looking good....
Except....
Getting some rubbing on the left side of my clutch offset
against the right side of the wiper assembly,
but I think I can deal with that once I get the wipers all in
and aligned....
I carefully remounted the motor in the new position,
and carefully reattached the drive arm in the "off"
or "shut down" position.
Now let's see how well all this is going to fit....
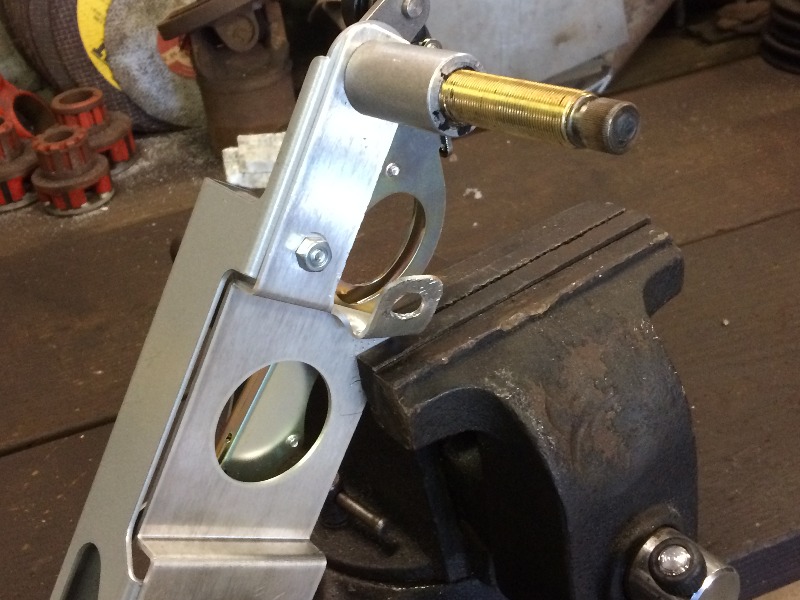
There's an anchor bracket bolted to the firewall
in the center of this pix, I had to bend it a bit to
get the fit I wanted with clearance from the
clutch pedal bracket....
It all bolted together pretty well....
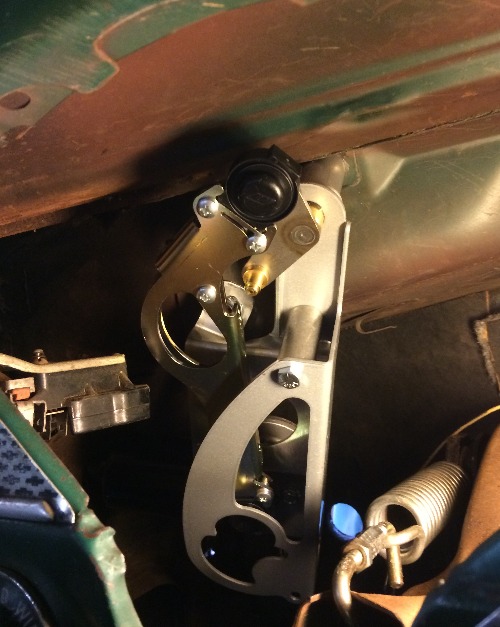
Lots of clearance with the clutch pedal bracket....
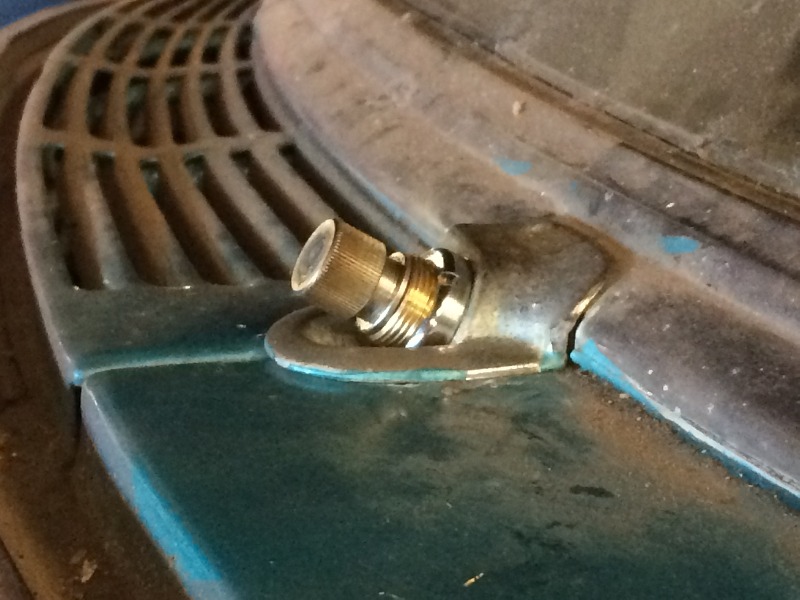
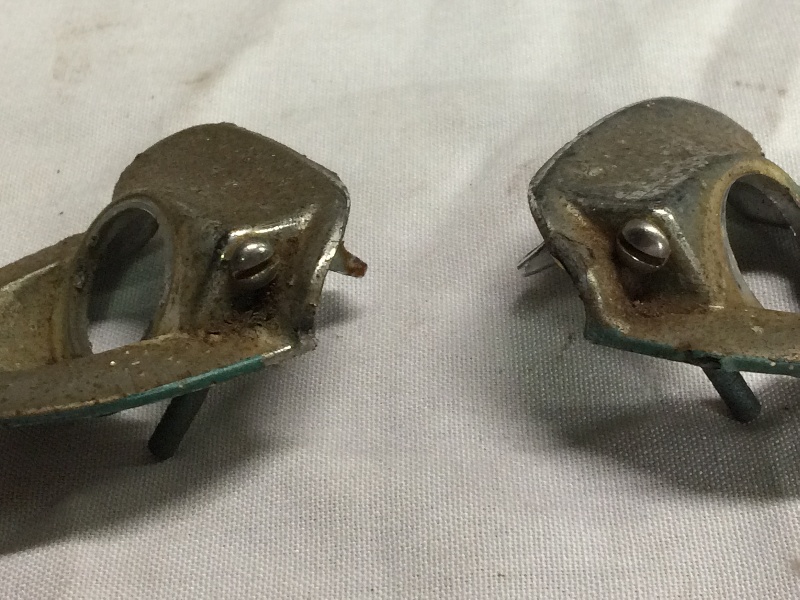
The excutchion doesn't fit very well on the driver's side....
No problem on the passenger's side....
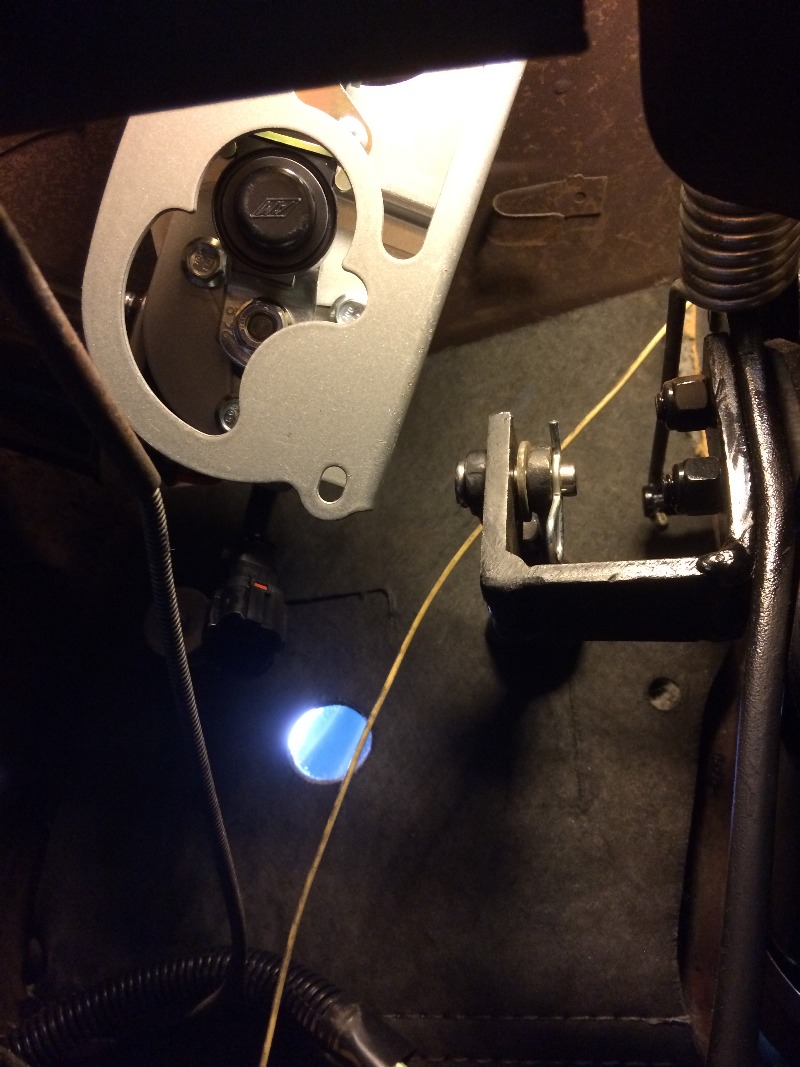
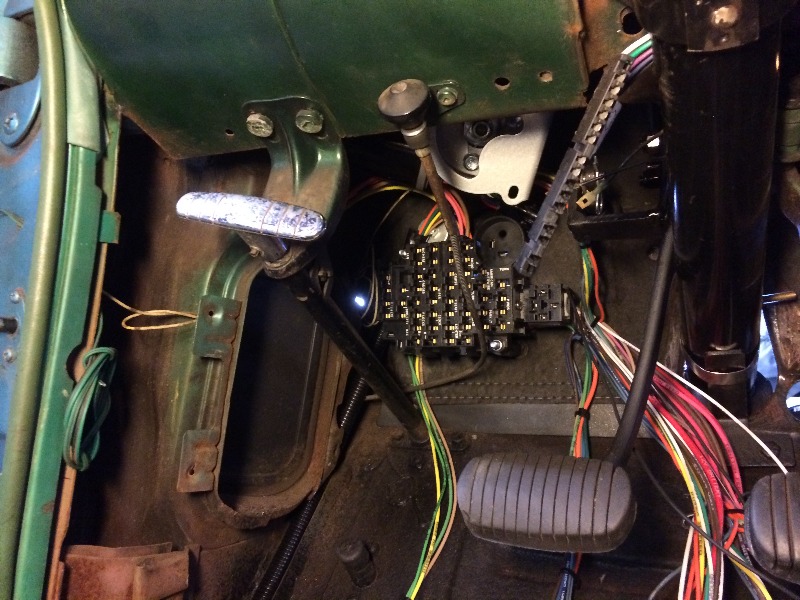
Think I'm going to remount the fuse panel cross wise and lower....
Drilled a couple of holes, got some bolts and spacers, and it's good to go....
Needed to rework that lower mounting bracket to pull the
wiper chassis in toward the firewall, lifting the angle of
the wiper shaft up to get a better fit....
This is where it fits, that stud is where I'm trying to pull
the assembly in toward the firewall....
And it worked, I got lucky, it popped right into place
after reworking that bracket....
look at the pic above a ways to see the difference....
And I still have clearance with the clutch pedal....
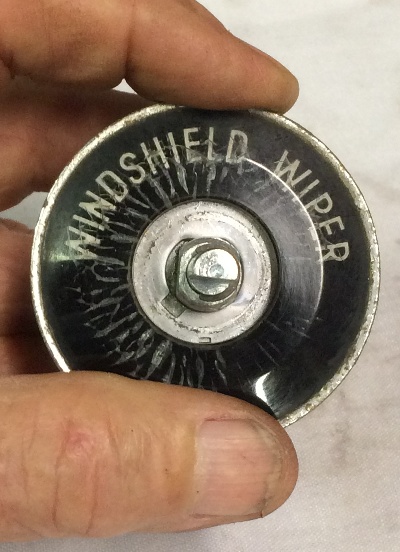
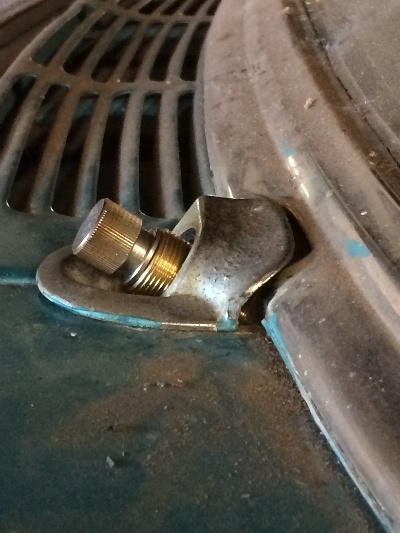
The washer nozzles on these escutcheons are missing,
plugged up with a screw....
More Later....