55 HT project page 40
Still Messin' With That AC, Heat, and Ventilation Stuff....
Also some electrical work in the rear (scroll down a ways)....
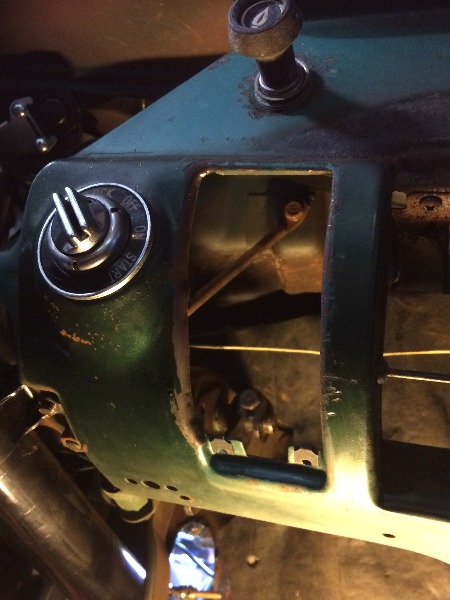
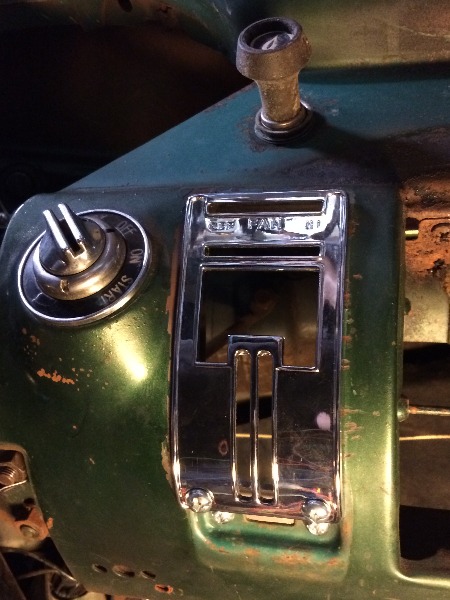
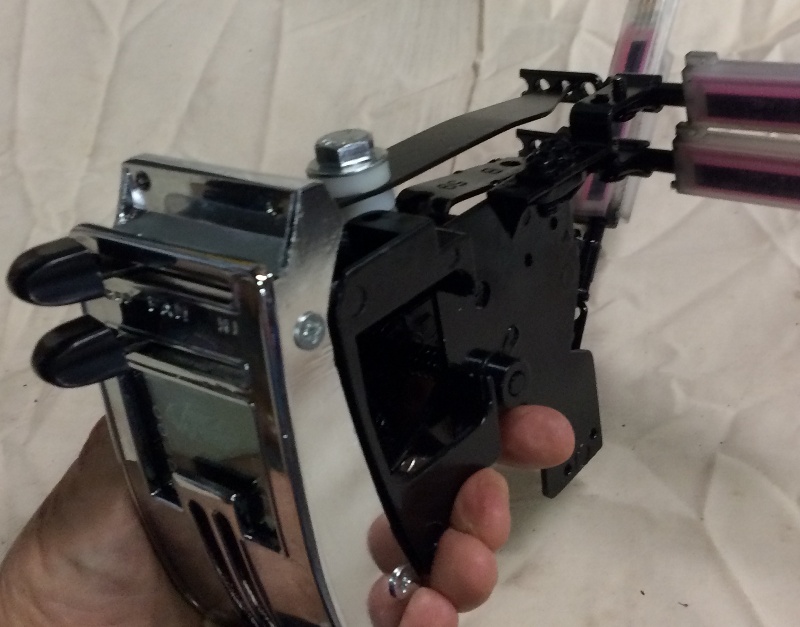
When I tried to fit the face plate for the controls in the dash opening,
the opening was just a hair too narrow, so much for the claim that
the '55 Chevy pickup unit will fit in the sedan!!!
The edges of the opening are rolled in, so with a body hammer,
I carefully "rolled" the left side edge until the face plate fit....
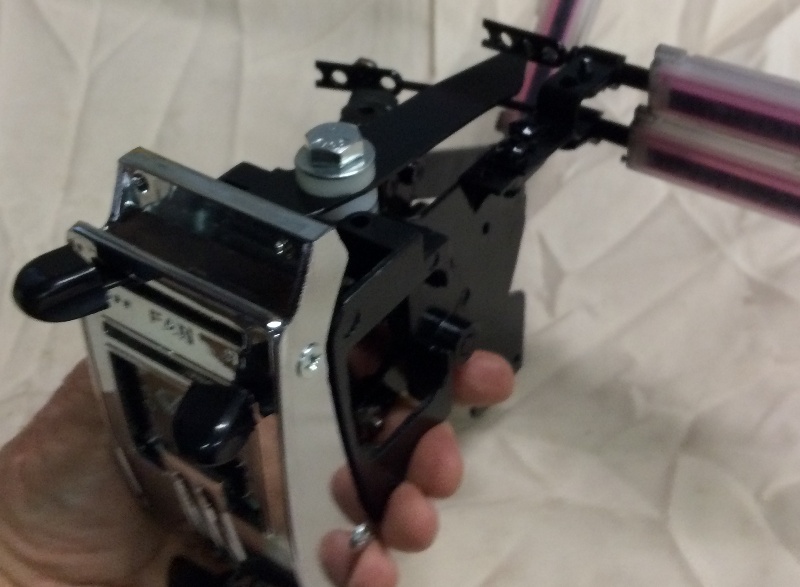
I got a good fit, now I find that the face plate for the truck is shorter
than the sedan, so there's an opening at the bottom....
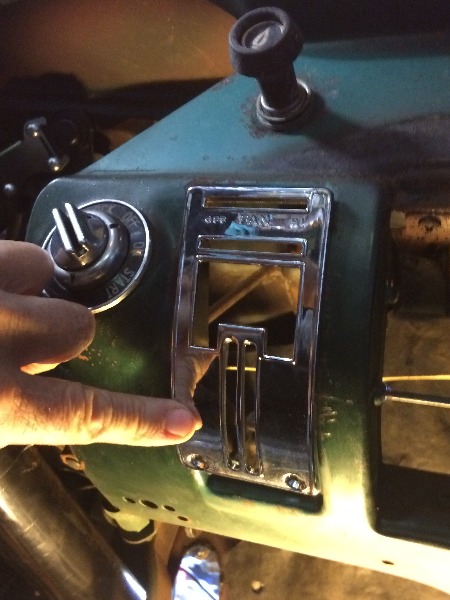
Made an adapter plate to bolt the bottom of the face plate
into position in the dash, keeping the top located as
high up in the opening as I can....
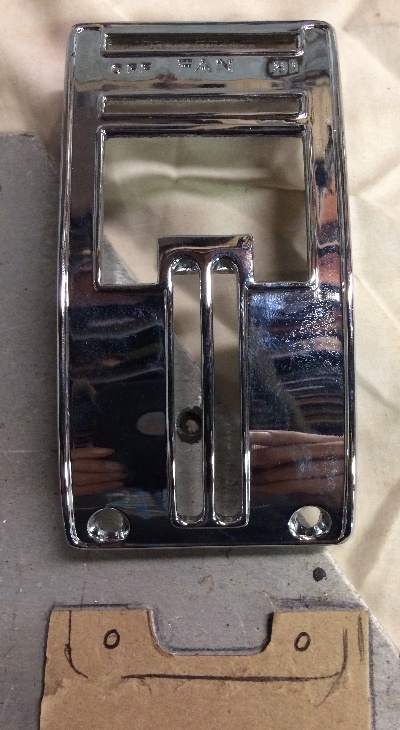
Cut a piece of 1/4" aluminum plate, drilled it and tapped it to match
the two holes in the face plate and the two holes at the
bottom of the dash opening....

Had a box of various length of #12-24 screws, so used those....
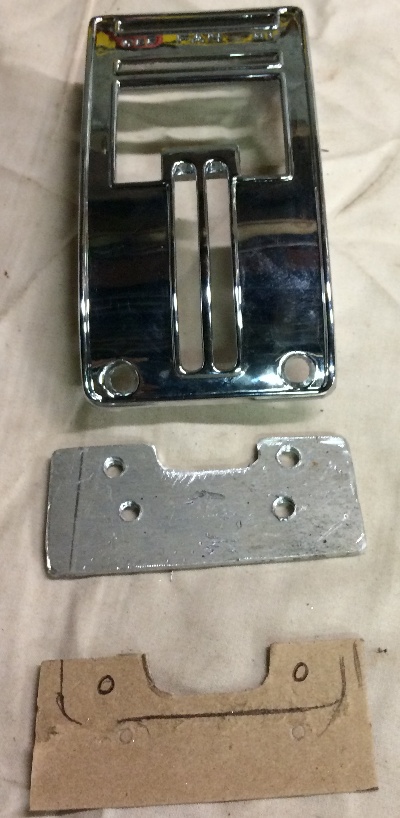
It bolted right up and is nice and solid....
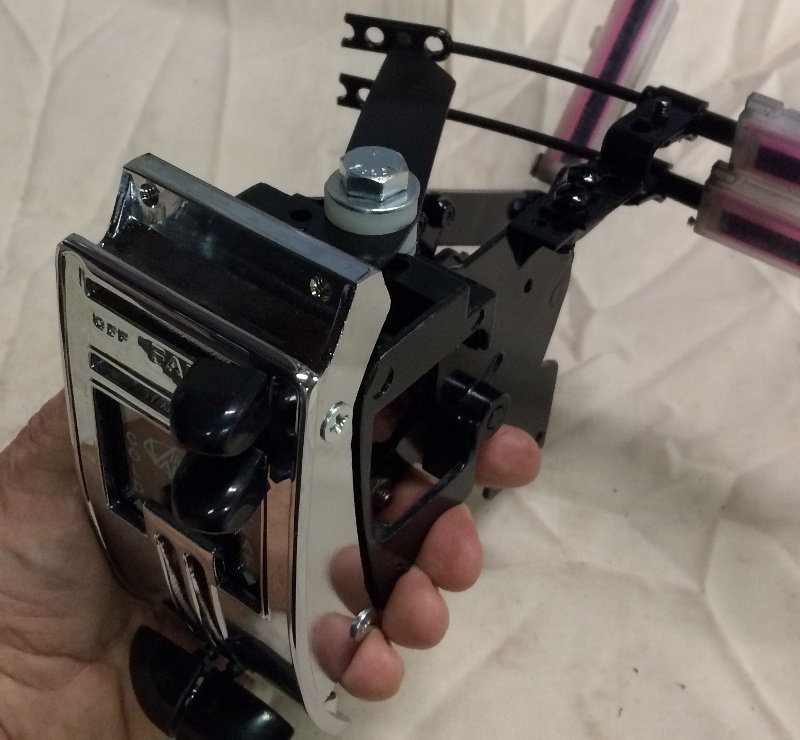
While I had the unit partially apart, painted everything that I could,
and reassembled it after everything was dry....
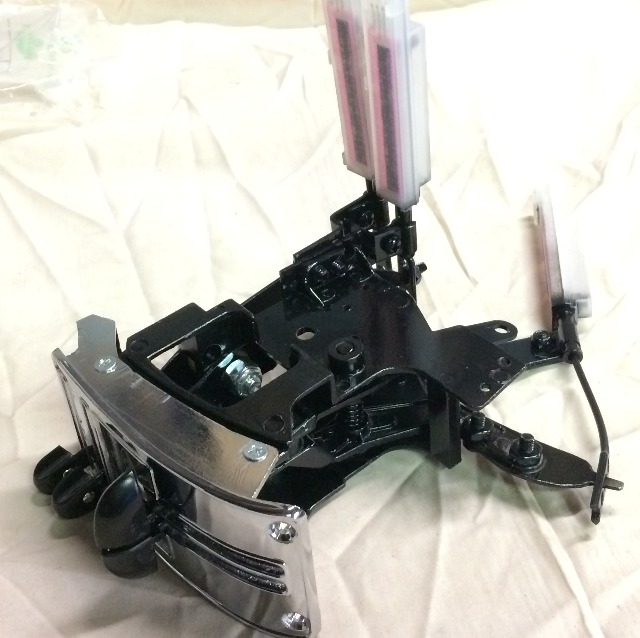
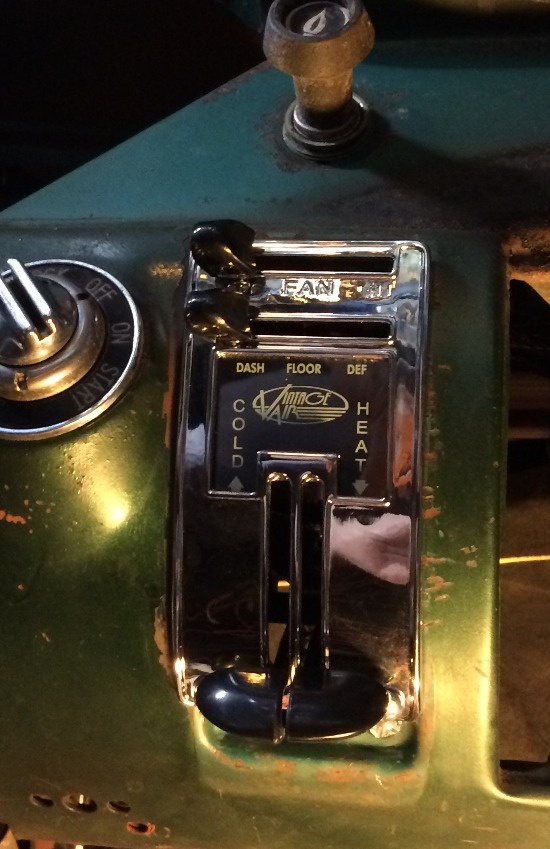
Everything is looking good, full function and movement on all controls....

Heat/cold controls (vertical sliders) all the way up at full cold
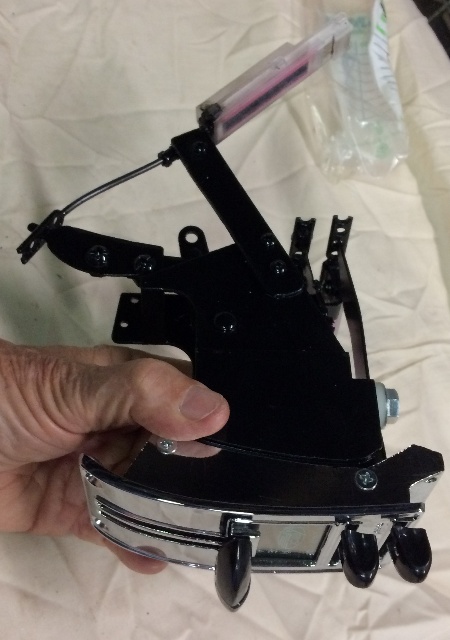
Now all the way down for full heat....
The upper controls, the fan is off, the air flow is at the dash....
Air flow (lower lever) at the dash outlets...
Fan (upper lever) at max....
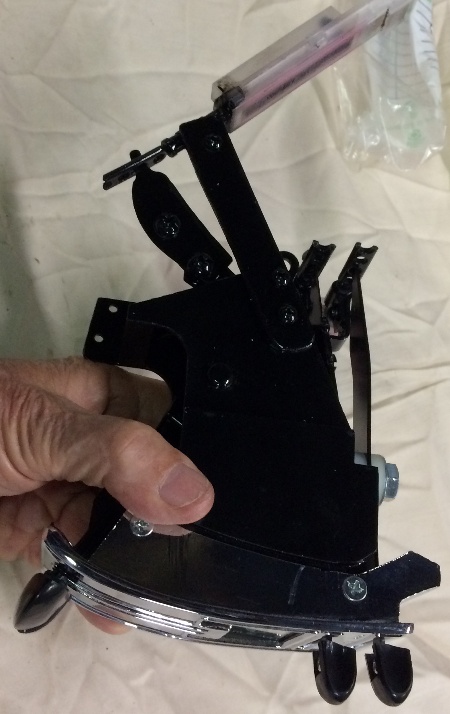
How am I going to get this into the dash opening ???
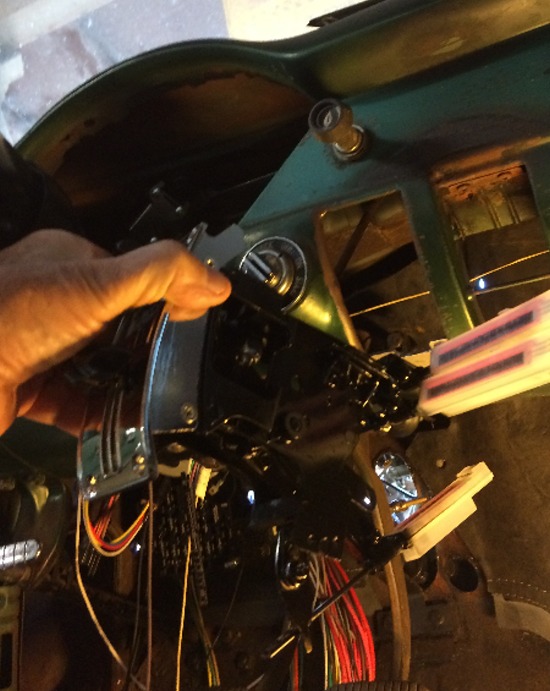
It took removal of a couple of parts, some jiggling around, but I got it in....
Plugged in the control harness to the three slider units,
The controls still move nicely without hitting anything,
and the unit is mounted nice and solid....
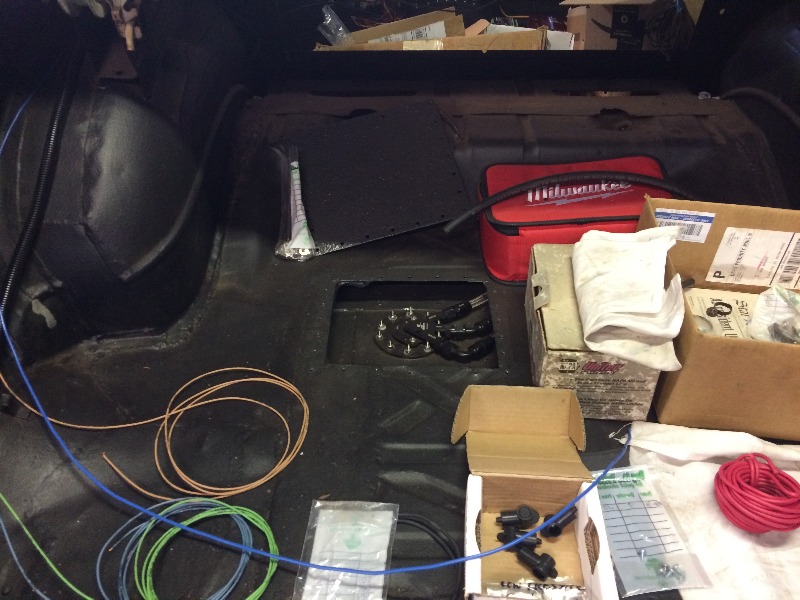
I still have quite a bit of wiring to do before
I can put power to this unit and test it out...
Soon though....
-WIRING PROJECT-
Back to the wiring project in general....
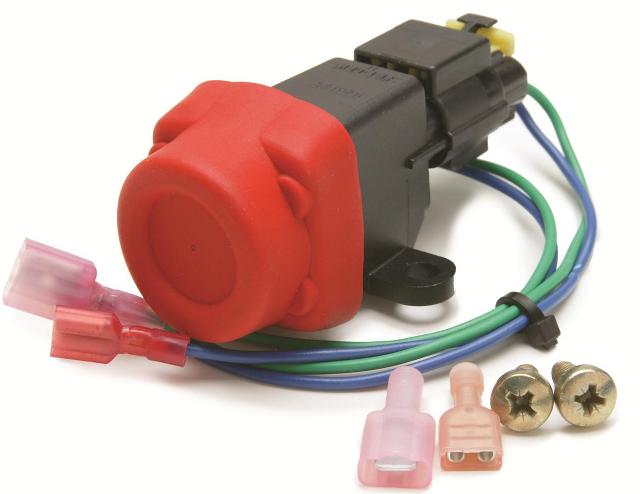
Looking at the fuel pump....
It came with a diagram,
a relay, and a breaker switch...
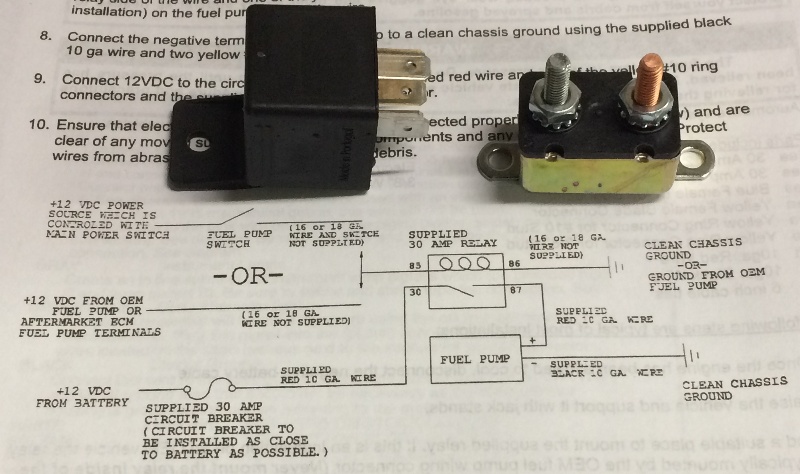
OK, here's a good question, which side of that circuit breaker
do you connect the battery side to, the bronze colored one,
or the silver colored one ??
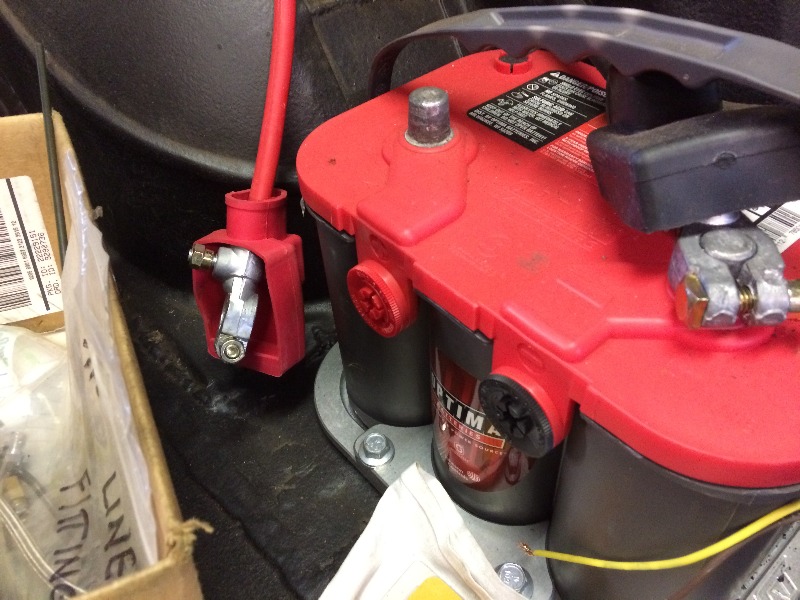
Since the battery is in the trunk, near the fuel pump in the fuel tank,
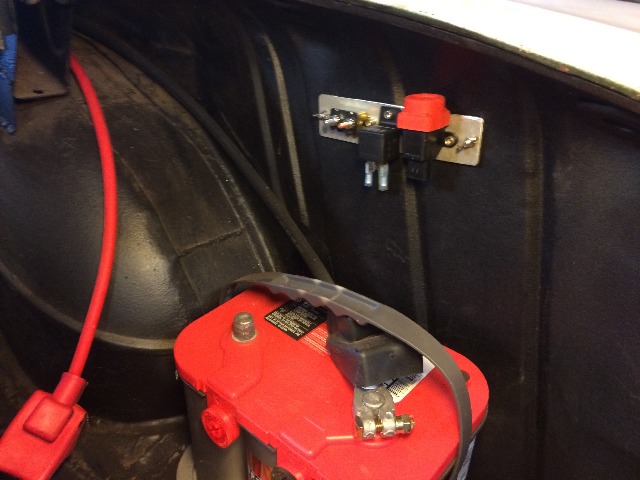
I'm putting the relay and circuit breaker back here.
Ran a blue wire back from the dash, and will put
a toggle switch under the dash for emergency shutoff of the fuel pump !
Am thinking of just mounting both the circuit breaker
and the relay just above the battery...
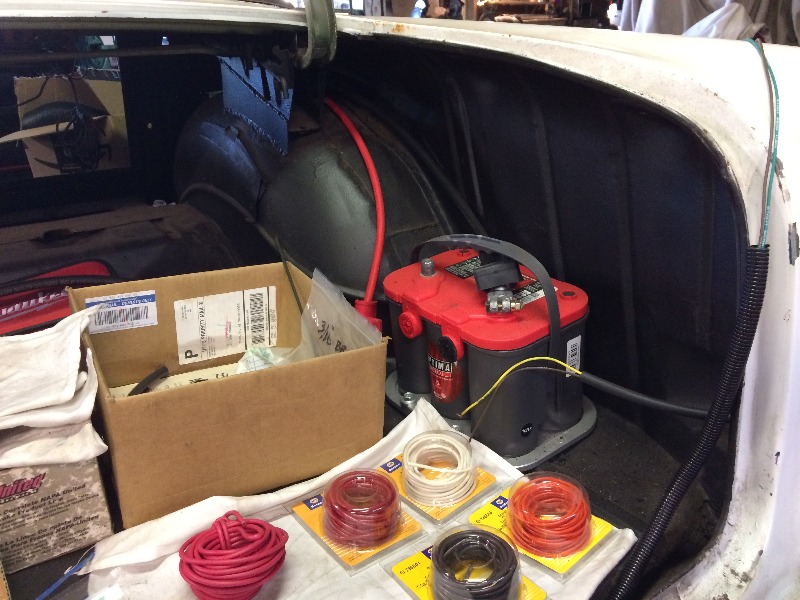
There are side terminals on this battery,
I could do this hookup off of those,
but the main cables have an auxillary connector,
and I think I will just use those...
Ordered a roll over protection switch for this fuel pump....
I'm looking for a nice looking box I can mount
those parts in, maybe even one that
has a logo like "condom dispenser"
or some such idiocy....
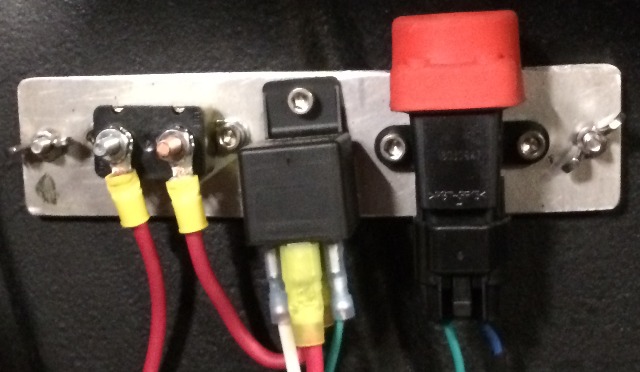
The new "roll over protection" switch for the fuel pump arrived,
cut a piece of aluminum plate to hold the circuit breaker,
the relay, and the roll over switch....
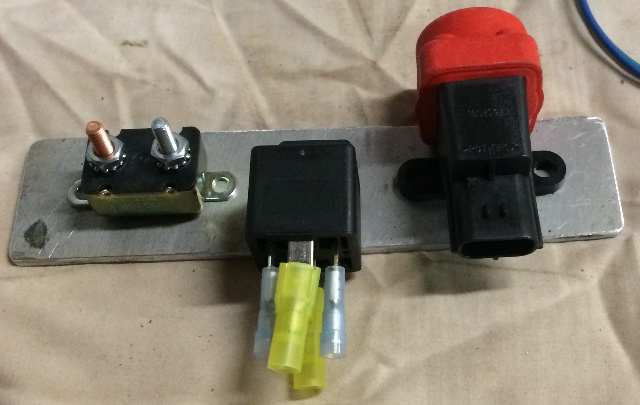
Some drilling and tapping for 10-24 screws...
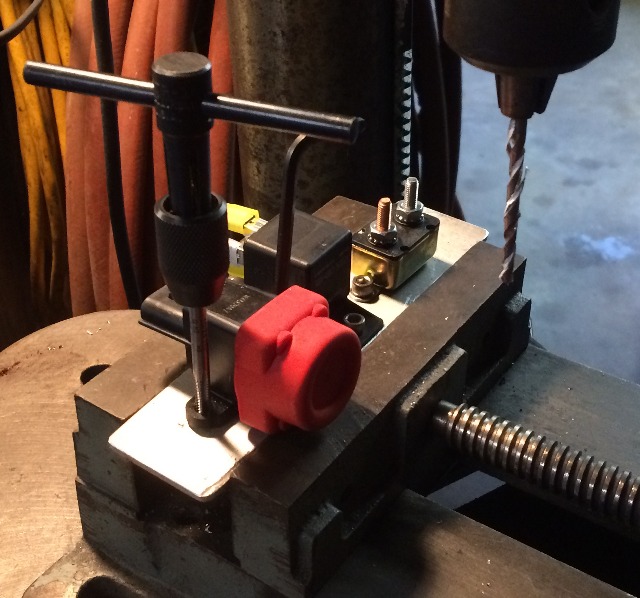
Bolted it in place with some wing nuts...
Got it wired up, wire from the dash to the roll over protection
on the right, then to the relay in the middle, then the battery
connection to the breaker on the left, then to the relay, then
through the floor in the corner inside a rubber hose, over to the
fuel tank and fuel pump....
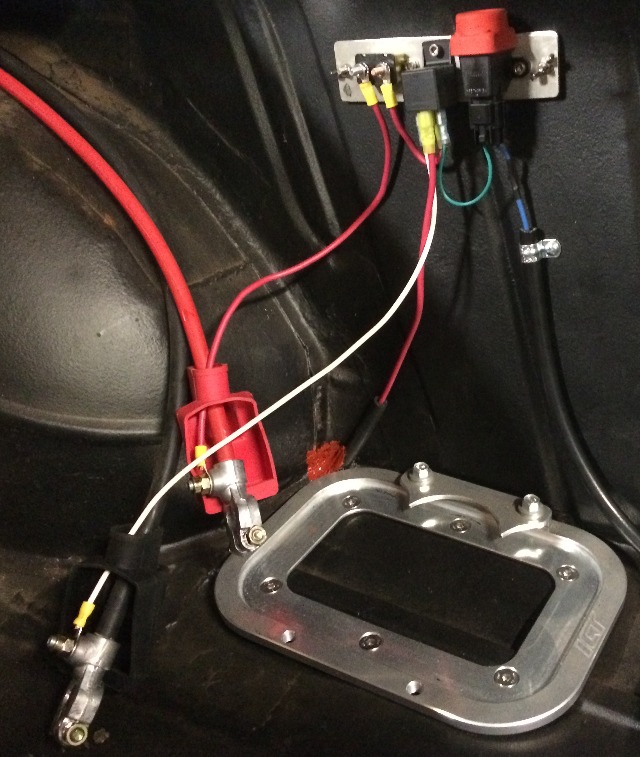
Connected a ground to the fuel pump....
.JPG)
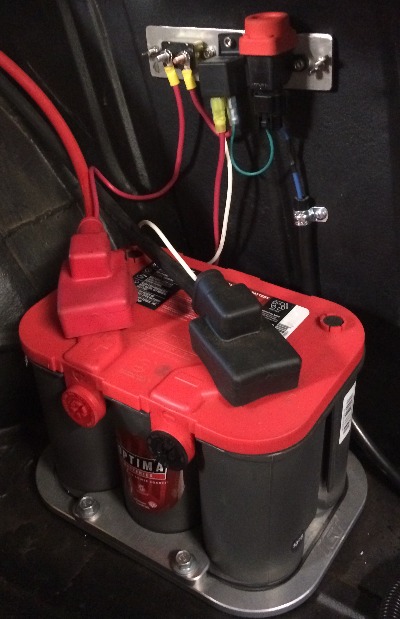
All hooked up and ready to go....
Now to go up front and attack the dash wiring....
Move Later...