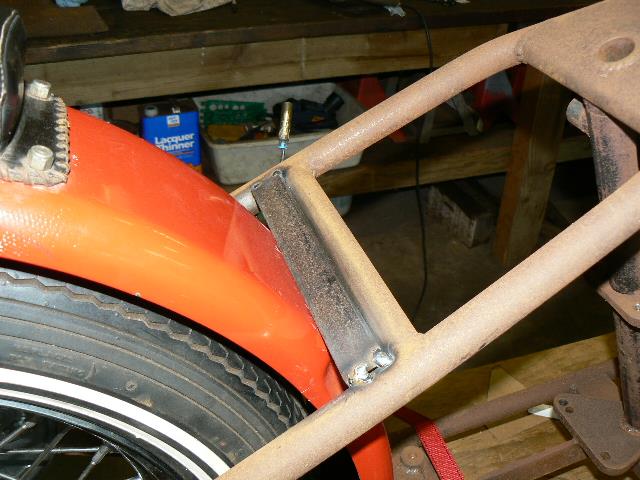
That angle is 1/4" thick, so I just tapped holes for the bolts to hold it in place.
The bottom bracket for the rear fender did not extend back far enough to mount the fender, and it looked small to me, so I whacked off the tip where it was bent downward, and decided to make my own to weld on top of this one....
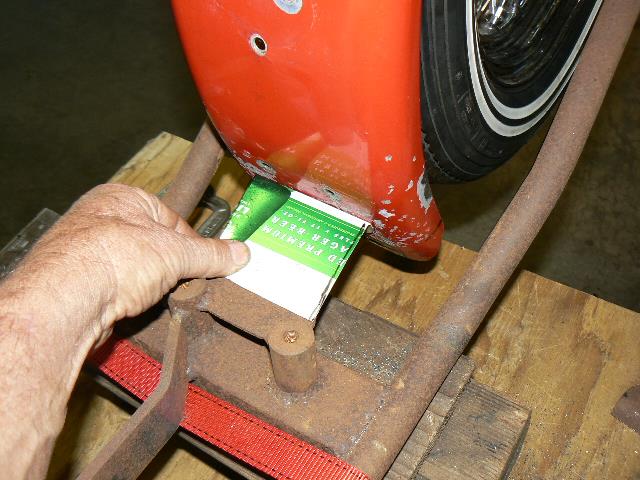
Beer box cardboard works well for me for cutting templates....
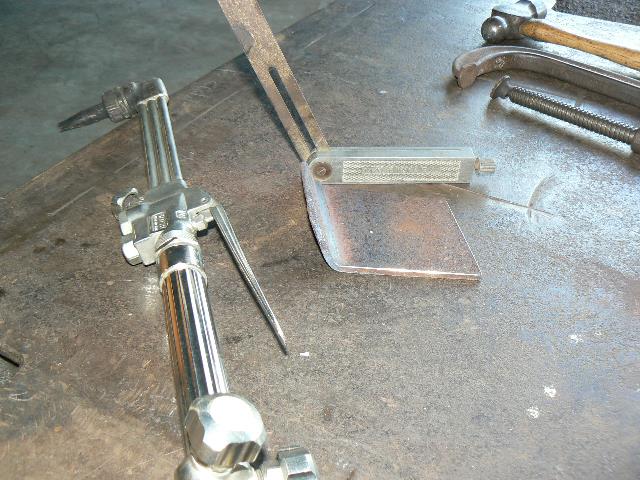
Had some old 1/8" plate, pretty rusty, but it will clean up. Cut and shaped my new piece. Now I need to bend that "lip" on the end to match the angle of the fender....
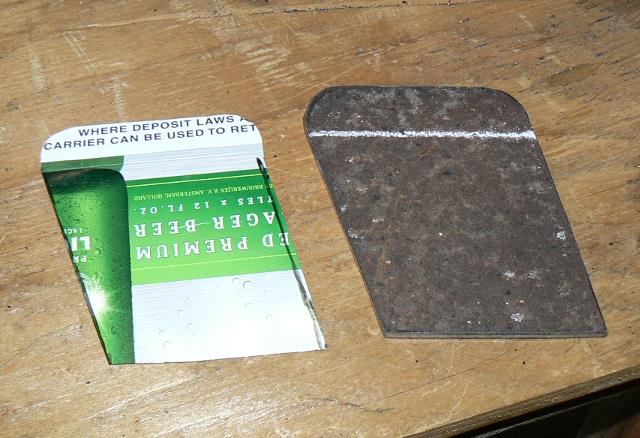
Measure the angle with a bevel square....
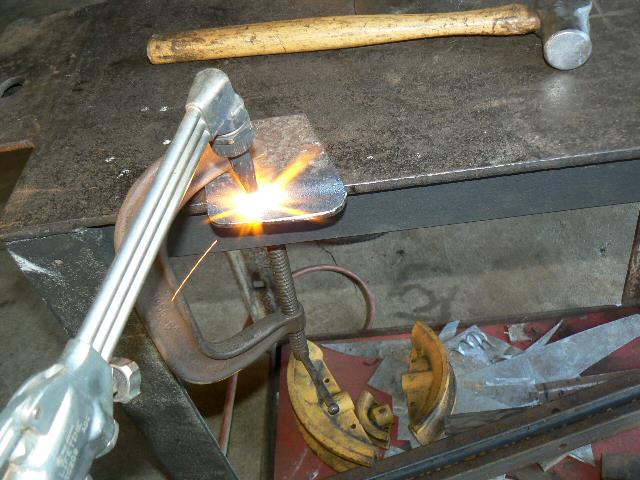
With my torch and hammer, heat it cherry red along the bend line and hammer it over until it matches the bevel square....
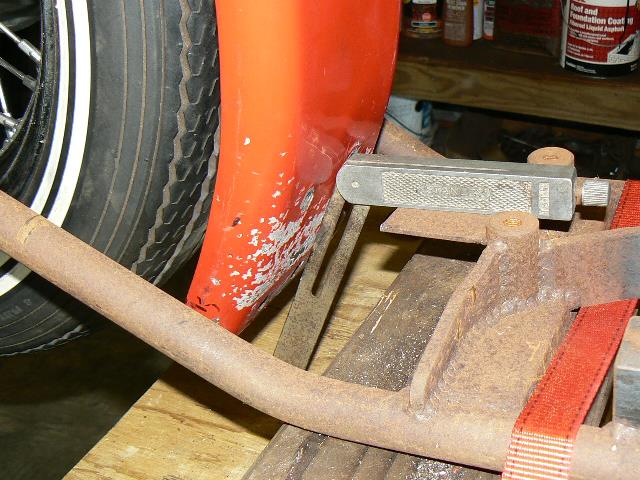
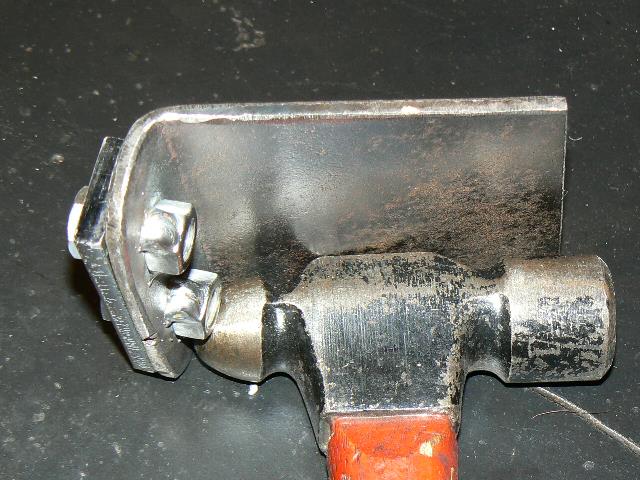
Look'n good, now to match it to the existing holes in the fender and drill it....
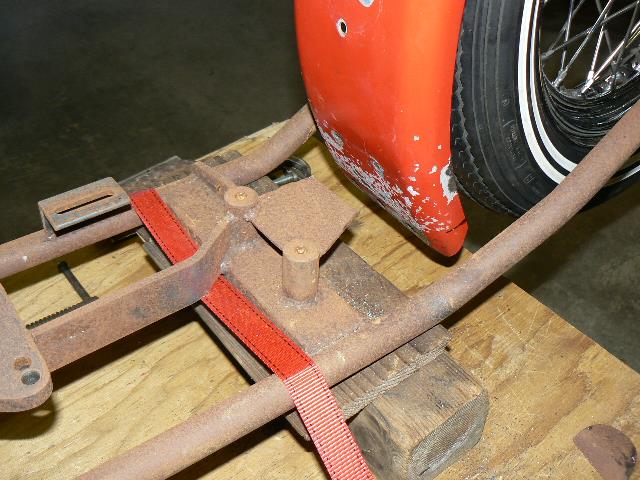
With it clamped in place in the frame, inserted some bolts and nuts, and tacked the nuts in place....
That piece of 3/16" in the pix goes on the inside of the fender, the fender gets clamped in place. Did the same on the upper mounting point under the seat....
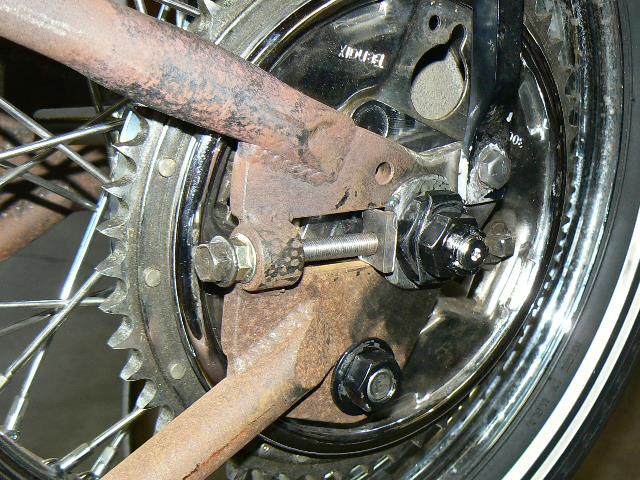
When I shortened the stub shaft for the rear brake (see page one for this build) I eliminated the thick spacer that the chain adjusting bolt pushes against, so I had to make up something else for that function. Decided to add a small plate that would ride in the axle slot, attached to the washer I am using now under the stub shaft mounting nut, leaving room to turn the nut, so a piece of 3/8" plate was shaped to fit in the axle slot and welded on the washer for the adjusting bolt to push on. I lose a slight amount of forward position on the chain adjustment range, but in the past I have never run a chain up that far, so think I am good to go with this....
All of this stuff will be taken apart later, cleaned up, smoothed, whatever, and painted. It'll look great when I'm all done with it....
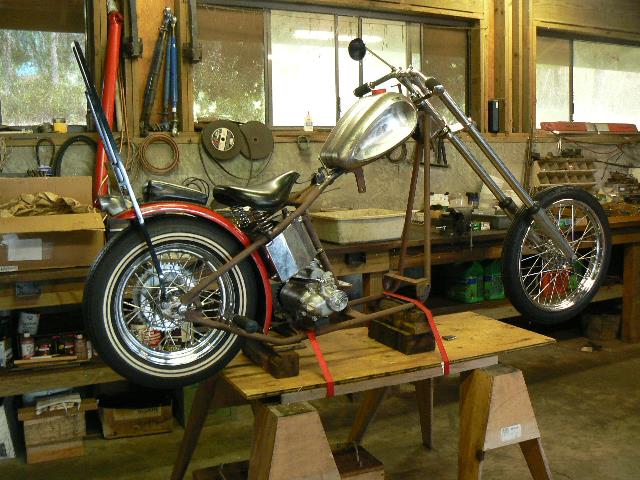
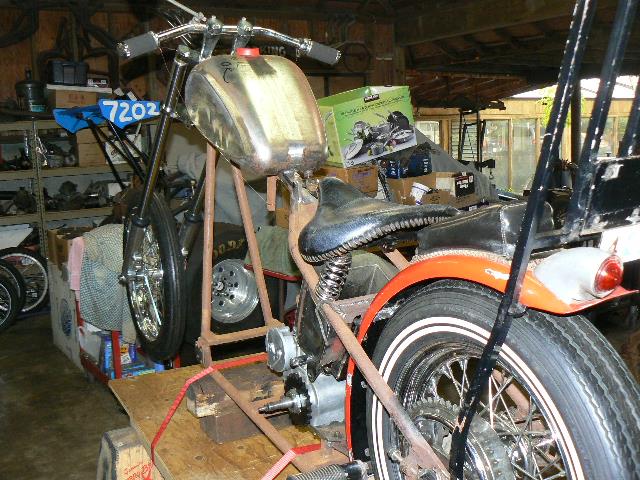
Hung the oil tank from the old frame, it went right in like it wanted to be there!
Also set the tranny and seat in place. Need to fab and weld on some tabs for the seat.
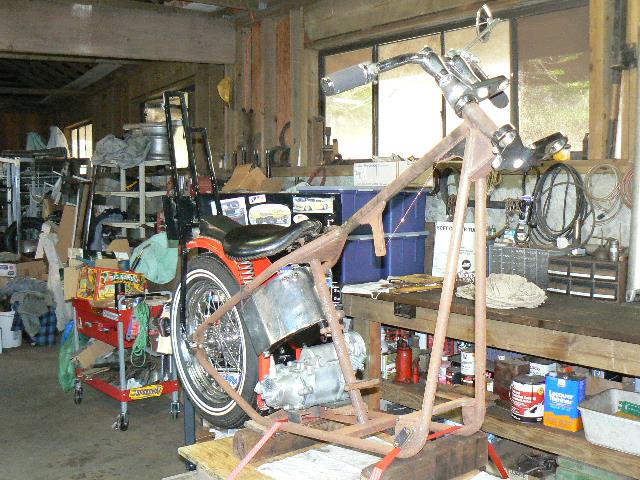
The back end is now together and solid, getting close to time to move the motor over....
Pulled the extended glide front end apart, the lower legs (sliders) had badly worn bushings inside, sent them off to Advanced Cycle Machining in Wisconsin that does this kind of work, as a long special tool is needed to align ream these bushings to fit after R&R'ing (remove and replace) these sliders. Nobody in Hawaii has that tool or knows how to do that work. The lower portion of my old fork tubes were also pretty badly worn, as I put a lot of miles on them over a period of twenty years or so (1969 - 1990) so I ordered a set of new 16" over fork tubes from my old buddies over at "Forking By Franks" in Illinois. These will be sent to Advanced and they will ream my "new" sliders to fit the new tubes for me.
When I was working out the best front suspension settings for that front end back in '69-'70, I ended up taking the spring spacers for the extended tubes out and running with two springs stacked on top of each other in each tube, one spring trimmed down until I got the ride I wanted, and running with auto trans oil in them instead of regular fork oil. The longer set of springs with that long front end gave good compliance, and regular fork oil was too thick for that lighter setup, the auto tranny oil proved to be just right, I had good slider movement during normal road riding conditions, only rarely would they "top out" and bang on really hard "hits", like large speed bumps or pot holes, so I learned to slow down when I had to hit those, and hitting the throttle just as I went over them helped lift the front end and keep it from taking a "topping out" hit under those conditions.
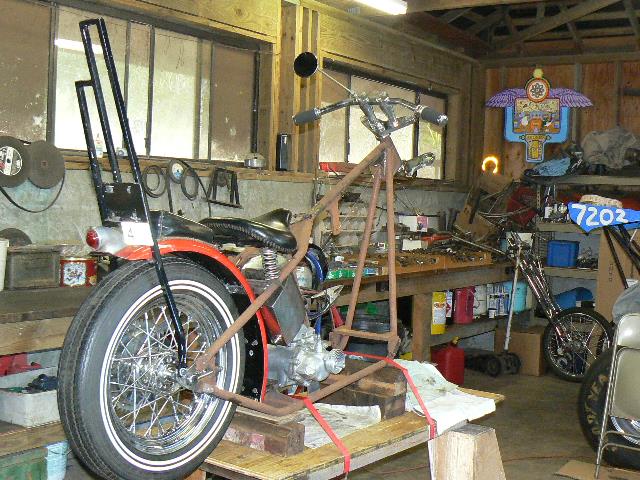
I'm also setting up the springer, and I'm going to make it so I can very easily switch back and forth between the long glide and the springer front end. They're both exactly the same length! I'm looking at adding a good single small disk brake on both front ends. No more riding with only a rear brake, the traffic around here has gotten too crazy, too many of my friends have taken hits lately, and none of 'em were their fault, too many druggies, cell phone spazzies, DUI's out there roaming around on four wheels, it's gotten dangerous to ride around here! Maui used to be a really safe place to ride! Not any more!
I ordered a new steel Sporty tank, low tunnel, to sit high on the frame like my old setup), then I cut out the gas filler fitting, welded it on a piece of exhaust tubing, and relocated it to the high spot on the tank, just like my old setup (See Page 2).......
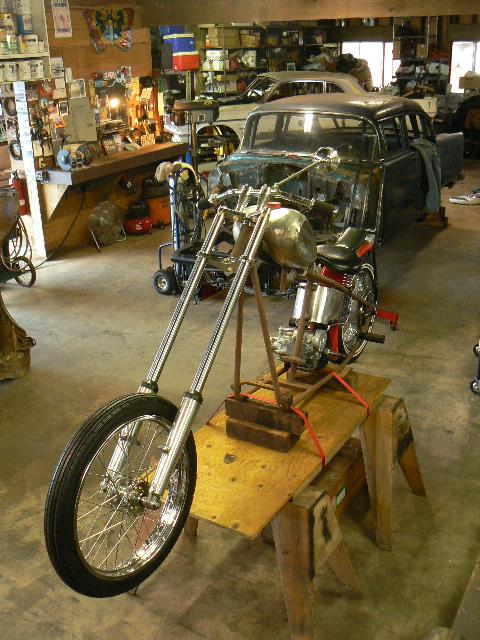
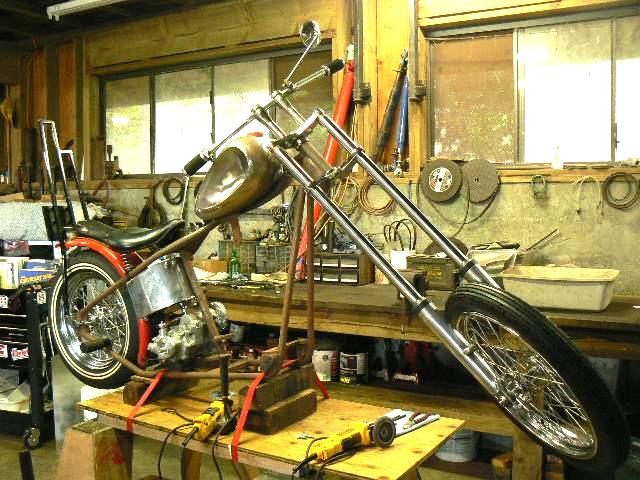
Here's how it looks with the forks back on....
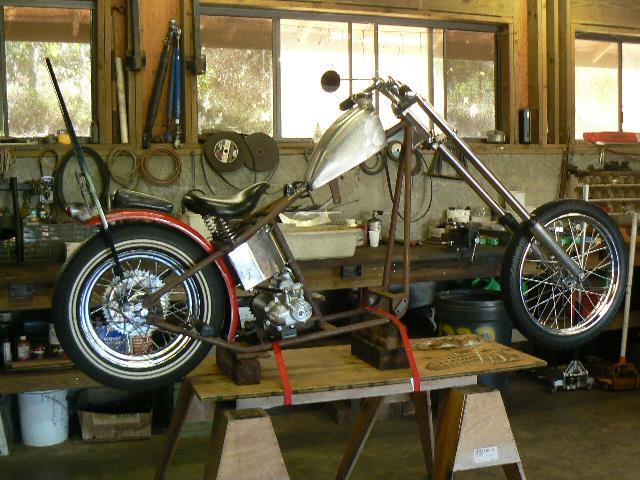
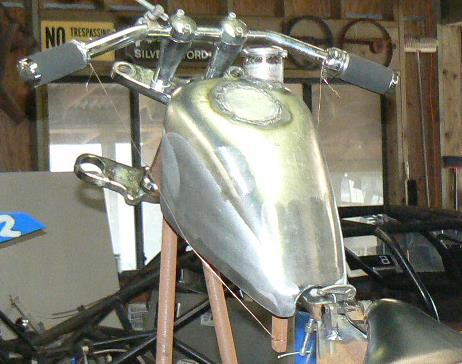
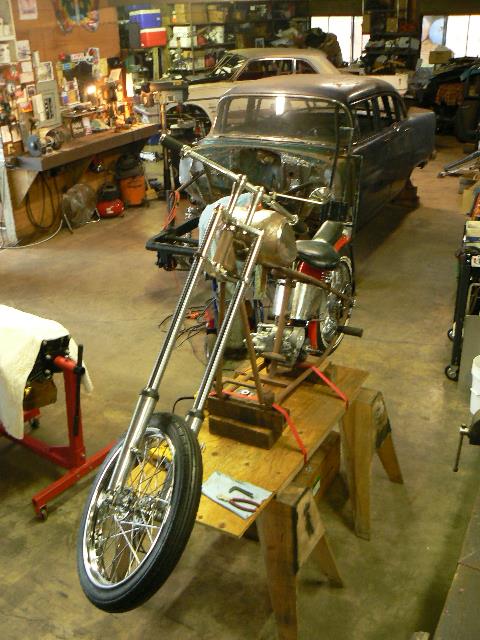
I ran across a different tank I like, not the same as what I ran for many years "way back when", but I like the change, and it gives me an extra gallon or so of fuel......
In the background you can also see the '55 Chevy "Gasser" project I'm also working on. Behind that is a '63 Tempest my buddy is working on. Race car stuff, vintage style....
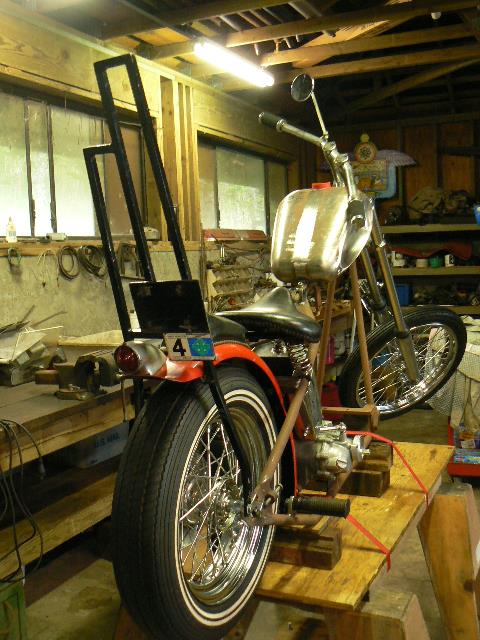
The only problem with this new tank is that the handlebars hit the tank at fairly shallow fork angles, set the stops so they did not hit the tank, but for parking and other maneuvering the fork angle is not very good, would take a lot of back and forth work to get the bike into a tight space, stuff like that, so I was looking at how to get more angle....
Dug up a set of 6" handle bar risers I had in the back of my shop, and a slightly wider set of handlebars, about 2" each side, and was able to dramatically increase the fork angle for maneuvering, took the fork stop bolts all the way out, it's at the max unless I grind some off the bottom triple tree where it hits the frame stop, but it looks pretty good now....
I like narrow bars, and I like drag style bars, these are a little wider than I like, but maybe because I'm now 68, it's good to have a little wider set of bars, easier to maneuver that front end around when parking, etc....
More later......
Here's some links to more pix:
First Try Setting Up The "New" Frame (Page One).....
Moving Parts To The New Frame (Page Two)
Rebuilding The Front Forks (Page 4)
Let's Get This Show On The Road! (Page 5)
Splittin' The Cases, Bottom End Rebuild (Page 6)....
Gettin' That Motor Together.... (Page 7)
Here's some links to other projects:
LINK to the 2Loose '55 Gasser Home Page
